Set-up, About the measurements – PASCO PS-2176 High Sensitivity Light Sensor User Manual
Page 2
®
H i g h S e n s i t i v i t y L i g h t S e n s o r
P S - 2 1 7 6
2
Set-up
Connect Sensor to Interface
Plug the sensor into any port of you PASPORT interface, either
directly or using the included extension cable. The interface or
software detects the sensor and automatically prepares itself for
data collection.
Select a Range
Press one of the range buttons on the sensor. The button of the
selected range is illuminated. Select a lower range to measure
lower light levels with higher resolution. Select a higher range to
measure brighter light.
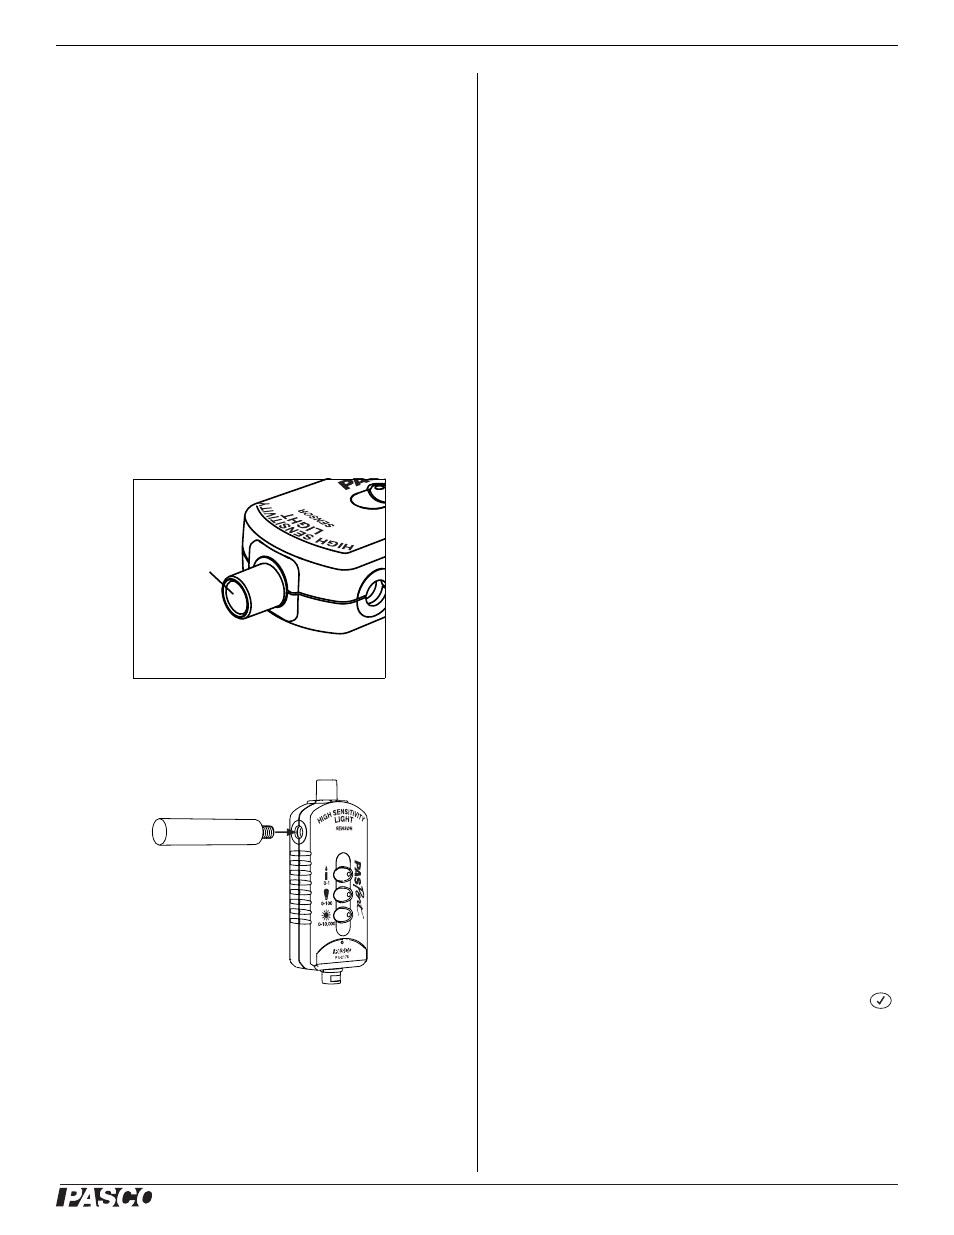
Sensor Positioning and Mounting
•
Point the aperture of the sensor at the source to be measured.
Figure 1: Aperture
•
Attach the included Sensor Handle or other 1/4-20 thread
screw to the mounting hole.
Figure 2: Sensor Handle
•
To use the sensor with a Basic Optics bench or Educational
Spectrometer (OS-8537), mount it on an Aperture Bracket
(OS-8534).
About the measurements
Measurements and Units
The sensor make two measurements: Light Intensity and Relative
Intensity.
The Light Intensity measurement is the percentage of full scale,
where 100% represents the maximum measurement possible at
the selected range. Thus, a reading of 50% taken at the
medium-range setting is equal to a reading of 0.5% at the
high-range setting.
The Relative Intensity measurement is scaled according to the
range setting; a reading of 50 at the medium-range setting would
also be 50 at the high-range setting. The Relative Intensity ranges
are 0–1, 0–100, and 0–10000.
Resolution
The resolution of the measurement depends on two factors: the
selected range and the sampling rate.
The resolution of each range setting is 100 times better than the
next higher setting. For the highest resolution, use the lowest
range.
The sensor uses different amounts of oversampling at different
sample rates. Oversampling reduces noise, produces smoother
data, and improves the resolution. To increase oversampling, set
the sample rate lower. Maximum oversampling occurs at a sam-
ple rate of 1 Hz or slower.
To Select a Measurement
The default measurement is Light Intensity (percentage of maxi-
mum for the selected range). To use the Relative Intensity mea-
surement, do one of the following:
DataStudio
1.
Click Setup to open the Experiment Setup window.
2.
Select the Relative Intensity check box.
GLX (Standalone Mode)
1.
In the Graph screen (or any other display screen), press
twice to open a data source menu.
2.
Select More to expand the menu
3.
Select Relative Intensity.
aperture