Over-sampling, Measuring current – PASCO PS-2160 Galvanometer User Manual
Page 2
®
M o d e l N o . P S - 2 1 6 0
O v e r - s a m p l i n g
2
To start data collection, click the Start button in DataStudio or
press
on the Xplorer GLX.
By default, the sensor collects data at 10 Hz and displays it in
units of volts. In DataStudio, click the Setup button to open
the Experiment Setup window, where you can change the
sample rate and units. On the Xplorer GLX, press
,
to open the Sensors screen, where you can change the sample
rate and units.
Note: For complete instructions on collecting and displaying and data,
press F1 for DataStudio's on-line help, or refer to the Xplorer GLX
Users' Guide.
Over-sampling
The Galvanometer uses dynamic variable over-sampling to
reduce noise, produce smoother data, and improve measure-
ment resolution. This effect is especially noticeable when very
small voltage changes are measured. The degree of dynamic
variable over-sampling that take place within the Galvanome-
ter depends on the sample rate. To maximize the over-sam-
pling, set the sample rate as low as possible for a given
application. Maximum over-sampling occurs at sampling rates
of 1 Hz or slower.
Measuring Current
Current Measurement Set-up
To measure current, connect the included binding post adapter
to the sensor's BNC connector. Loosen the binding post
screws and connect one of the included resistors (or another
resistor) as pictured.
In this configuration, the sensor will measure the voltage drop
across the resistor as current flows through it. Connect a cir-
cuit or device so that positive current will flow through the
resistor from the red post to the black post.
Before making a measurement, ensure that no current is flow-
ing through the resistor and press the Tare button.
Current Calculation
To calculate the current (I) from the measured voltage (V), use
Ohm's Law:
where R is the combined resistance of the resistor and the
leads connecting it to the binding posts.
A reliable way to measure R is to apply an accurately known
current (I') and note the measure voltage (V'). The resistance
is
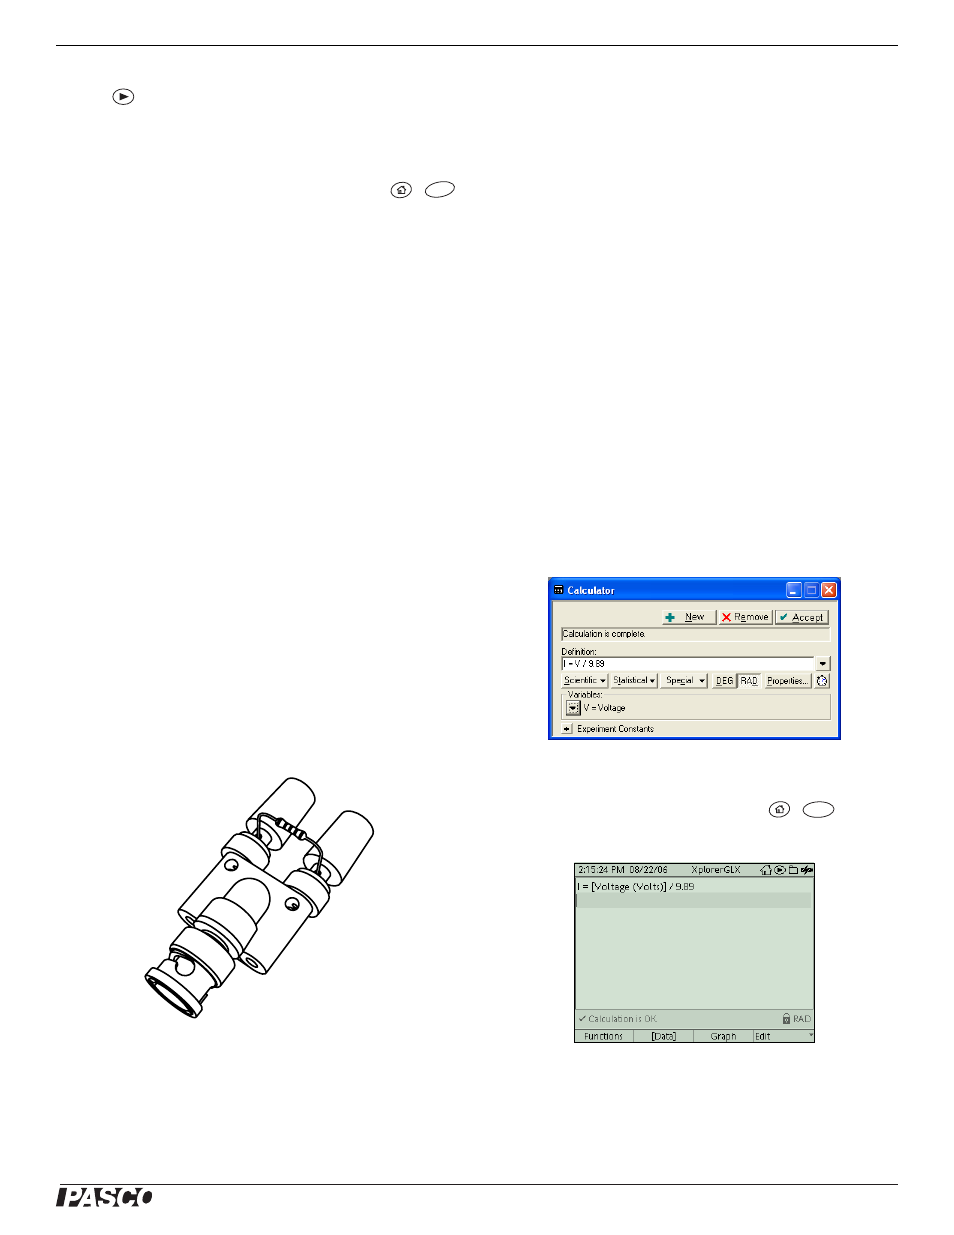
Once you have determined R, you can configure DataStudio
or the Xplorer GLX to automatically calculate the current. In
DataStudio, click the Calculate button and define a calcula-
tion such as
where, in this example, “9.89” is the value of R in
Ω.
On the GLX (in standalone mode), press
,
to open
the Calculator screen and define a calculation such as
Note: For complete instructions on defining calculations, press F1 for
DataStudio's on-line help, or refer to the Xplorer GLX Users' Guide.
F4
I
V
R
---
=
R
V
′
I
′
-----
=
F3