Diamond Products CC7074 User Manual
Page 28
25
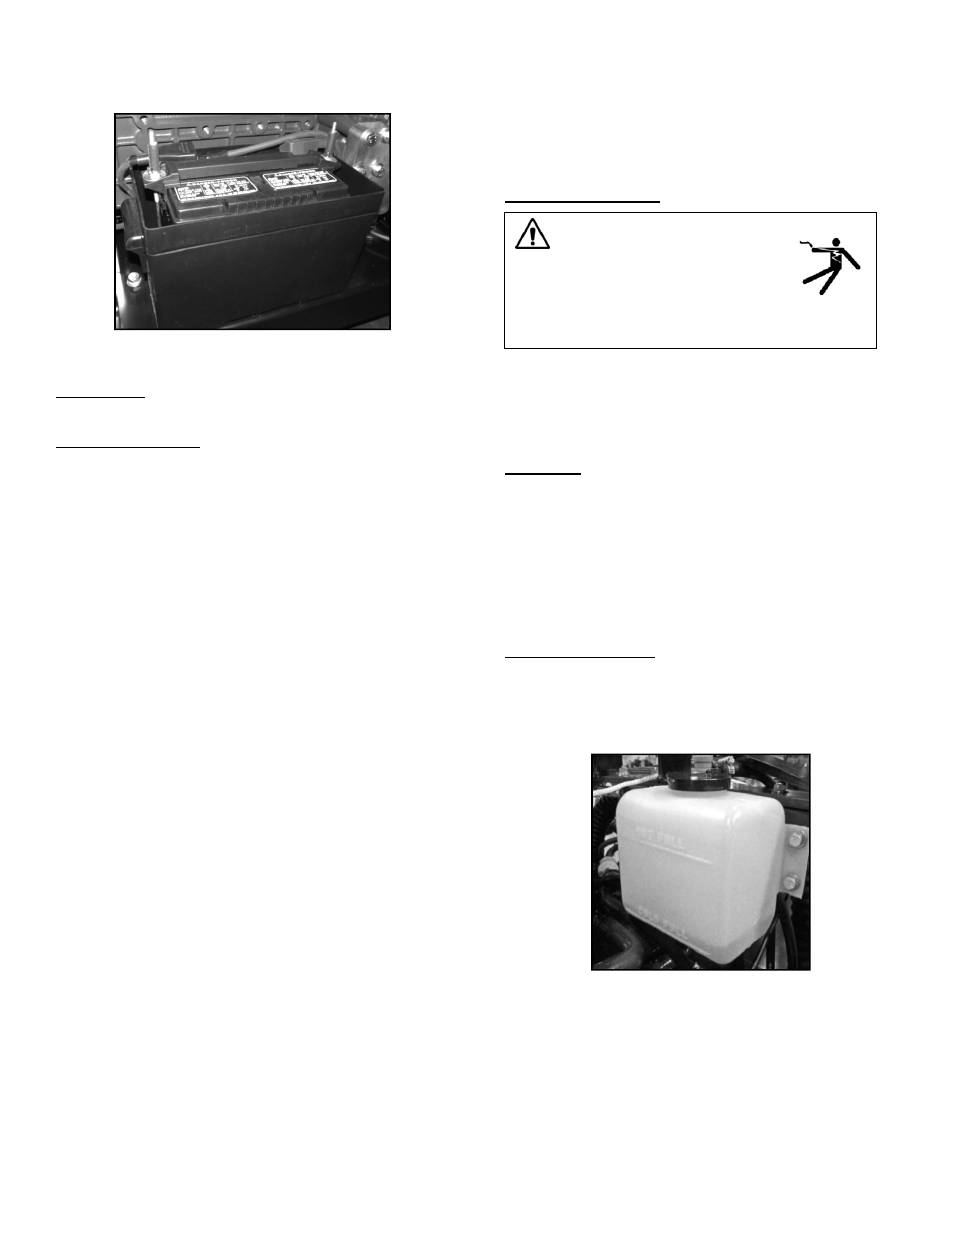
Figure 22: Battery
Battery Type
12 Volt, Group 24
Servicing the Battery
1. Remove both wing nut/washer assemblies from the
battery lid and remove the lid.
2. Remove the hose standoffs and wing nuts from the
battery hold-down bracket and remove the bracket.
3. Disconnect the negative cable lead from the
negative terminal. Note: Always disconnect the
negative cable first.
4. Disconnect the positive cable lead from the positive
terminal.
5. Carefully remove the battery from the battery box
using the carry strap.
6. When replacing the battery, carefully place a new
battery into the battery box. Bring the old battery to a
recycling facility; many battery retailers also accept
old batteries.
7. When cleaning the battery, inspect the terminals,
clamps, and cables for damages and corrosion.
Clean the terminals and clamps using a wire brush,
or use another approved technique for cleaning. Use
acid-free, acid-resistant grease to grease the battery
clamps and terminals. Carefully place the battery
back into the battery box.
8. Reconnect the positive cable lead to the positive
battery terminal. Note: Always reconnect the positive
cable first.
9. Reconnect the negative cable lead to the negative
battery terminal.
10. Make sure the j-bolts are hooked onto the eyebolts
at the bottom of the battery box. Fit the battery hold-
down bracket through the j-bolts and rest the bracket
on the battery.
11. Fit a fender washer and then a lock washer onto
both j-bolts and retighten the wing nuts to the j-bolts
to secure the battery.
12. Fit the hose standoffs onto both j-bolts.
13. Replace the battery lid, fit a fender washer and then
a lock washer onto each j-bolt, and retighten both
wing nuts to secure the lid.
Electrical System
WARNING
Disconnect the battery when
servicing the electrical system
unless stated otherwise.
Always use the correct size fuses (amps) to
prevent fires.
Inspect all fuses if switches or controls are not working
properly and replace as necessary. If fuses are failing
frequently, determine the cause and repair immediately.
Refer to the CC7074 Parts List for electrical diagrams.
Radiator
Open radiator door, power wash the radiator and
wipe down the radiator fan daily.
Turn off the saw and inspect the cooling system
when the coolant temperature light turns on, or when
the coolant temperature gauge passes the red mark.
Adjust the radiator door latches if the door becomes
too difficult to latch, or when gaps between the door
and the frame allow air flow through the door.
Adding Radiator Fluid
1. Remove the coolant recovery tank cap.
2. Add a 50/50 mix of water and anti-freeze to the tank.
Note: Refer to the Cold Full and Hot Full marks
when filling and operating.
Figure 23: Recovery Tank
3. Replace the coolant recovery tank cap and tighten to
secure.