Turn the power off to the sd, Reconnect the serial cable to the xyp, Luminex 100/200 analyzer firmware upgrade – Luminex IS 2.1_2.2 to xPONENT 3.1 Rev 2 Upgrade Instructions User Manual
Page 13: Turn on the power to the analyzer
Luminex IS Versions 2.1 and 2.2 Upgrade Instructions to xPONENT 3.1 SP1 - For In Vitro Diagnostic Use
9
11. An entry in the Movement Device text box should read: Firm-
ware is up-to-date. The firmware version should be
2.0.5.
12. Turn the power off to the SD.
13. Reconnect the serial cable to the XYP.
Luminex 100/200 Analyzer
Firmware Upgrade
To upgrade the Luminex 100/200 analyzer firmware:
1. Turn on the power to the analyzer.
2. Close any open applications.
3. On the PC desktop click Start > Programs > Luminex > LXR
> LxFirmware. The LxFirmware Update Tool dialog box
opens. See "LxFirmware Update Tool Dialog Box" on page 8.
Wait for the Detector Device text box (item 2 in "LxFirmware
Update Tool Dialog Box" on page 8), to display the LX100/200
firmware version and status. This may take up to five minutes.
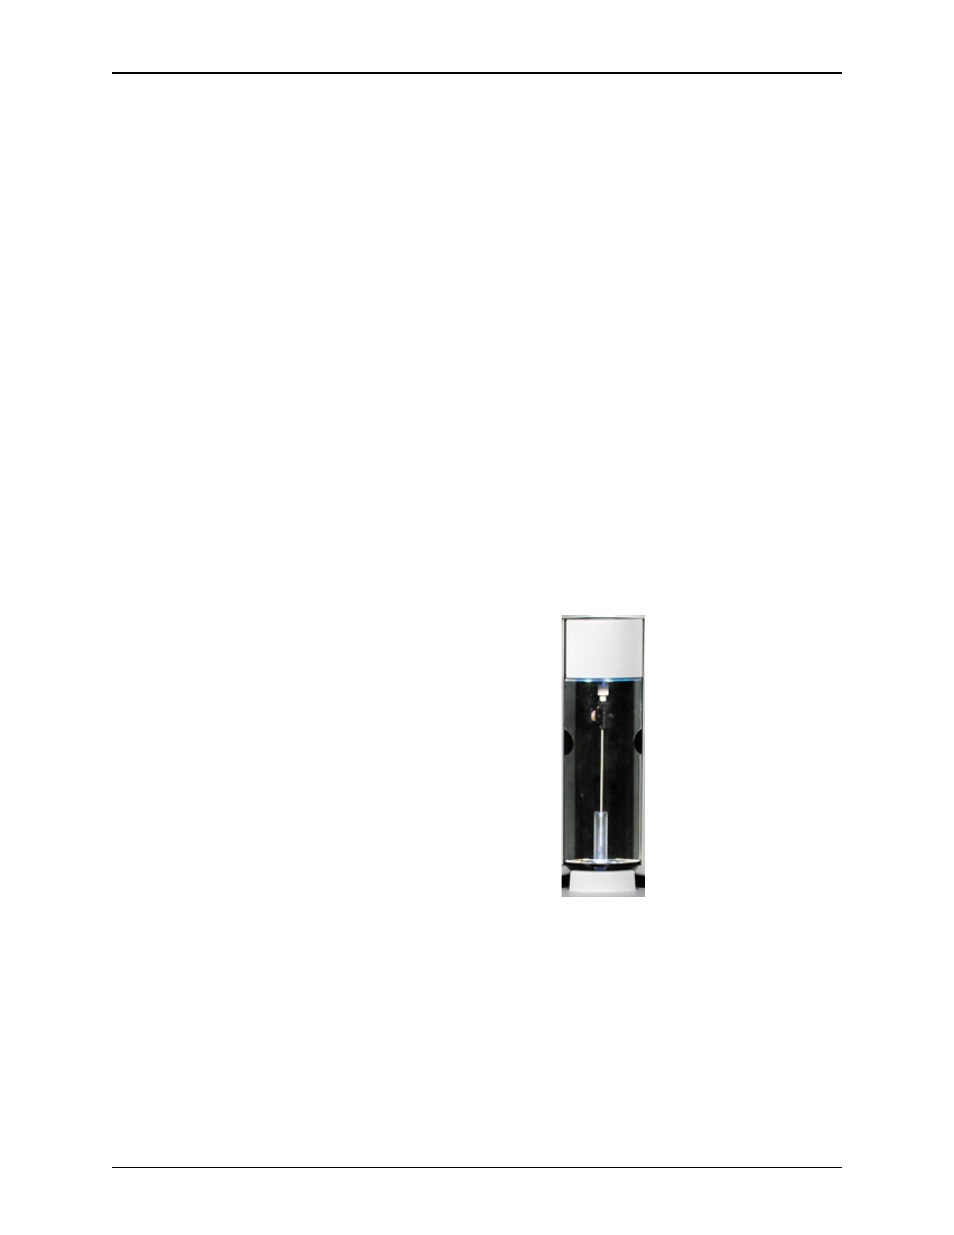
4. If you have a Luminex 100 (you can tell that it’s a Luminex 100
if it has the sample probe shown in the following photo), click
Browse adjacent to the Detector Device text box. Select
LX100_M_2_3_9.bin, then click Open. The Confirm
LX100 Firmware Download dialog box opens. Click Yes to
continue with the upgrade.
LX100 Sample Probe
If you have a Luminex 200 (you can tell that it’s a Luminex 200 if
it has the sample probe shown in the next photo), click Upgrade
adjacent to the Detector Device text box. The Confirm Firm-
ware Download dialog box opens. Click Yes to continue with the
upgrade.