Lightronics AR1202 User Manual
Page 17
Page
17
of
22
AR – 1202
RTC
ARCHITECTURAL DIMMER
Revision
1.93
OWNERS
MANUAL 06/03/2008
www.lightronics.com
Lightronics Inc.
509 Central Drive Virginia Beach, VA 23454
Tel 757 486 3588
Programming an event consists of four steps:
1.
Select the event you want to set up (1 - 128).
2.
Assign a scene (1 - 100) to the event.
3.
Select what action is to be performed for that
scene (Turn it ON, Turn it OFF, or IGNORE IT).
4.
Assign the DATE/ TIME or DAY(S) / TIME for
the event to be triggered.
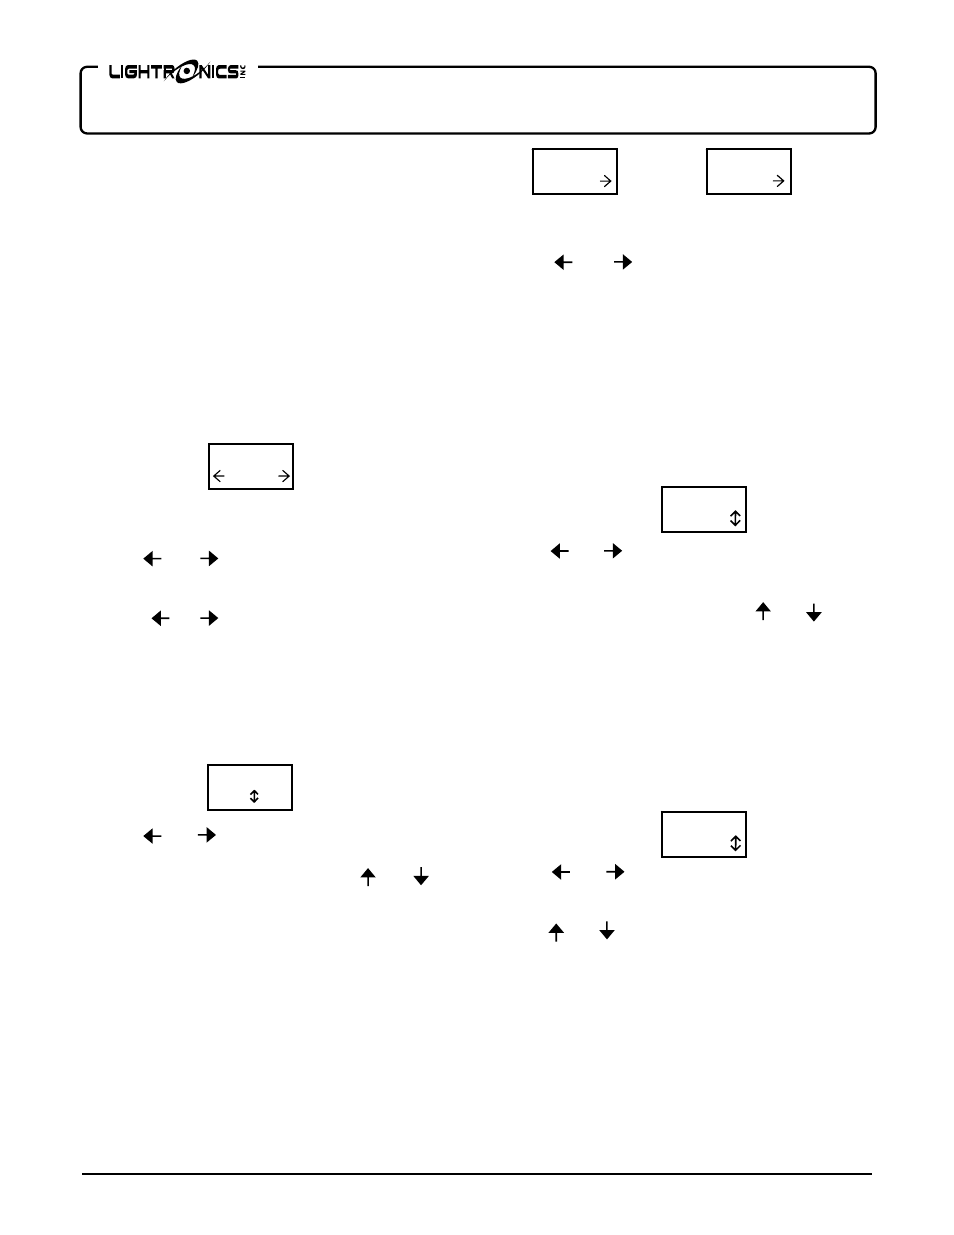
SELECTING AN EVENT
From the EVENT EDITOR menu - Push
ENTER
.
The display will show the event selection menu as
follows.
If an event already has a scene assigned to it then the
event number will be followed by an asterisk (*).
Use the and buttons to select the event
number. Then push
ENTER
to proceed to the scene
number and scene action menu. If you push and hold
down the or button - the event number will
skip to the next programmed event and stop.
ASSIGNING A SCENE AND SCENE ACTION
The top row of this menu shows the number of the
event you are working on. The bottom row shows the
assigned scene and the action to perform.
Use the and buttons to select either the scene
number or action. Your selection is indicated by
flashing that part of the menu. Use the and
buttons to change the value. Scenes 0 - 100 may be
assigned. Available actions are ON, OFF, and XXX
(IGNORE). Push
ENTER
once a value has been
selected. A setting of XXX disables of the event even
if a scene for it has been set.
Push
MENU (NEXT)
to proceed to the next menu or
push
CLEAR
to revert to the event number selection
menu.
CHOOSING DATE OR DAY BASED EVENTS
This menu enables selection of either DATE based or
DAY based operation. The menu will show either
OR
The top row shows the event number and scene
number you are working on.
Use the and buttons to switch between DATE
and DAYS. Push
MENU (NEXT)
to proceed to the
next menu for setting the date or day and the time of
day. Push
CLEAR
to revert to the event number
selection menu.
SETTING DATE BASED TRIGGERS
The top row of these menus show the event and scene
number you are working on.
The bottom row is used to set the trigger date and the
time of day.
To set the date:
Use the and buttons to select either the month
or day of the month. Your selection is indicated by
flashing that part of the menu. The date format is
MM/DD (month on the left). Use the and
buttons to change the value. Push
ENTER
once a
value has been selected.
CAUTION: If you set an invalid date (such as
February 30th) there will be no warning and the event
will NEVER trigger.
Push
MENU (NEXT)
to proceed with setting the
trigger time or push
CLEAR
to revert to the event
number selection menu.
To set the trigger time:
Use the and buttons to select hours or minutes.
Your selection is indicated by flashing that part of the
menu. The format for hours is 0 - 24 (not AM/PM).
Use the and buttons to change the value. Push
ENTER
once a value has been selected.
Push
MENU (NEXT)
to revert to the SCENE
NUMBER and SCENE ACTION menu or push
CLEAR
to revert to the event number selection menu.
SETTING DAY BASED TRIGGERS
The top row of these menus show the event number
and scene number you are working on. The bottom
row is used to set the trigger days and the time of day.
EVENT #
001
EVNT 001
S00O ON
E001S000
DATE
E001S000
DAYS
E001S000
01/01
E001S000
00:00