Impulse 3622 User Manual
Page 4
Quick
Start
Sealevel Systems PC-COMM+232 Page
2
Windows NT 4.0
1. Ensure that the PCMCIA services are enabled. This is done in the
Control Panel.
2. Install the supplied software (SeaCOM). This installation will
provide the necessary drivers and INF files required to properly
initialize and enable your adapter.
3. Power down the machine, install the card, and power up. This will
allow NT to find the first port at 240H and assign an IRQ.
4. Open ‘Advanced Ports’ found in the Control Panel. Verify that the
first port on your card has been initialized at 240H and identify the
IRQ. The IRQ will be the same for the second port.
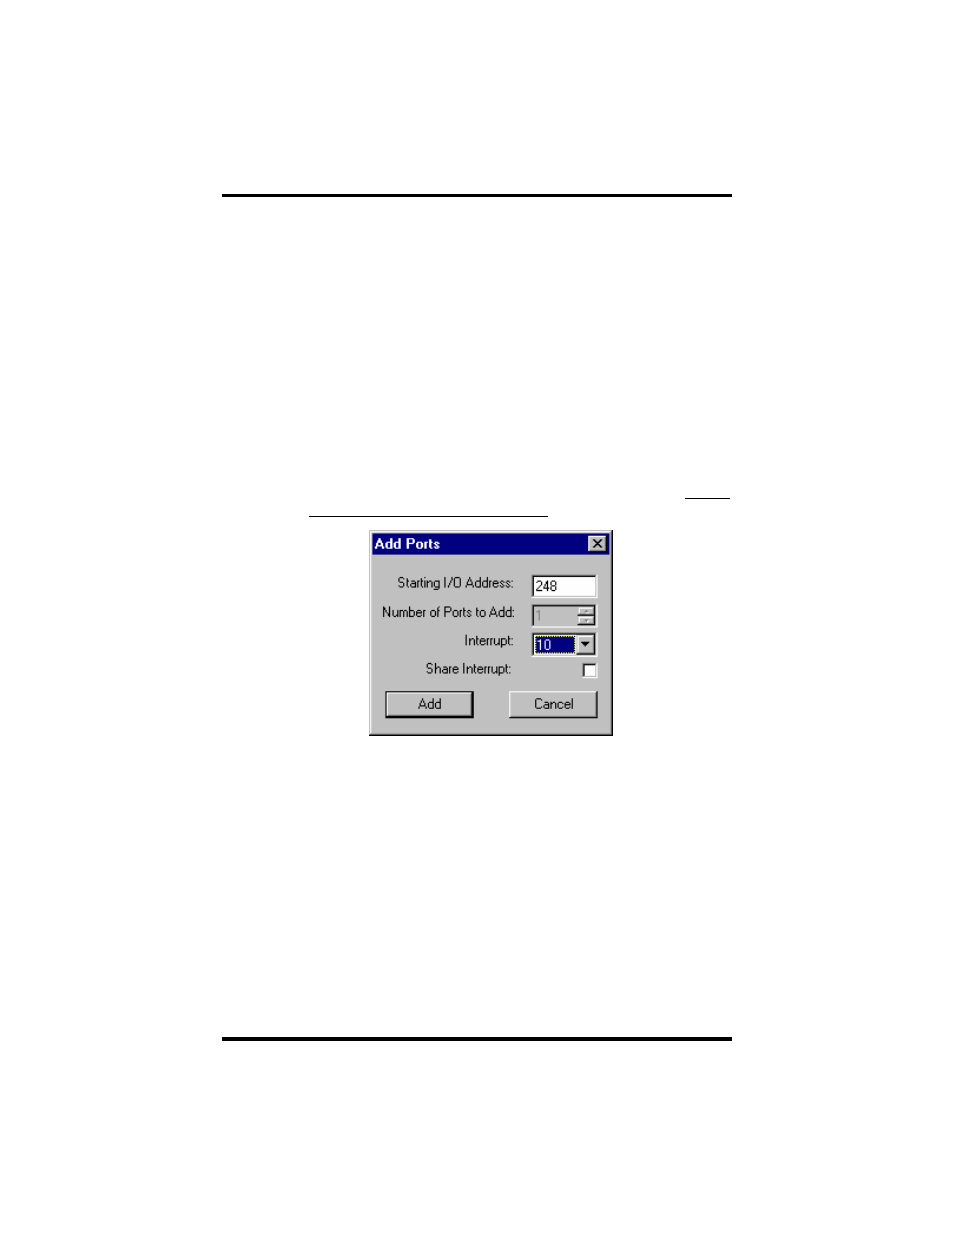
5. Select ‘Add Port’. Type in ‘248’ for ‘Starting I/O Address’. Select
the same interrupt that has been assigned to the first port. Do not
select the ‘Share Interrupt’ check box.
6. Click the ‘Add’ button, and then the ‘Apply’ button.
7. Allow your system to Re-boot with the card installed.
8. Installation is complete
Note: Windows NT is not ‘Plug and Play’ nor does it support
‘Hot-Swapping’, therefore power down before card insertions or removals.
Linux
Please refer to the Linux sub-directory on your supplied software for up-to-date
instructions for various Linux installations.