Installation of filters, Installation of membrane – Hydrotech Reverse Osmosis Drinking Water System c_w Booster Pump and Inlet Solenoid User Manual
Page 12
10
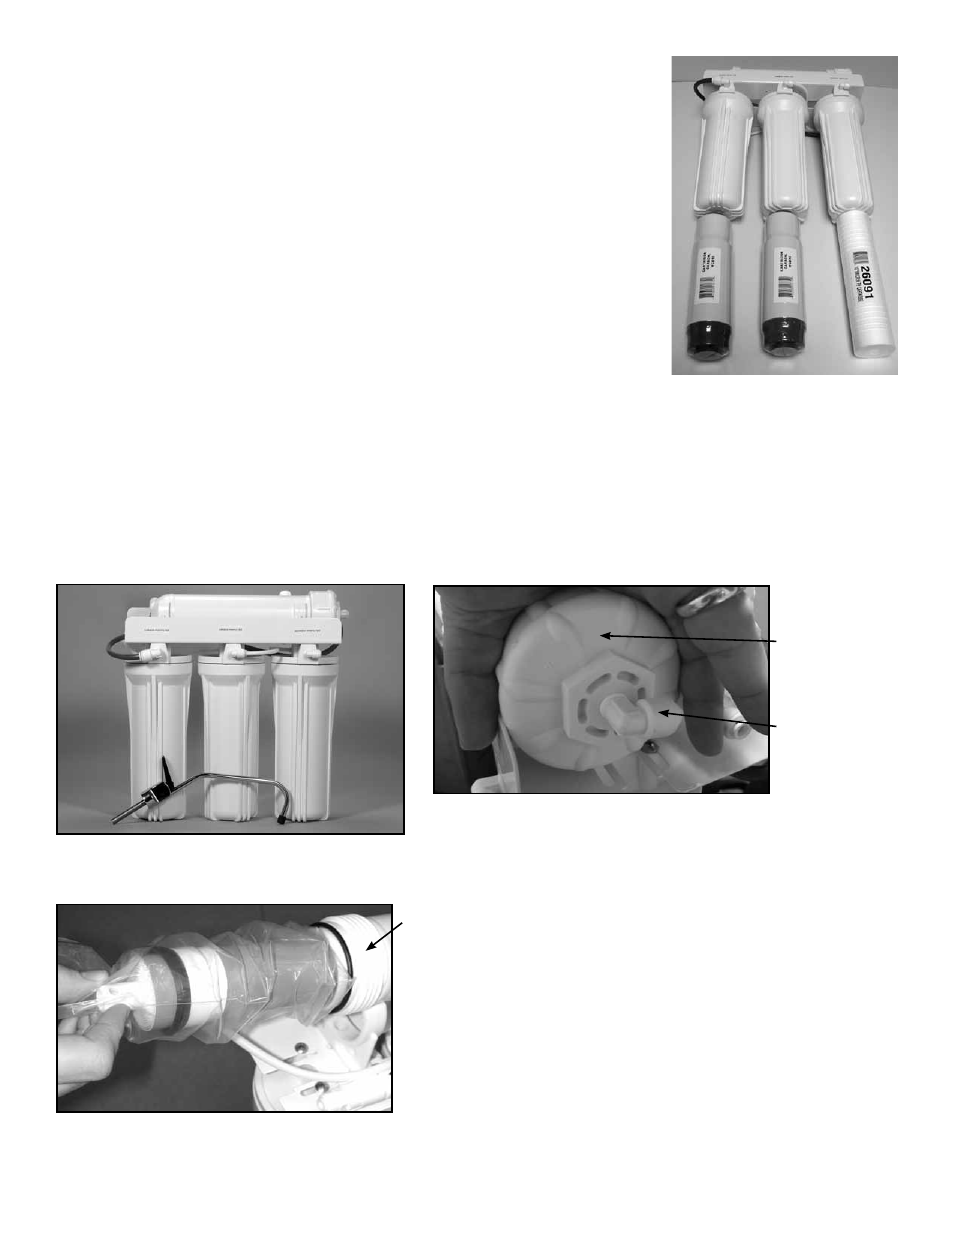
Installation of Filters
Unscrew the sumps with the help of wrench provided and install the filters as follows:
A. Sump #1 - Install Sediment Pre-filter 5 micron Cartridge
B. Sump #2 - Install Carbon Pre-filter Cartridge
C. Sump #3 - Install Carbon Post-filter Cartridge
Installation of Membrane
Important: Keep the membrane and your hands clean in order to avoid bacterial
contamination of the membrane.
1. Disconnect the hose on the end of the membrane housing end cap from the quick
connect elbow.
2. Unscrew the end-cap.
3. Hold the membrane upside down, cut the plastic bag at the bottom, and drain off
any liquid.
4. The bottom tip of the membrane must seat firmly in the protruding female socket
inside the membrane housing.
5. Without touching the membrane, slide it into the membrane housing and discard
the plastic bag. With your thumb or the palm of your hand, push the membrane
all the way into the housing.
Important: Do not use force, and ensure that the membrane is not protruding
from the housing.
6. Replace the membrane housing end cap and hand tighten.
7. Push the tubing back into the quick connect fitting. Ensure the tubing is all the
way in.
Figure 8B - Installing membrane -
Remove cap
Figure 8A - Installing membrane without
touching
Figure 7 - Front View
Sump #3 Sump #2 Sump #1
RO Membrane
Housing
Remove tubing
from elbow
quick connect
fitting
RO Membrane
Housing Cap
Sump
#3
Carbon
Post-Filter
Carbon
Pre-Filter
Sediment
Pre-Filter
Sump
#2
Sump
#1