Datamax-O'Neil APEX 2 User Guide User Manual
Page 8
4
1.2.2
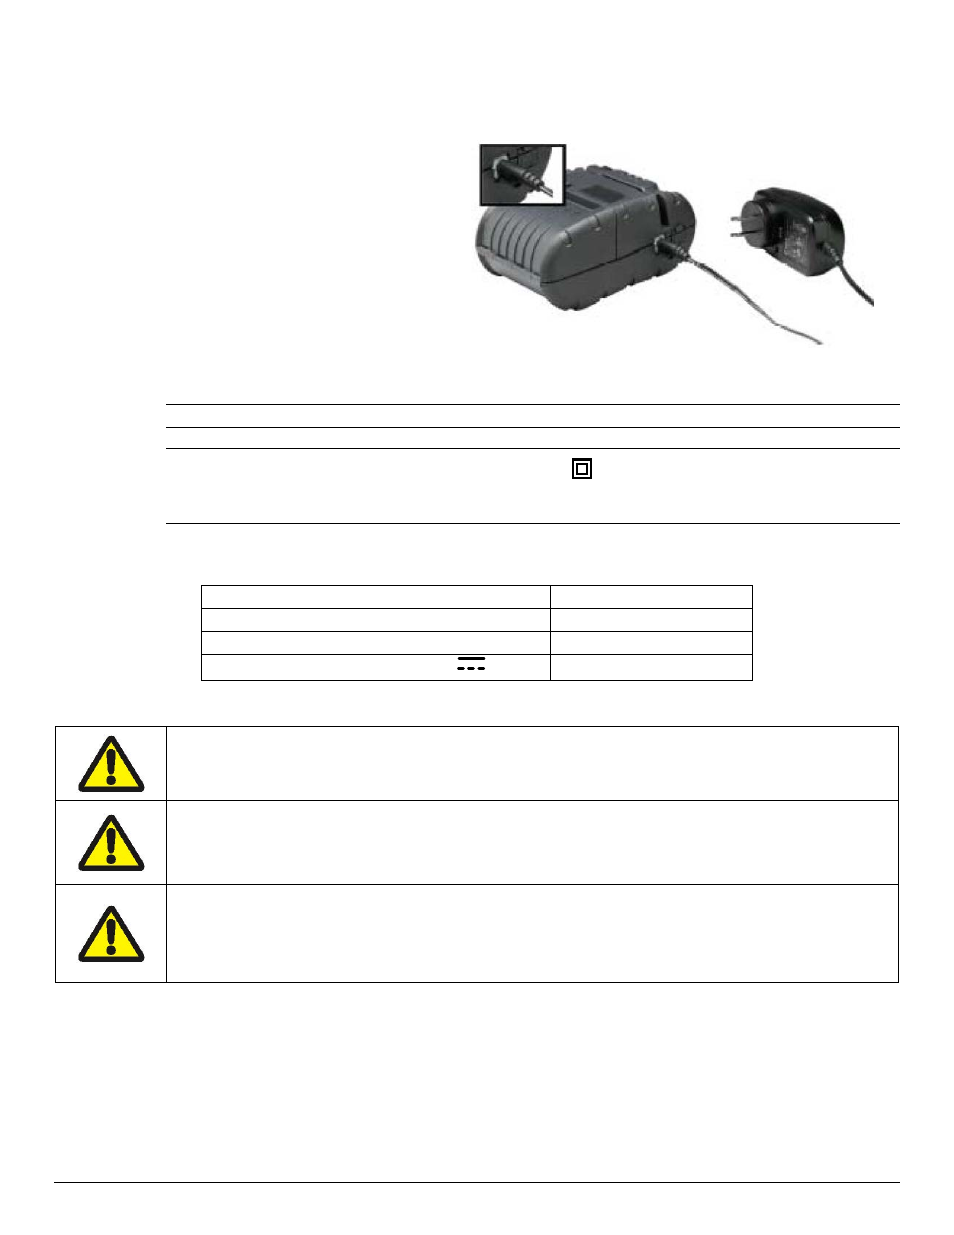
Charging the Battery
Plug the battery charger adapter output cable into the battery charger connector as
shown.
Plug the battery charger adapter into
the appropriate AC line voltage socket.
The Yellow/Amber charging LED will
illuminate indicating that the battery is
charging.
The battery will be fast charged and
after about 180 minutes the LED will
turn off.
To remove the battery cartridge, open
the battery door and tip the battery out
of the printer.
Note: To ensure a full charge do not operate the printer while charging.
Note: The wall mounted charger is Class II equipment (
). Multiple plug configurations comply
with most international standards. The wall mounted charger is not supplied with plugs for use in
Korea.
The wall mounted charger has the following specifications:
Model
APEX 2
Input Voltage/Current
100-240 VAC/0.55A
Input Frequency
50-60 Hz
Output Voltage/Current (
)
10VDC/2.4A
Do not use a charger not approved by Datamax-O’Neil for use with the APEX 2 series.
Use of an unapproved charger could damage the battery pack or the printer and will
void the warranty.
The battery terminals are well recessed inside the printer. Do not allow them to contact
conductive material since this may create a short circuit, which could cause injury or
start a fire.
When using the wall mounted charger ensure the socket outlet is close to the printer
and easily accessible during the battery recharging process. Switch the socket off (if
supplied with a socket switch), pull out the charger from the socket, or disconnect the
plug from the printer in case of any problems.
FIGURE 3: CHARGING THE BATTERY