Assembly – DE-STA-CO 115RSD User Manual
Page 6
ASSEMBLY
PRIOR TO ASSEMBLY
A. Clean and deburr all parts before reassembling.
B. Follow tightening torque and Permabond
recommendations as outlined in the General
Service Manual.
INPUT SHAFT/CAM REASSEMBLY
Fig.5Inputshaft/camreassembly
A. Apply anti-seize lubricant to the end of the shaft
(15) with the smaller diameter.
B. Heat cam (16) to 250 degrees prior to installation.
C. Place cam (16) on an arbor press and press shaft
(15) in until bottomed.
D. Place cam (16) on its side until cool to the touch.
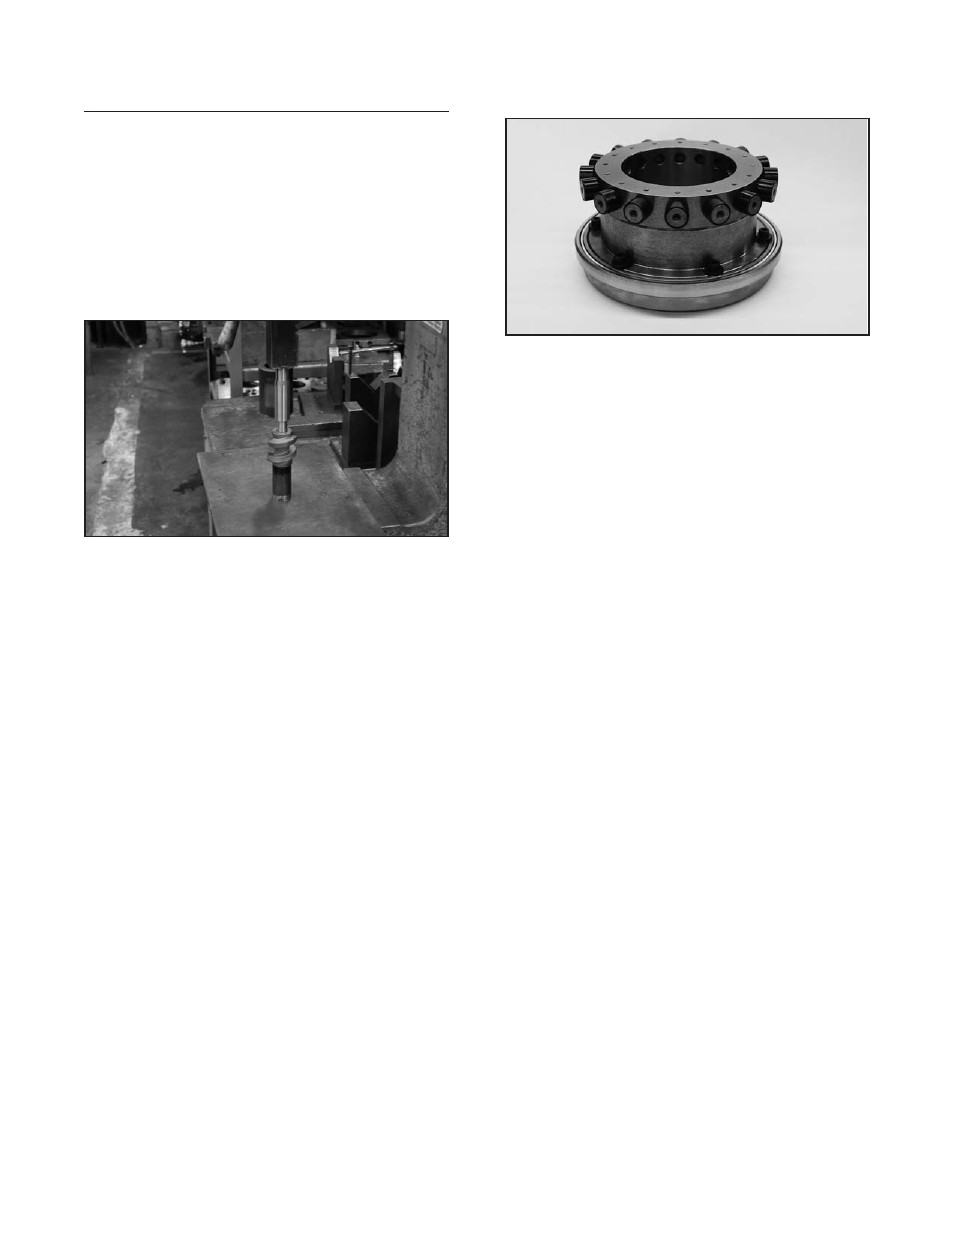
FOLLOWER WHEEL REASSEMBLY
Fig.6Followerwheelreassembly
A. Apply anti-seize lubricant to both follower wheel
(4) and bore of the bearing (3).
B. Using an arbor press and adaptor fixture, press
bearing (3) onto the follower wheel (4) until it is
seated. Heat may be applied to bearing if necessary.
C. Check cam followers (25) to make sure they
spin freely.
D. Install capscrews (28) with washers (24) using
Permabond thread-locking liquid adhesive as
recommended in the General Service Manual.
CAUTION:Besuretopressthefollowerinstraight,
asdamagetothefollowerandfollowerwheelcould
occurifimproperlyalignedduringinstallation.
E. Use these steps to install the cam followers:
1. Remove shipping o-ring from the stud of cam
follower (25). This o-ring is used only to hold
cam follower together.
2. Apply anti-seize lubricant to holes in follower
wheel (4).
3. Cam followers require use of an insertion
gage CAMCO Part Number 99A73565000000
for proper installation.
a. Place insertion gage CAMCO Part
Number 99A73565000000 around cam
follower (25).
b. Press cam follower (25) onto follower
wheel (4) to the position prescribed by the
gage. If pressed too far, the follower will
not turn freely.
4. Install setscrews (31) using Permabond
thread-locking liquid as recommended in the
General Service Manual.
5. Install remaining followers (25) in the
same manner.
5