Specifications – Atec Mitutoyo-SJ-310 User Manual
Page 6

6
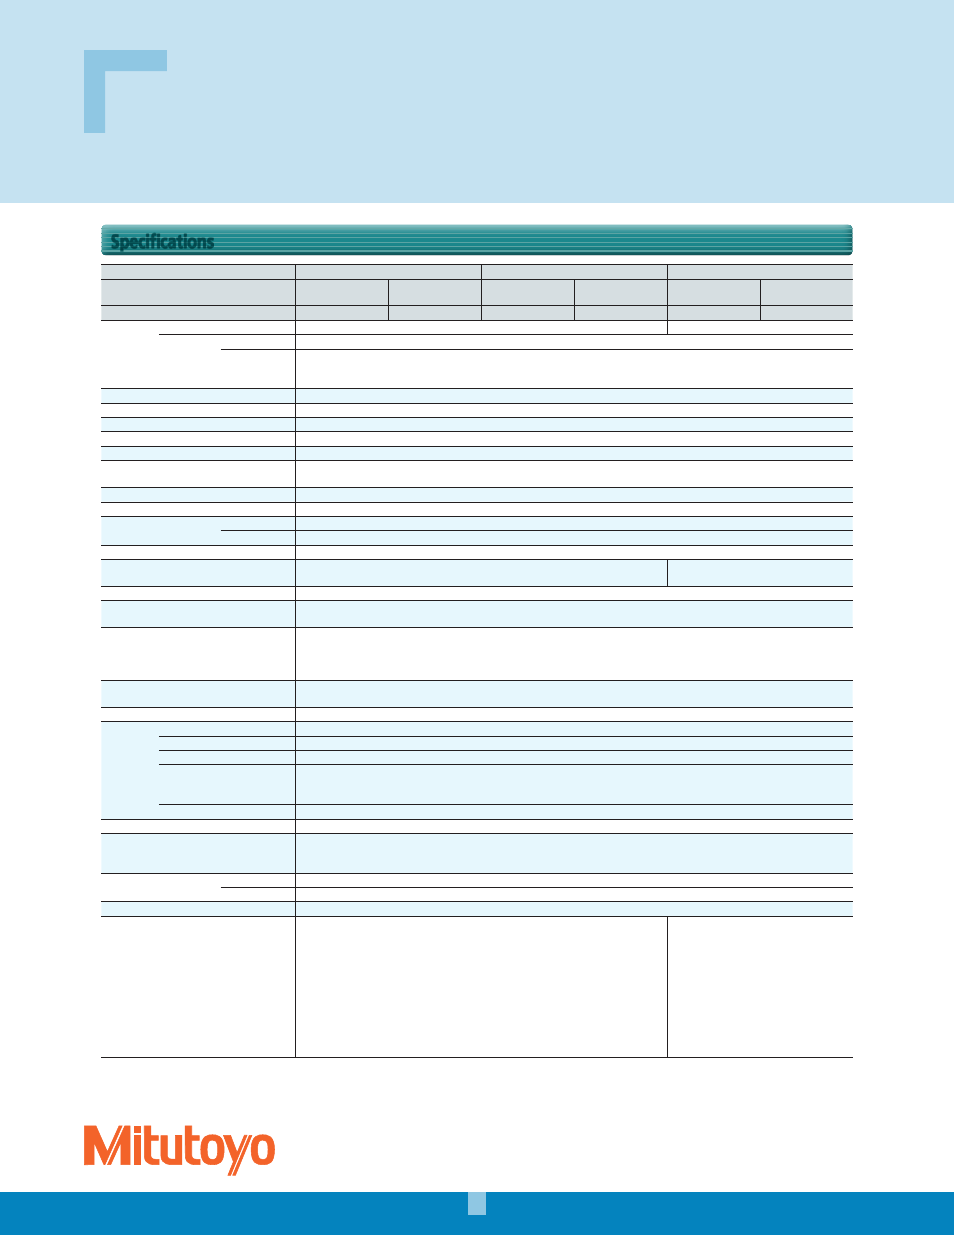
Specifications
Specifications
Type of detector
Standard drive unit type
Retractable drive unit type
Transverse tracing drive unit
Model No.
SJ-310
(0.75mN type)
SJ-310
(4mN type)
SJ-310
(0.75mN type)
SJ-310
(4mN type)
SJ-310
(0.75mN type)
SJ-310
(4mN type)
Order No.
inch/mm
178-571-01A
178-571-02A
178-573-01A
178-573-02A
178-575-01A
178-575-02A
Measuring
range
X axis
16.0 mm (.63inch)
5.6 mm (.22inch)
Detector
Range
360 µm (-200 µm ~ +160 µm) [14400 µinch (-7900 µinch to +6300 µinch)]
Range/
resolution
360 µm / 0.02 µm (14400 µinch / .8 µinch)
100 µm / 0.006 µm (4000 µinch / .2 µinch)
25 µm / 0.002 µm (1000 µinch / .08 µinch)
Measuring speed
In the measurement: 0.25mm/s (.01inch/s), 0.5mm/s (.02inch/s), 0.75mm/s (.03inch/s), In the return: 1mm/s (.04inch/s)
Measuring force / Stylus tip
0.75mN type: 0.75mN / 2µmR 60°, 4mN type: 4mN / 5µmR 90°
Skid force
400mN or less
Standard
JIS’82 / JIS’94 / JIS’01 / ISO’97 / ANSI / VDA
Measured profiles
Primary, Roughness, DF, R-Motif, W-Motif
Parameters
Ra, Rc, Ry, Rz, Rq, Rt, Rmax*
1
, Rp, Rv, R3z, Rsk, Rku, Rc, RPc, Rsm, Rz1max*
2
, S, HSC, RzJIS*
3
, Rppi, R
∆
a, R
∆
q, Rlr, Rmr,
Rmr
(
c
)
, Rδc, Rk, Rpk, Rvk, Mr1, Mr2, A1, A2, Vo, λa, λq, L
0
, Rpm, tp*
4
, Htp*
4
, R, Rx, AR, W, AW, Wx, Wte, Possible Customize
Graph analysis
BAC and ADC curves
Filter
Gaussian, 2CR75, PC75
Cut-off length
λc
0.08, 0.25, 0.8, 2.5, 8 mm (.003, .01, .03, .1, .3 inch)
λs *
5
2.5, 8 µm (100, 320 µinch)
Sampling length
0.08, 0.25, 0.8, 2.5, 8 mm (.003, .01, .03, .1, .3 inch)
Number of sampling lengths
Ч1, Ч2, Ч3, Ч4, Ч5, Ч6, Ч7, Ч8, Ч9, Ч10,
Arbitrary (0.3 ~ 16.0mm: 0.01mm Interval)
Ч1, Ч2, Ч3, Ч4, Ч5, Ч6, Ч7, Ч8, Ч9, Ч10,
Arbitrary (0.3 ~ 5.6mm: 0.01mm Interval)
LCD dimensions
117.8 × 88.2 mm
Display languages
Japanese, English, German, French, Italian, Spanish, Portuguese, Korean,
Traditional Chinese, Simplified Chinese, Czech, Polish, Hungarian Turkish, Swedish, Dutch
Measurement result display
1-parameter display: one parameter measurement result
4-parameter display: four parameter measurement results
Profile display: one parameter measurement result and the measured profile
Trace display: The ten latest measurement results using the same parameter
Printing function
Measurement conditions / Calculation results / GO / NG judgement result / Calculation results for each sampling length /
Measurement curve / BAC / ADC / Environmental setting information
External I/O
USB I/F, Digimatic output, RS-232C I/F, External SW I/F
Functions
Customization
Desired parameters can be selected for calculation and display
GO/ NG judgement *
6
Max rule / 16% rule / Average rule / Standard deviation (1σ, 2σ, 3σ)
Storage of measurement condition
Save the condition at power OFF
Storage
Internal memory: Measurement condition (10 sets)
Memory card (option): 500 measurement conditions, 10000 measuring data, 10000 text data, 500 statistic data,
1 backup of machine setting, the last ten traces (Trace 10)
Calibration
Auto-calibration with the entry of numerical value / Average calibration with multiple measurement (MAX.12 times) is available
Power-saving
Auto-sleep function (30-600sec) *
7
Power supply
Two-way power supply: battery (rechargeable Ni-MH battery) and AC adapter
*Charging time: about 4 hours (may vary due to ambient temperature)
*Endurance: about 1500 measurements (differs slightly due to use conditions / environment)
Size (W×D×H)
Display unit
275 Ч 109 Ч 198 mm
Drive unit
115 Ч 23 Ч 26.7 mm
Mass
About 1.8kg (Display unit + Drive unit + Standard detector)
Standard accessories
12AAM475 Connecting cable *
8
12AAA217 Nosepiece for plane surface
12AAA218 Nosepiece for cylinder
12AAA216 Supporting leg
12BAK700 Calibration stage
12BAG834 Stylus pen
12BAL402 Protection sheet
270732 Printer paper (5 pieces)
12BAL400 Carrying case
Roughness reference specimen (Ra3µm), AC adapter, Philips screwdriver,
Strap for stylus pen, Operation manual, Quick reference manual, Warranty
12AAM475 Connecting cable *
8
12AAE643 Point-contact adapter
12AAE644 V-type adapter
12BAK700 Calibration stage
12BAG834 Stylus pen
12BAL402 Protection sheet
270732 Printer paper (5 pieces)
12BAL400 Carrying case
Roughness reference specimen (Ra1µm), AC
adapter, Philips screwdriver, Strap for stylus pen,
Operation manual, Quick reference manual, Warranty
*1: Only for VDA/ANSI/JIS’82 standards.
*2: Only for JIS’97 standard.
*3: Only for JIS’01 standard.
*4: Only for ANSI standard.
*5: λs may not be switchable depending on a standard selected.
*6: Standard deviation only can be selected in ANSI.16% rule cannot be selected in VDA.
*7: Auto-sleep function is invalid when AC adapter is used.
*8: For connecting the calculation display unit and drive unit.
