Ge sensing, Calibration management – Atec Druck-DPI515-A,B2 User Manual
Page 4

Calibration Management
Communication
RS232 and IEEE 488 are standard in the DPI 515, allowing
easy remote control and configuration for integrated
computer driven systems. The popular Standard
Commands for Programmable Instruments (SCPI)
protocol is used to provide standardization with other
instruments. In addition, DPI 500, DPI 510, DPI 520 and
Ruska 7000 Series emulation is available, as well as
Labview
®
drivers. Example programs for Labview, C++
and VBasic are available at www.DPI515.com.
Software
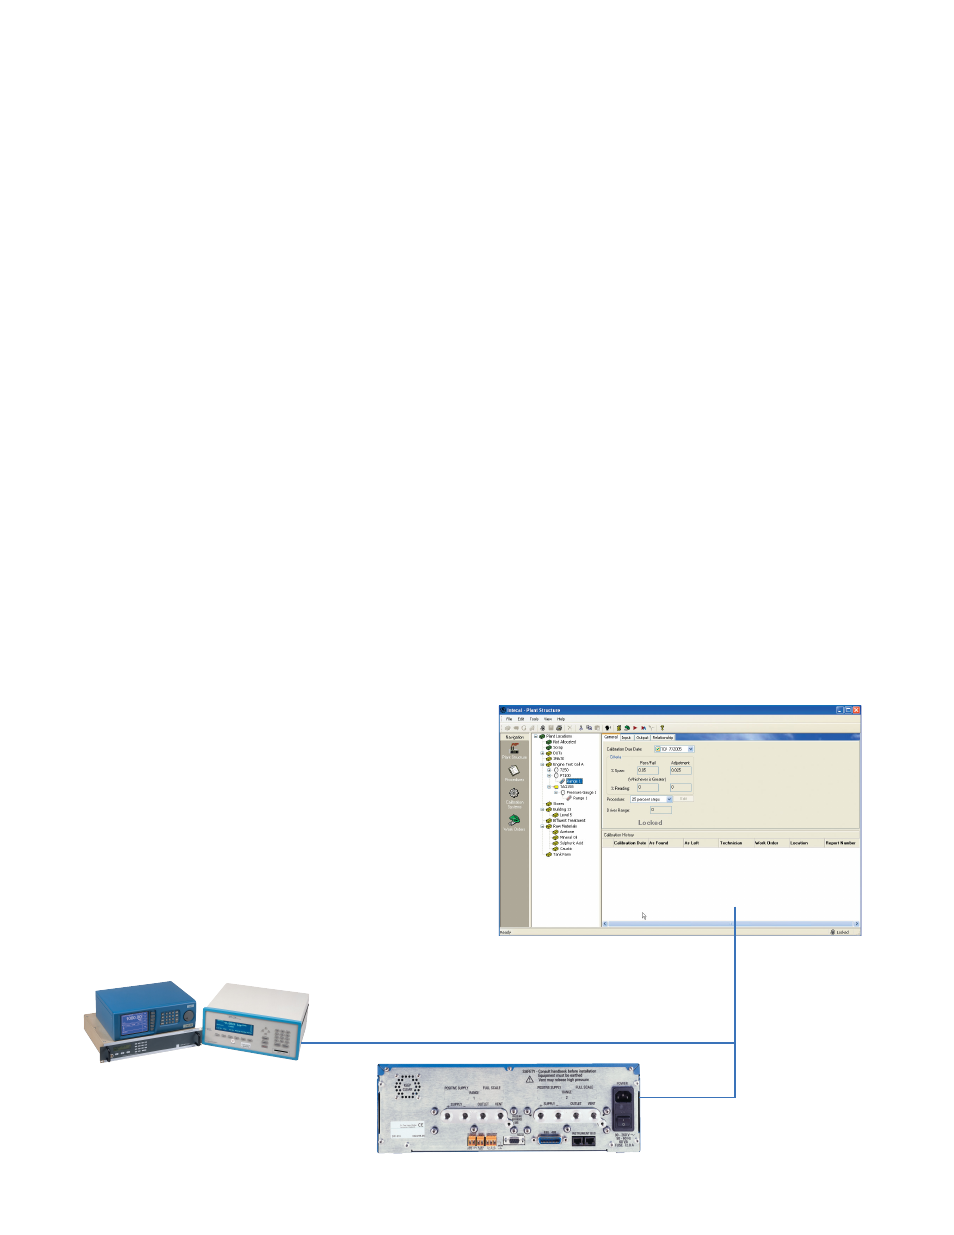
GE Intecal is a Windows
®
-based calibration
management software designed for the support of both
laboratory and field-based calibrations. The extensive
management and analysis features included can
interface with many popular GE instruments such as the
DPI 510, DPI 515,
DPI 520, DPI 605, DPI 610 and MCX to offer a complete
and quality assured solution to calibration management.
Connections
All pneumatic and electrical connections are situated on
the rear panel of the instrument for neat and easy
installation.
Head Correction
The pressure change due to vertical heights between the
unit under test and the DPI 515 can be simply
compensated.
Zeroing
Verification of the instrument zero is made simple by the
provision of two methods: manual zero and timed
auto- zero. For manual zeroing, any pressure zero offset
can be corrected by a key press. For timed auto-zeroing,
the instrument may be programmed to zero itself
automatically at a desired time interval.
Logic Input and Outputs
The input allows direct connection of pressure switch
contacts for pressure switch testing, while the two
outputs can be used to control external devices
according to instrument state or remote computer
command.
Filtering
Digital filtering can be selected if required, which
simplifies the reading of fluctuating pressures.
Instrument Status
The calibration and maintenance history of the DPI 515,
along with its configuration, are stored within the
instrument. The calibration history is automatically
updated each time a calibration is carried out. This
ensures information remains permanently with the
instrument, to satisfy quality assurance requirements.
Operating Limits
The controlled pressure range can be restricted to
protect the device under test from either over- or
under-pressure. Alternatively, alarm limits can be set to
provide an audible warning.
Sensor Calibration Module
Optional input card supplies 10V regulated or 24V
unregulated sensor excitation. This reads in mV, mA or
volt output from the pressure sensor under test. It
provides full closed loop calibration on pressure sensors.
GE
Sensing
