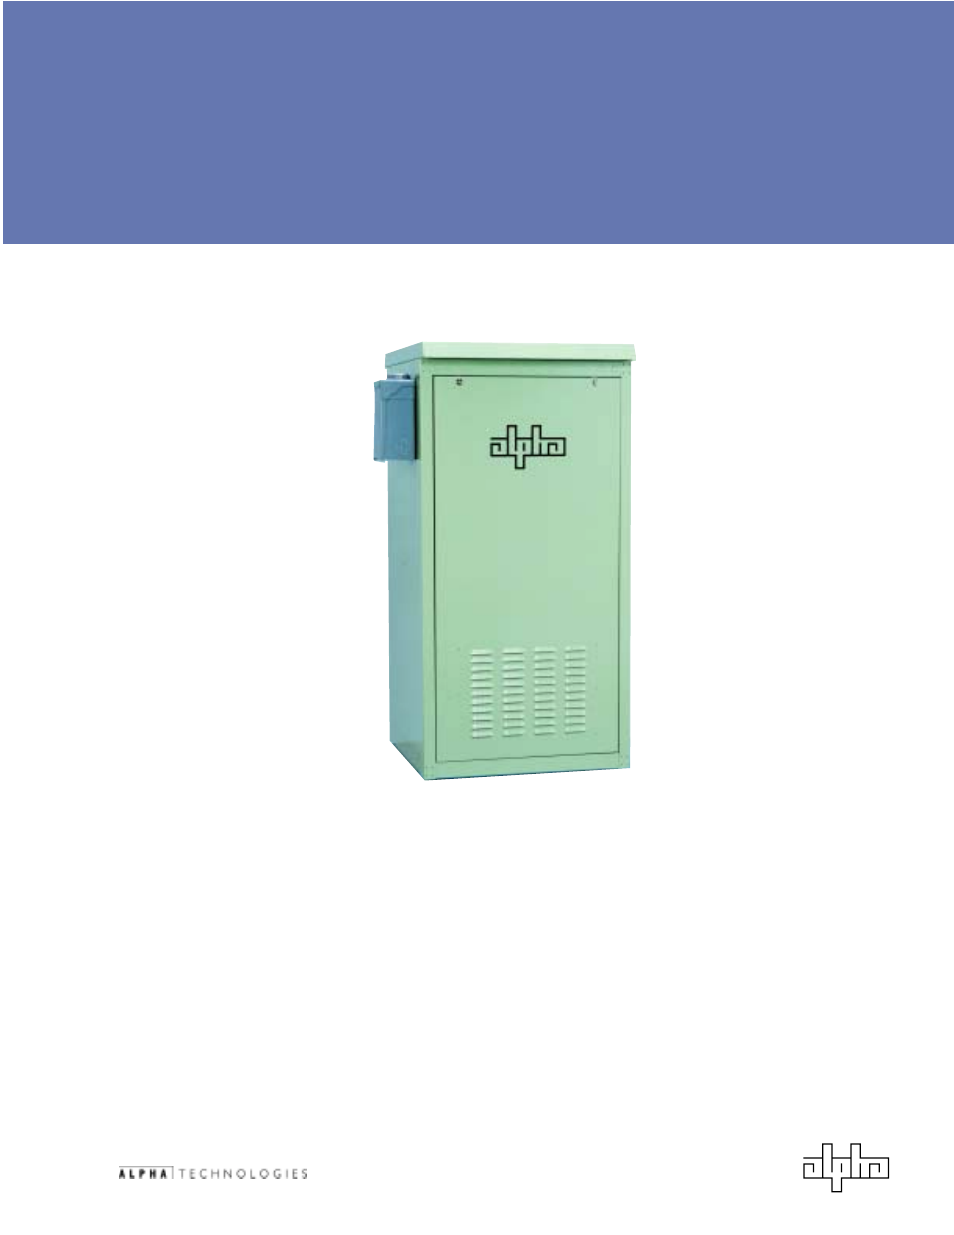
Alpha Technologies PN-4 User Manual
Powernode system enclosures, Site preparation and installation
This manual is related to the following products:
Table of contents
Document Outline
- Table of Contents
- Product Information, Customer Service or Technical Support
- 1.1 Introduction
- 1.2 PN-3 and PN-4 Powernode Enclosure
- 2.1 Site Preparation
- 2.2 Concrete Pad Preparation
- 2.3 Enclosure Grounding
- 3.1 Transportation and Lifting
- 3.2 Enclosure Mounting Procedure
- 3.3 Utility Powering
- 3.3.1 Connection Procedure for the BBX-100A-8POS Service Disconnect:
- 3.3.2 Connection Procedure for the BBX-70A Service Disconnect:
- 3.3.3 Sample Input Power Panels
- 3.4 Coaxial Cable to Service Power Inserter (SPI) Installation
- 3.4.1 SPI to Ground Bar Connection Procedure
- 3.4.2 Conduit Placement
- 3.5 Battery Installation
- 3.5.1 Battery Safety Notes
- 3.5.2 Battery Identification
- 3.5.3 Battery Terminal Connections
- 3.5.4 Battery Terminal Assembly Procedure
- 3.5.5 Battery Installation Procedure
- 3.5.6 Battery Installation Layout
- 3.5.7 Battery Temperature Sensor
- 4.1 Star Lock Security Bolt
- 4.2 Battery Interface Unit (BIU)
- 4.3 Service Disconnects
- 4.4 Input Power Panel (IPP)
- 4.5 Cooling Fan Kit
- 4.6 Lightning Arrester (LA-P+)
- 5.1 PN Series Options
- 5.2 Pre-Cast Concrete Pads
- List of Figures
- Figure 1-1; Enclosure as it Arrives from Alpha
- Figure 1-2; Packing Label Location
- Figure 1-3; PN-3 Specifications
- Figure 1-4; PN-4 Specifications
- Figure 2-1; Suggested Site Selection, PN-3 and PN-4
- Figure 2-2; Single-Wide Concrete Pad for PN-3 and PN-4
- Figure 2-3; Suggested Grounding, PN-3 and PN-4
- Figure 2-4; Alternate Grounding, PN-3 and PN-4
- Figure 3-1; PN-3 Mounted to the Prepared Pad
- Figure 3-2; BBX-100A-8POS Service Disconnect
- Figure 3-3; BBX-70A Service Disconnect
- Figure 3-4; Schematic: Primary Service BBX-100A-8POS with IPP-240-3
- Figure 3-5; Schematic: Primary Service BBX-100A-8POS with IPP-120-3
- Figure 3-6; Schematic: Secondary Service BBX-100A-8POS with IPP-120-2
- Figure 3-7; Schematic: Secondary Service BBX-100A-8POS with IPP-240-2
- Figure 3-8; Schematic: Secondary Service BBX-70A with IPP-120-1
- Figure 3-9; Schematic: Primary Service BBX-70A with IPP-240-1
- Figure 3-10; Connector Fitting in Rear of Equipment Tray
- Figure 3-11; Location of SPI in Equipment Tray
- Figure 3-12; SPI Ground Wire Connected to Enclosure Ground Bar
- Figure 3-13; Conduit Location
- Figure 3-14; Coaxial Connectors
- Figure 3-15; Alpha Cell Battery Date Code
- Figure 3-16; In-Line Fuse Link Mounting
- Figure 3-17; Vertically Mounted Battery Post
- Figure 3-18; Battery Installation Arrangement
- Figure 3-19; Wiring Diagram for two 36V Battery Strings - PN3 Enclosure
- Figure 3-20; Wiring Diagram for two 48V Battery Strings - PN3 Enclosure
- Figure 3-21; Wiring Diagram for three 36V Battery Strings - PN4 Enclosure
- Figure 3-22; Wiring Diagram for three 48V Battery Strings - PN4 Enclosure
- Figure 3-23; Battery Temperature Sensor Mounting Location
- Figure 4-1; Security Bolt Location
- Figure 4-2; Black Clip in Place
- Figure 4-3; Retaining Washer
- Figure 4-4; Security Key (Part Number 647-089-10)
- Figure 4-5; Battery Interface Unit
- Figure 4-6; BBX 70A (BBX-FI2)
- Figure 4-7; BBX 100A (BBX-FI8)
- Figure 4-8; MTS (Showing100A and 60A boxes)
- Figure 4-9; FBX-60A
- Figure 4-10; IPP for Three Power Supplies
- Figure 4-11; IPP for Two Power Supplies
- Figure 4-12; IPP for One Power Supply
- Figure 4-13; Breaker Duplex Option (BDO) for One Power Supply
- Figure 4-14; Cooling Fan Panel
- Figure 4-15; Panel is Installed in Top Rear of Enclosure
- Figure 4-16; Cooling Fan Plugged into Power Supply and SPI
- Figure 4-17; LA-P+ Installed in BDO
- Figure 4-18; Location of LED on LA-P+.
- Figure 5-1; Single-Wide Pad, for CE8/9 or PN 3/4
- Figure 5-2; Double-Wide Pad, for CE8/9 or PN 3/4