0 installation, 1 verifying power supply device address – Alpha Technologies DSM3 for XM2 - Technical Manual User Manual
Page 55
55
745-814-B8-001, Rev. C (03/2014)
7.1
Verifying Power Supply Device Address
Before installing the hardware, provision the DHCP server with the cable modem’s RF MAC Address. This
allows the installation to be verified while the technician is on-site, eliminating the need for a second visit if
there are problems with the installation.
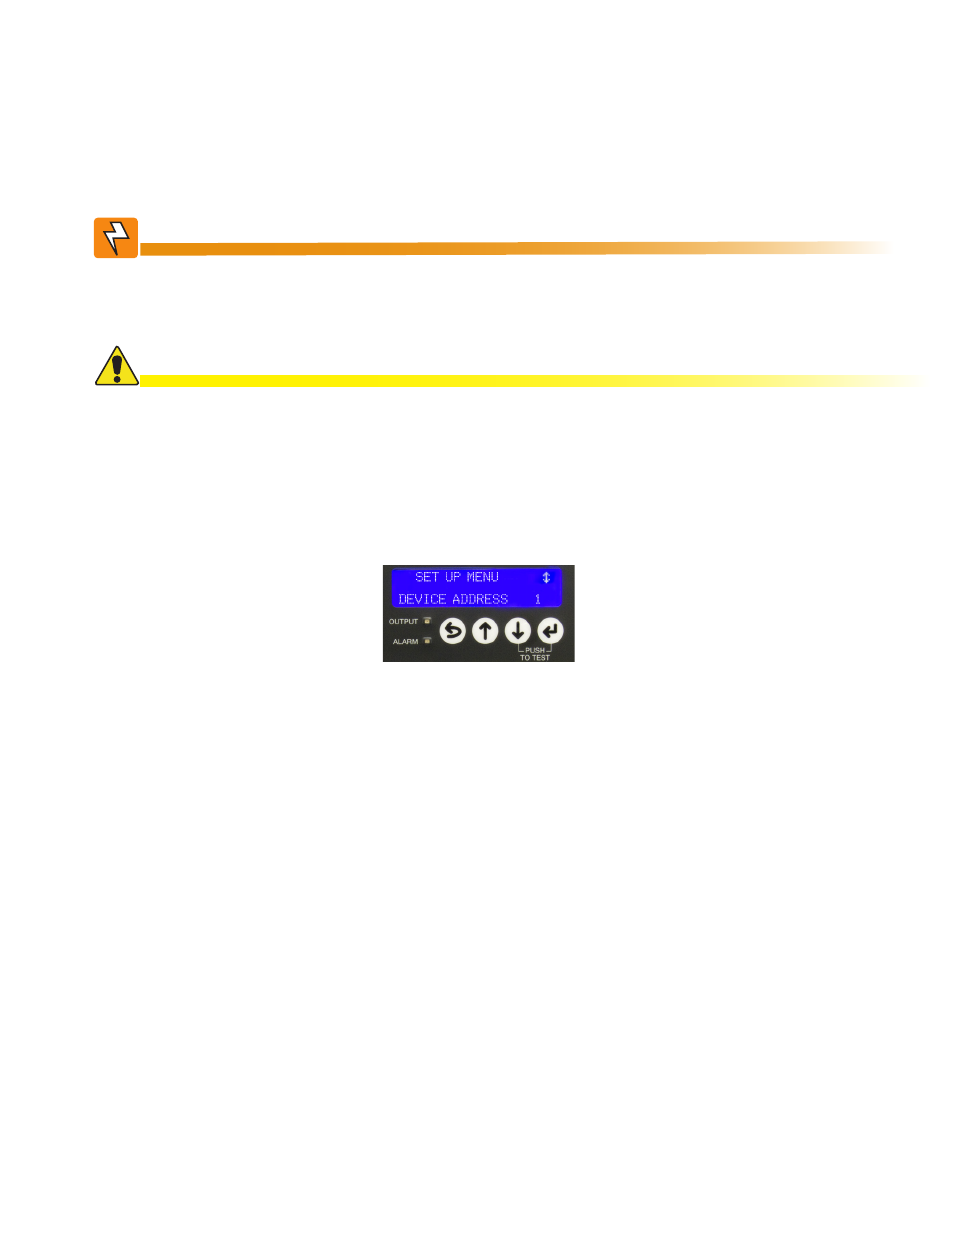
Smart Display Screen
Before removing the Inverter Module (IM), verify the power supply device address is correct.
The power supply device address must
not be set to zero and no two power supplies monitored by a
single DSM3 Series can have the same address. Power supplies must have 1, 2, 3, 4 or 5 as an address.
To verify the power supply’s address do the following:
1. Press the Enter key on the inverter module twice to access the SETUP Menu.
2. Press the Down key until DEVICE ADDRESS is displayed.
3. If the address is correct (in the range of 1 to 5), skip to Step 8.
4. To change the address, press the Enter key to enter the Edit mode.
5. Press the Up or Down keys until the desired address (1, 2, 3, 4 or 5) is displayed. Remember, each
power supply monitored by a single Communications Module must have a unique address; this may
require accessing the menu systems of the additional power supplies and adjusting as applicable.
6. Press the Enter key to load the new address.
7. Press the Enter key again to accept the new data.
8. Press ESC three times to return to the OPERATION NORMAL screen.
7.0 Installation
To reduce the risk of electric shock, completely remove the inverter module from the power
supply prior to installation. For field installation, use a service power supply to avoid losing
power to the load.
WARNING!
The DSM3 Series is static sensitive. An ESD wrist strap should be worn when installing the
Communications Module.
CAUTION!