Extron Electronics Wallplates Installation User Manual
Page 4
Wallplates • Quick Start Guide
Quick Start Guide — Wallplates, cont’d
Wallplates • Table of Contents
Step 5
Temporarily attach the input cables
to the front panel connectors.
See “Front Panel Features and Cabling” on page 1-6.
Step 6
Verify
that you have correctly wired the connectors and attached the
cables, and test the system: connect the input and output devices to a
power source, turn them on, and check for the correct audio/video
output.
Step 7
Disconnect all the devices from the power source, and correct any
cabling errors
.
Step 8
Mount the Wallplate to the wall or furniture.
Being careful not to
damage the cables, place the wallplate onto/against the wall or
furniture and secure it to the wall/furniture with the provided screws.
Step 9
Reconnect the input cables
to the front panel connectors. See “Front
Panel Features and Cabling” on page 1-6.
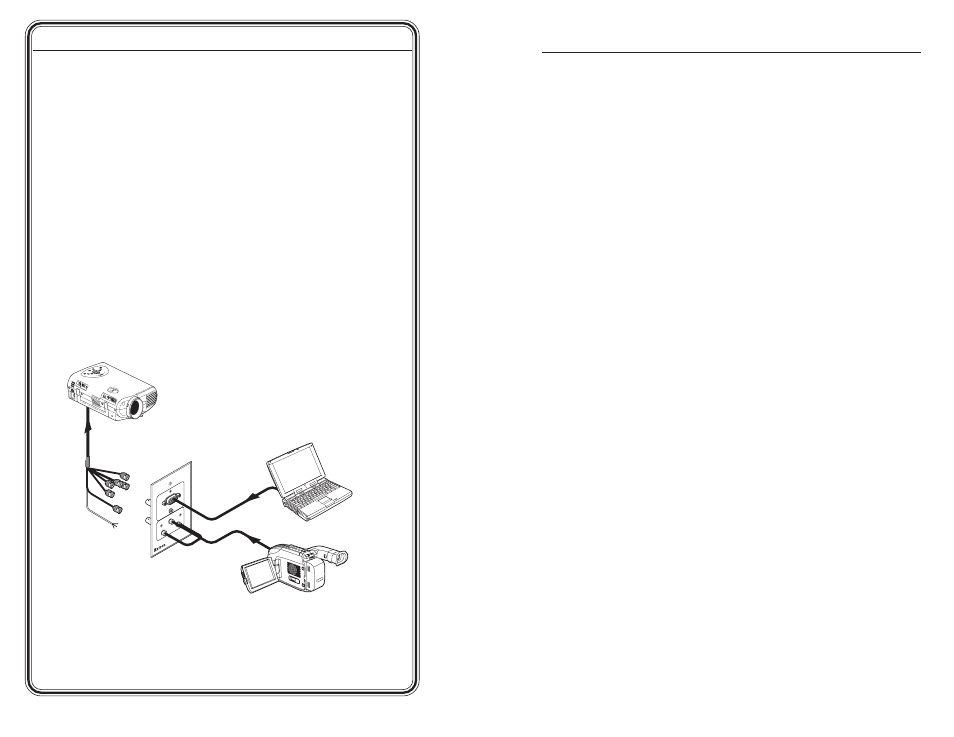
WP 1
70
COMP
UTE
R
AU
DIO
R
L
VIDEO
Laptop
Output Device
Video Camera
Extron
WP 170
A typical Wallplate application featuring a WP 170
Chapter 1 • Installation
............................................................. 1-1
Preparing the Site and Installing the Wall Box
..... 1-2
Rear Panel Connectors and Cabling
............................. 1-4
Front Panel Features and Cabling
................................. 1-6
Appendix A • Specifications
,
Part Numbers,
Dimensions
....................................................................................... A-1
Specifications
......................................................................... A-2
Included Parts
......................................................................... A-3
Dimensions
.............................................................................. A-4
WP 120 dimensions ............................................................... A-4
WP 120 AUS dimensions ....................................................... A-4
WP 130 dimensions ............................................................... A-5
WP 150 dimensions ............................................................... A-6
WP 150 AUS dimensions ....................................................... A-6
WP 170 dimensions ............................................................... A-7
WP 170 AUS dimensions ....................................................... A-7
WP 180 dimensions ............................................................... A-8
Templates
.................................................................................. A-9
WP Series (1-gang) cut-out template .................................. A-9
WP AUS Series (Australian models) cut-out template ...... A-10
Table of Contents
68-606-01 Rev. C
02 05
All trademarks mentioned in this manual are the properties of their respective owners.
i
QS-2