2 start or stop the pump, 1 automatic air venting procedure, 2 activate automatic two-pump operation – Bell & Gossett P2002548B ecocirc XL High Efficiency Large Wet Rotor Pumps User Manual
Page 13: 7 maintenance, 8 troubleshooting, 1 periodic inspection, 2 display messages, 1 periodic inspection 8.2 display messages, Power speed head flow
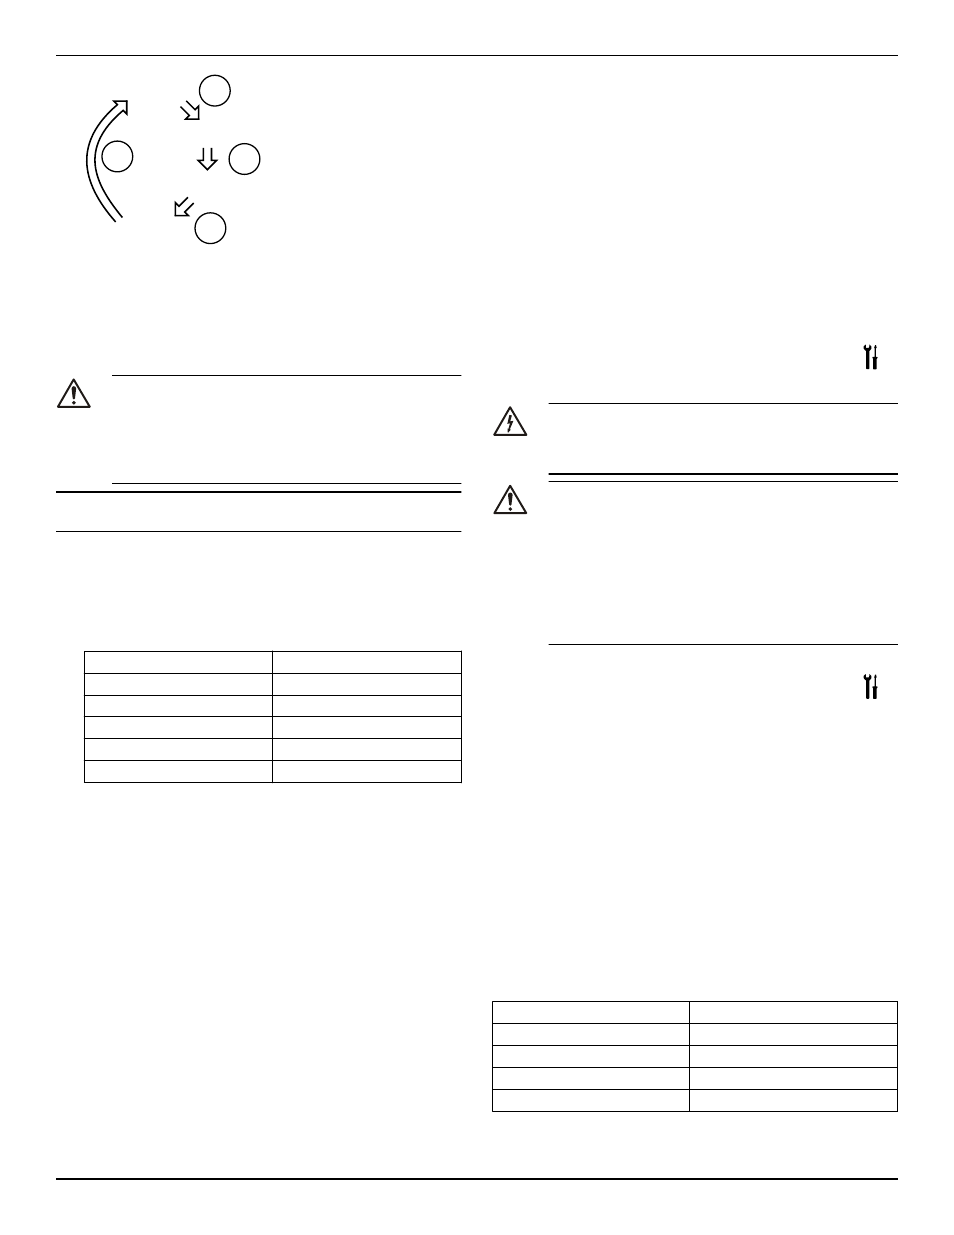
Power
Speed
Head
Flow
Parameter
button
Parameter
button
Parameter
button
Parameter
button
2.
When flow and head are displayed, by pressing the button (3) for
more than one second at each of these parameters, the unit of
measurement automatically changes as below:
• Flow: m3/h ↔ gpm (US)
• Head: m ↔ ft
6.2 Start or stop the pump
CAUTION:
• The pump must not run dry as this can result in prema-
ture failure of the bearings in a very short time. Fill and
vent the system correctly before first start-up. The pump
rotor chamber will be vented after the pump is powered
on with an automatic air venting procedure. "deg" will
be displayed indicating degassing process.
NOTICE:
The system cannot be vented through the pump.
• Start the pump in one of the following ways:
• Switch on power to supply the pump.
• Close the start/stop contact by jumpering terminals 11 and
12 or through a remote dry contact..
• Send start command through the communication bus.
The pump starts pumping in constant pressure mode with the fol-
lowing default set points:
7.5 ft
15–XX (Max head 15 ft)
10 ft
20–XX (Max head 20 ft)
18 ft
36–XX (Max head 36 ft)
20 ft
40–XX (Max head 40 ft)
27.5 ft
55–XX (Max head 55 ft)
32.5 ft
65–XX (Max head 65 ft)
For more information about how to change setting, see
(page 10).
• Stop the pump in one of the following ways:
• Switch off power supply to the pump.
• Open the start/stop contact.
• Send stop command through the communication bus.
6.2.1 Automatic air venting procedure
At each power-on of the pump unit, an automatic air venting proce-
dure is executed. During this phase, the user interface displays "deg"
(degassing) and a count-down begins until the completion of the pro-
cedure.
The procedure can be recalled or skipped:
• Manually by pressing simultaneously the two buttons (5). See
(page 8). The feature will remain disabled until power to
pump is disconnected.
The procedure can be permanently enabled or disabled by:
• Manually by pressing simultaneously the two buttons (5) for at
(page 8). Or
• Via communication bus. See the advanced functions manual on
www.bellgossett.com.
6.2.2 Activate automatic two-pump operation
Once the communication cable is connected, configure only the “lead”
pump. The twin pump submenu for this configuration is available at
each power-on, when the drive is displaying SING (which stands for
“Single Pump).
The following procedure must be executed during the start-up phase
of the pump.
1.
Enter the two-pump sub menu when the display is showing
TWMA (two-pump master) or TWSL (two-pump slave).
2.
Select the applicable two-pump operation.
• bcup = backup operation
• alte = alternative operation
• para = parallel operation
3.
Push the parameter button to activate the new setting.
The second pump is configured by the lead pump.
7 Maintenance
Precaution
Electrical Hazard:
Disconnect and lock out electrical power before installing or
servicing the unit.
Wait 2 minutes before opening the conduit box.
WARNING:
• Always wear protective gloves when handling the
pumps and motor. When pumping hot liquids, the
pump and its parts may exceed 40°C (104°F).
• Maintenance and service must be performed by skilled
and qualified personnel only.
• Observe accident prevention regulations in force.
• Use suitable equipment and apply personal protection.
• Risk of property damage, serious personal injury or
death. You must repair or replace the pump if corrosion
or leakage is found.
8 Troubleshooting
Introduction
See
(page 8).
• In case of any alarm that allows the pump to continue running, the
display shows a blinking alarm code and the last quantity select-
ed, while the status indicator (8) becomes orange.
• In case of a failure that stops the pump, the display shows the er-
ror code permanently and the status indicator (8) becomes red
8.1 Periodic inspection
Bell & Gossett ecocircXL circulators are designed to provide years of
trouble-free service. It is recommended that periodic inspections be
made to check for potential problems with the pump. If any leakage or
evidence of leakage is present, repair or replace the unit.
8.2 Display messages
Table 1: Default
Operating LEDs / Display
Cause
Power On
Pump powered
All LEDs and display On
Start-up of the pump
Status Green light
Pump is working properly
Remote On
Remote communication is activated
7 Maintenance
ecocirc XL Installation, Operation, and Maintenance manual
11