Installation, Powering on/off the projector, Powering on the projector – Acer PD726 User Manual
Page 15
... English
Installation
1
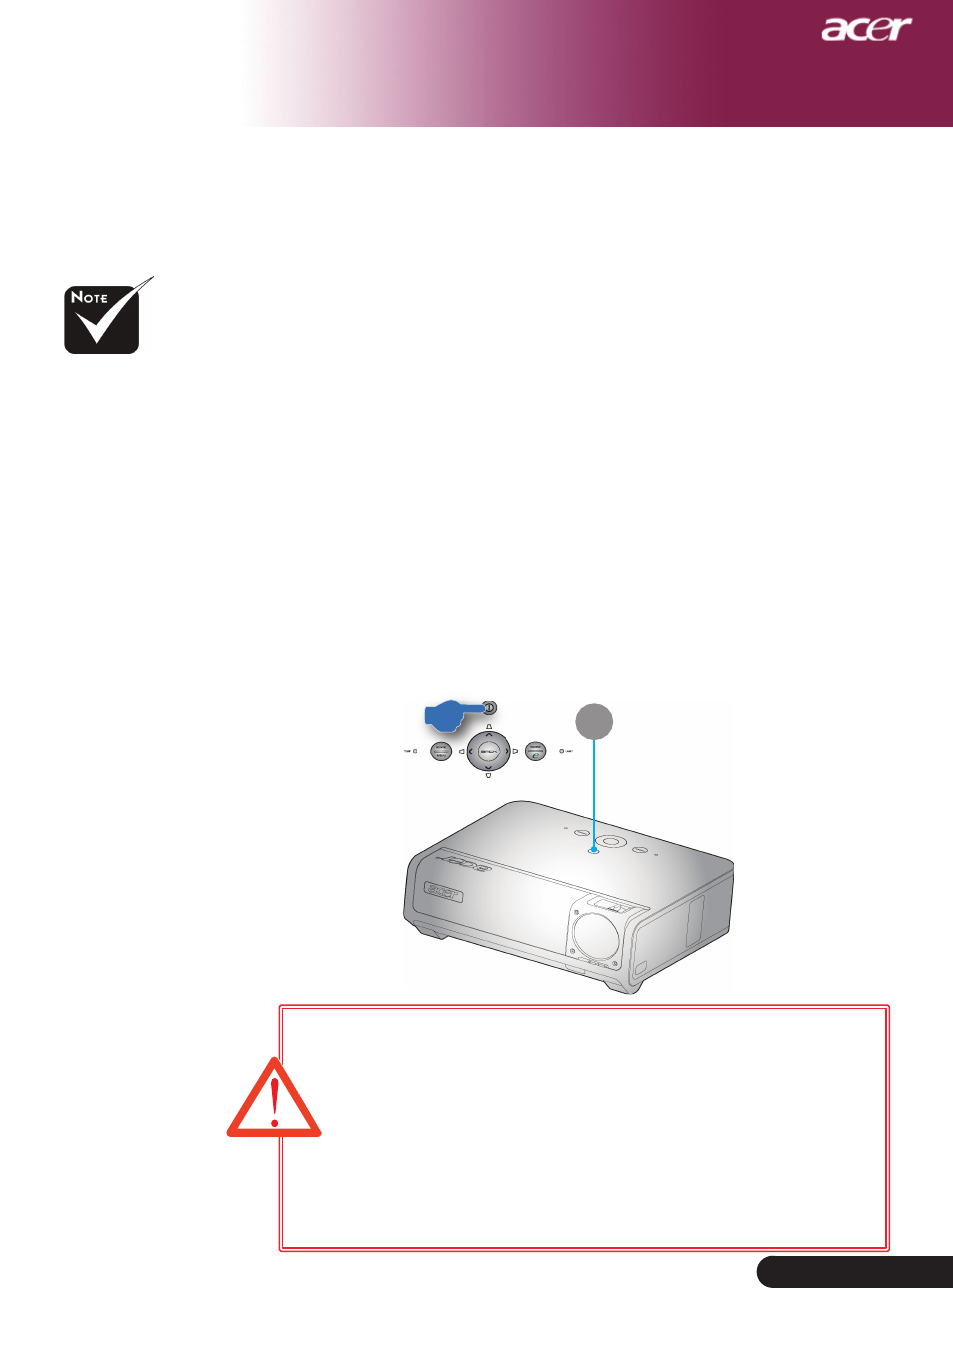
Power
Powering On/Off the Projector
Powering On the Projector
1. Open the lens cap.
2. Ensure that the power cord and signal cable are securely
connected. The Power LED will fl ash Red.
3. Turn on the lamp by pressing “Power” button on the control
panel. And the Power LED will turn Red.
4. Turn on your source (computer, notebook, video player,
etc.). The projector will detect your source automatically.
If the screen displays “Lock” & “Source” icons, it means the
projector locks on this source type and there is no such type of
input signal found.
If the screen displays “No Signal”, please make sure the signal
cables are securely connected.
If you connect multiple sources at the same time, using the
“Source” button on the control panel or direct source key on the
remote control to switch between inputs.
Turn on the
projector fi rst and
then the signal
sources.
The lens cap must
be open then turn
on the projector.
If the projection lens cap is not opened when a projector is powered
on, users will hear a continuous two-beep sound, and the interval of
each two-beep warning message is about 3 seconds.
The projector will not be turned on and automatically gone to a stand-
by mode if the lens cap is still closed after two-beep sound keeps
warning for 5 times.
If the projection lens cap is accidentally closed while the projector
is running, users will hear the same beep and the projector will
automatically go to a stand-by mode if the lens cap is still not opened
after 5 times of warning message.