P5qpl-vm usb2.0 connectors – Asus P5QPL-VM User Manual
Page 34
1-24
Chapter 1: Product introduction
5.
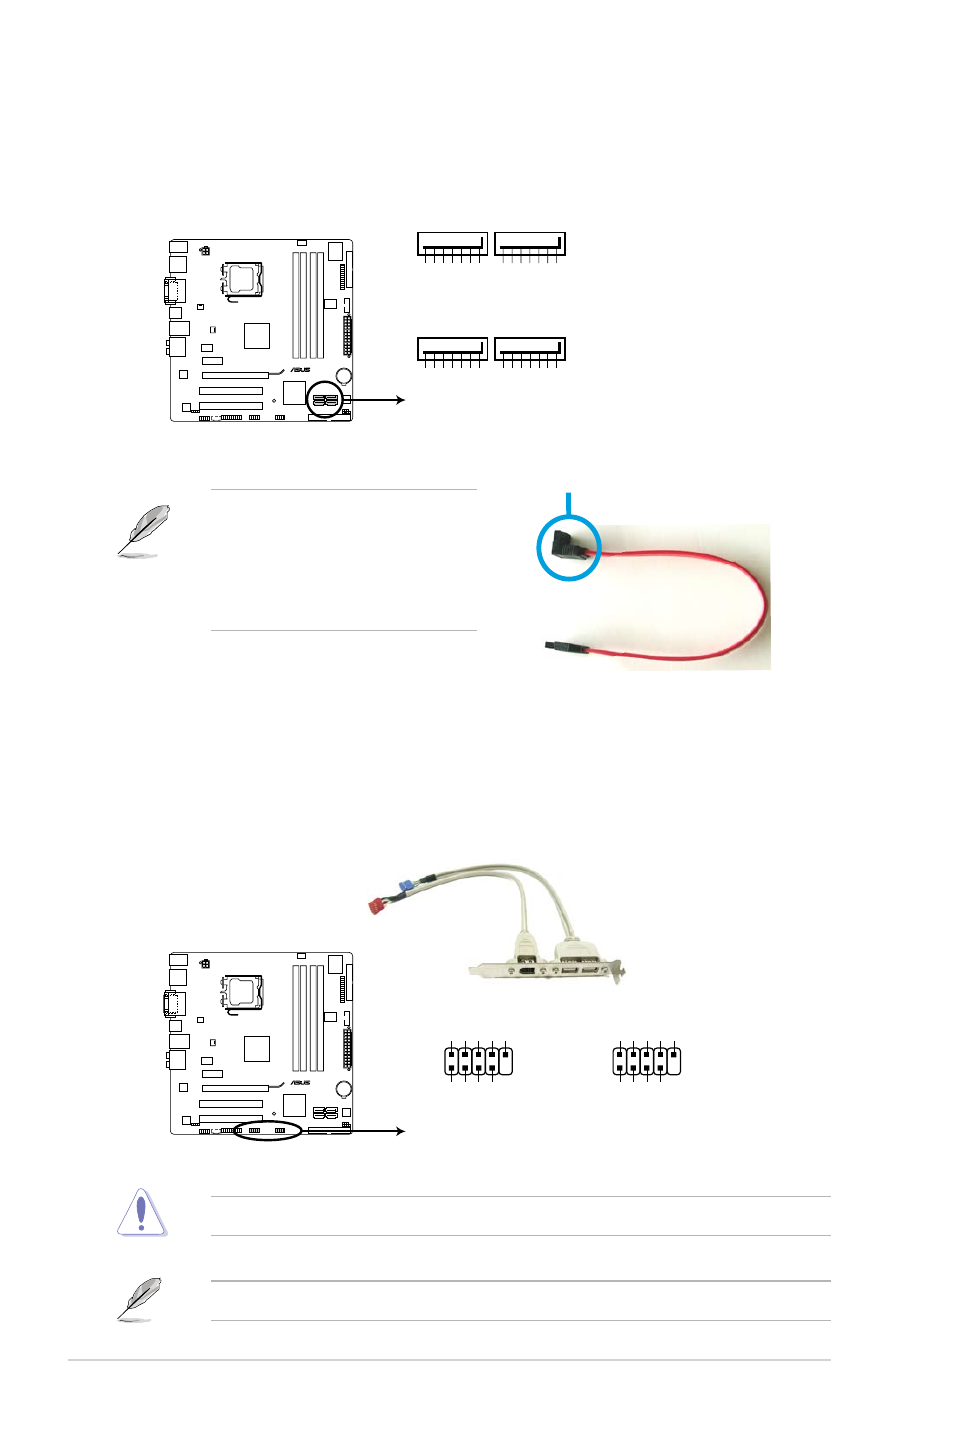
ICH7 Serial ATA connectors (7-pin SATA1, SATA2, SATA3, SATA4)
These connectors are for the Serial ATA signal cables for Serial ATA hard disk drives.
Connect the right-angle side of SATA
signal cable to SATA device. Or you
may connect the right-angle side of
SATA cable to the onboard SATA port
to avoid mechanical conflict with huge
graphics cards.
right angle side
SATA1
GN
D
RSATA_TXN1
RSATA_TXP1
GN
D
RSATA_RXN1
RSATA_RXP1
GN
D
SATA2
GN
D
RSATA_TXN2
RSATA_TXP2
GN
D
RSATA_RXN2
RSATA_RXP2
GN
D
SATA3
GN
D
RSATA_TXN3
RSATA_TXP3
GN
D
RSATA_RXN3
RSATA_RXP3
GN
D
SATA4
GN
D
RSATA_TXN4
RSATA_TXP4
GN
D
RSATA_RXN4
RSATA_RXP4
GN
D
P5QPL-VM
P5QPL-VM SATA connectors
6.
USB connectors (10-1 pin USB56, USB78)
These connectors are for USB 2.0 ports. Connect the USB module cable to any of
these connectors, then install the module to a slot opening at the back of the system
chassis. These USB connectors comply with USB 2.0 specification that supports up to
480 Mbps connection speed.
Never connect a 1394 cable to the USB connectors. Doing so will damage the motherboard!
The USB module is purchased separately.
P5QPL-VM
P5QPL-VM USB2.0 connectors
PIN 1
USB+5
V
USB_P8
-
USB_P8
+
GND
NC
USB+5V
USB_P7
-
USB_P7
+
GND
USB78
PIN 1
USB+5
V
USB_P6
-
USB_P6
+
GND
NC
USB+5V
USB_P5
-
USB_P5
+
GND
USB56