Tools needed, Parts list bill of materials, Installation instructions – Daystar KF09101BK User Manual
Page 2
3
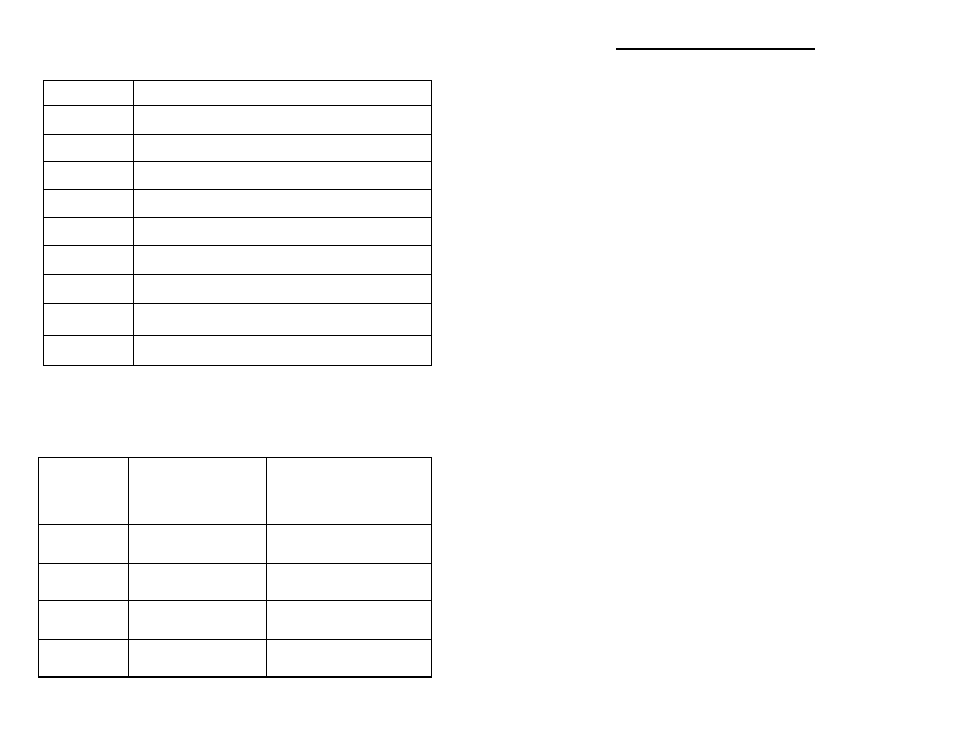
Tools Needed
Quantity
Description
1
Floor Jack
2
Jack Stands
2
Wheel Chocks
1
Lug Wrench
1
1/2” Rachet
1
1/2” Drive metric sockets
1
Metric wrench set
1
Torque Wrench
1
Coil Spring Compressor
Parts List
Bill of Materials
Quantity
Part Number
Description
2
M03299BK
Coil Spring Spacer
2
S10559
Stud Extension
1
P10474
Driver Warning Decal
1
P21138
Window decal
4
Installation Instructions
!Warning: Always work with appropriate personal safety
gear including safety glasses, gloves and hearing protection if
using air powered tools.
Begin by inspecting the components & hardware for dam-
age. Then compare components & hardware to the bill of materi-
als for completeness. If anything is missing/damaged, do not pro-
ceed with the installation. Please, call Daystar Products (800-595-
7659) and we will send you the missing of damaged components
free of charge.
!Caution: Vehicle front end must be raised to install leveling
kit. Using a hydraulic chassis lift will greatly ease installation.
If another jack is used, assure vehicle is level on a firm sur-
face, in park (1st gear), rear wheels blocked and jack stands
1. Read complete instructions and check Bill of Materials / Part
List before beginning.
2. Raise the front of the vehicle and support the frame with jack
stands so that the front tires just touch the ground place chocks
under rear tires and then remove the front tires.
3. Remove the lower shock bolts and the sway bar end link attach-
ing points.
4. Remove the upper and the lower coil spring clamp bolt and nut
with washer. See figure 1 and 2.
5. Force the axle half down so that the coil spring comes loose.
6. Remove the coil spring and the coil spring rubber isolator. See
figure 2.
NOTICE: If your vehicle has factory 2 ½” studs holding the coil
spring onto the axle assembly, you will not need to use the stud ex-
tensions.
7. Install the corresponding Stud Extensions (if needed) onto the
coil spring lower clamp stud and install the coil spring spacer
onto the coil spring pad. See figure 3.