Rough Country 685.20 User Manual
Page 2
INSTRUCTION SHEET
Technical Assistance - (731) 285-9000
Page 2
Figure #2
8. After positioning the spacer flush with the stock rubber mount, reinstall the bump stop mounting cup that was removed
previously.
9. Install the stock coil spring. The new bump stop must be installed after the coil is in
position. This is done by putting the new bump stop inside the coil spring, then
install the coil.
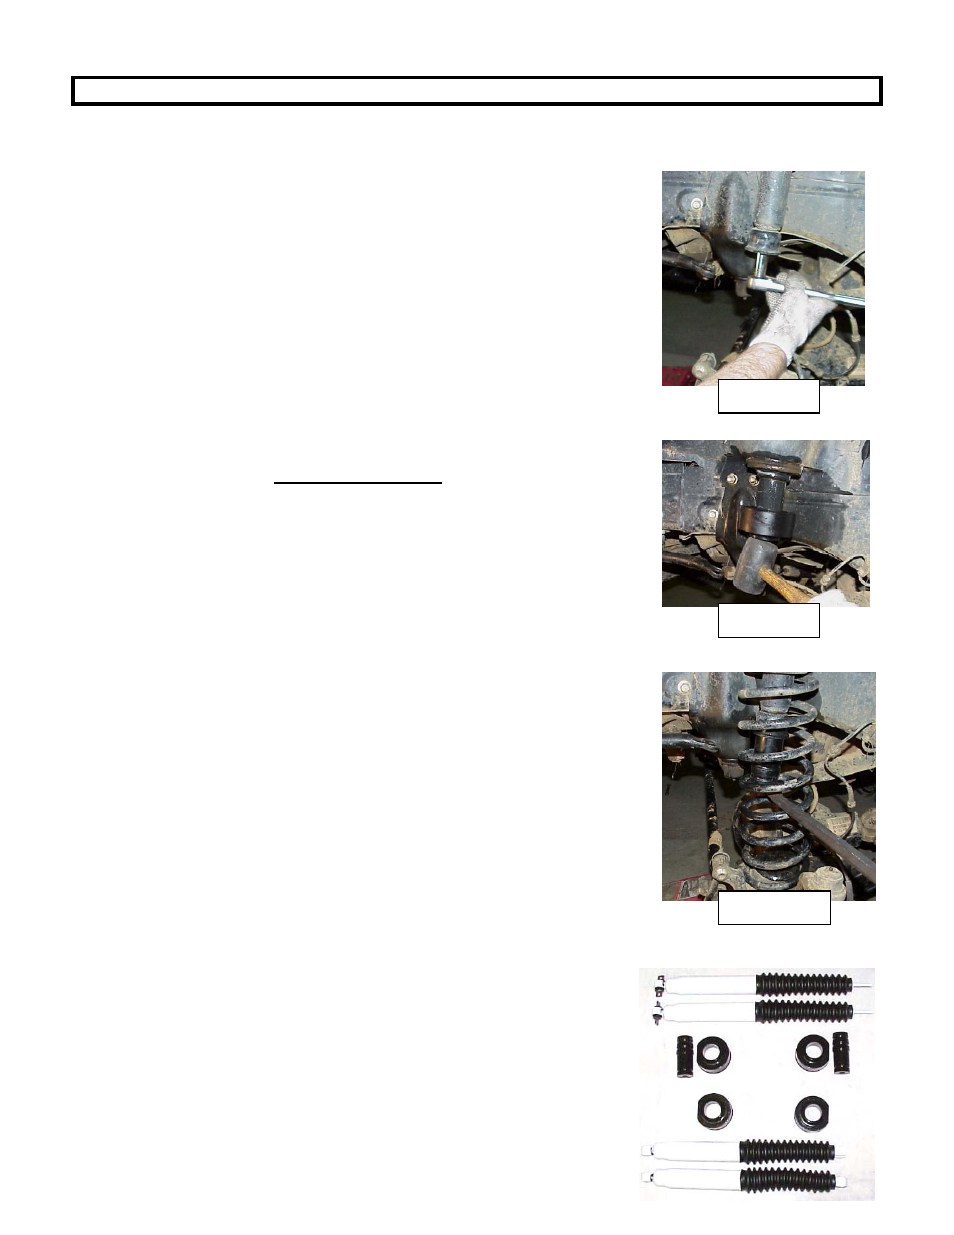
10. After the coil is installed, apply a slight load to the coil spring and position the bump
stop in the retaining cup. With a pry bar and using the coil wrap as leverage, push
the bump stop up into the cup until it snaps into place. See Figure #4.
11. Install the coil spring retaining clip and torque fastener
12. Repeat on opposite side. Note: Reinstallation of coil springs may need to be
performed with a strut compressor. If so load coils with strut compressor and
install coil. After install remove the strut compressor.
13. Jack up the axle to apply a slight load to the front end. Reinstall the sway bar end
links to the sway bar.
14. Install the front shock absorbers part #650409 with the furnished bushings.
15. Install the wheels and tires. Remove the jack stands and lower the vehicle to the ground.
Torque the lug nuts to factory specifications.
REAR INSTALLATION
1. Chock the front tires and jack up the rear of the vehicle. Remove the wheels and
tires. Remove the stock shock absorbers.
2. With the floor jack still in place, remove the sway bar link from the axle mount.
3. With the sway bar links disconnected, lower the axle with the floor jack to allow for
coil spring removal.
4. Remove the coil spring and place the coil spacer on the upper mount. Reinstall the
coil spring.
5. Repeat for opposite side.
6. Jack up the axle with the floor jack and install the new shock absorbers part # 650329 with the supplied bushings and
sleeves. The steel sleeve will be installed in the lower mount, which would be the
body end of the shock.
7. Reinstall the sway bar to axle links.
8. Install the wheels and tires. Lower the vehicle to the ground. Torque the lug nuts to
factory specifications.
POST INSTALLATION INSTRUCTIONS
1. Check all fasteners for proper torque. Check to ensure there is adequate clearance
between all rotating, mobile, fixed and heated members. Check steering gear for
interference and proper working order. Test brake system.
2. Perform steering sweep. Check to ensure brake hoses have sufficient slack and will
not contact rotating, mobile, or fixed members. Adjust lines/brackets to eliminate
interference and maintain proper working order. Failure to perform inspections may
result in component failure.
3. Bump stops and extensions must be in place on all vehicles! Note: allowing suspension to over
extend by neglecting to install or maintain stops and extensions may cause serious damage to OE and related components.
4. Re torque all fasteners after 500 miles. Visually inspect components and re
torque fasteners during routine vehicle service.
MAINTENANCE INFORMATION
It is the ultimate responsibility for the operator / owner to have all bolts/nuts
checked for tightness after the first 100 miles and then every 1000 miles. Wheel
alignment, steering system, suspension and driveline systems must be inspected by a
qualified professional mechanic at least every 3000 miles.
Figure #3
Figure #4
KIT COMPONENTS