Rough Country 760.20 User Manual
Page 3
12. Position the strut assembly to reinstall the lower strut bolt in its original position that it was removed. Using original
hardware and a 19mm socket torque to 100ft lbs.
13. Using a floor jack, raise the lower control arm and connect the upper ball joint on the upper control arm to the spin-
dle. Using a original nut and a 19mm socket, torque to 40ft lbs.
14. Reinstall the tie rod end off steering linkage into knuckle using original factory nut. Using a 19mm socket torque nut
to 65ft. Lbs. Install supplied new cotter pin
15. Repeat steps 3-14 on opposite side of vehicle.
16. Using 17 mm wrench reinstall sway bar links using factory hardware.
Torque to 52 ft. lbs.
17. Install the wheels / tires.
Using a 21mm socket. Torque to 85 ft. lbs
.
With vehicle on the ground, check the clearance
between the tire and upper control arm to make sure the arm does not rub the tire.
18. Jack up the vehicle and remove the jack stands. Lower the vehicle to the ground and re-check all bolts, to assure
they are tight.
19. This vehicle must have a front-end alignment after installation of the suspension kit.
The
vehicle will be aligned to
factory specs.
REAR INSTALLATION
1. Jack up the rear of the vehicle and support the vehicle with jack stands, so that the rear tires are off the ground
2. Remove the rear tires/wheels. Using a 21mm deep well socket.
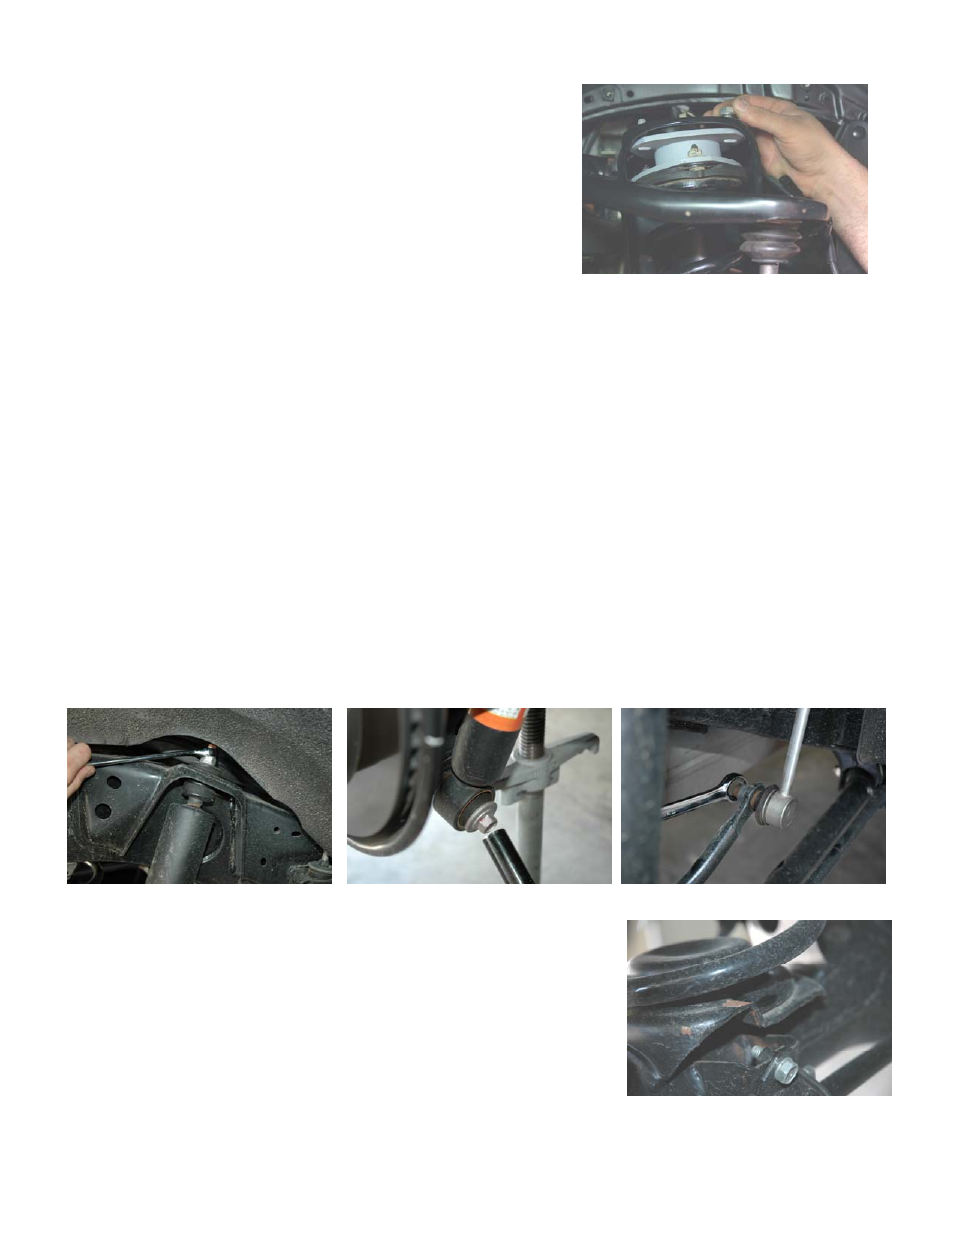
3. Using a 17mm socket and wrench remove the rear shocks. Retain the lower shock hardware for reuse. See Photo 9
& 10
4. Using a 17mm socket or wrench disconnect the sway bar links. See Photo 11.
5. Using a 12mm wrench remove the bolt holding the brake line bracket to the frame on the
drivers side, and the ABS wire on the passengers side.
6. Lower the axle and remove the factory coil spring.
7. Install new coil spring in the factory pocket, a coil spring compressor may be
needed to facilitate the install of the coil. Turn the coil until the end of the
wrap hits the stop on the coil pocket. See Photo 12.
8. Repeat steps 3-7 on the opposite side.
9. Using a 12mm wrench reinstall the brake line bracket on the drivers side, and
the ABS bracket on the passengers side.
9. Using 17mm wrench reinstall sway bar links using factory hardware. Torque
to 52 ft. lbs.
10. Using 17mm socket install new Rough Country shocks, using new hardware
for the top, and factory hardware for the lower mount. Torque upper shock mount nut to 18 ft. lbs. Lower shock bolt
torque to 72 ft. lbs.
11. Reinstall tire/wheels. Using a 21mm socket. Torque to 82 ft. lbs. Jack up the rear of the vehicle and remove the jack
stands.
12. Lower the vehicle to the ground.
Photo 9
Photo 10
Photo 11
Photo 12
11. Install the strut assembly into the strut tower and start the supplied 3/8” nuts.
Using a 9/16” wrench torque to 47ft. lbs See
Photo 9.
12. Reinstall the ABS wire on the knuckle with stock hardware and
tighten using a 12mm socket.
Photo 9