Rough Country 1403 User Manual
Page 2
4. Remove the lower stock shock mount and retain the lower mount u-bolt for reuse.
5. Locate and install the new lower shock mount as shown in Figure 3 / Figure 4 with the factory u-bolt. Square
tube on bracket is placed over pin on axle. Do not tighten at this time.
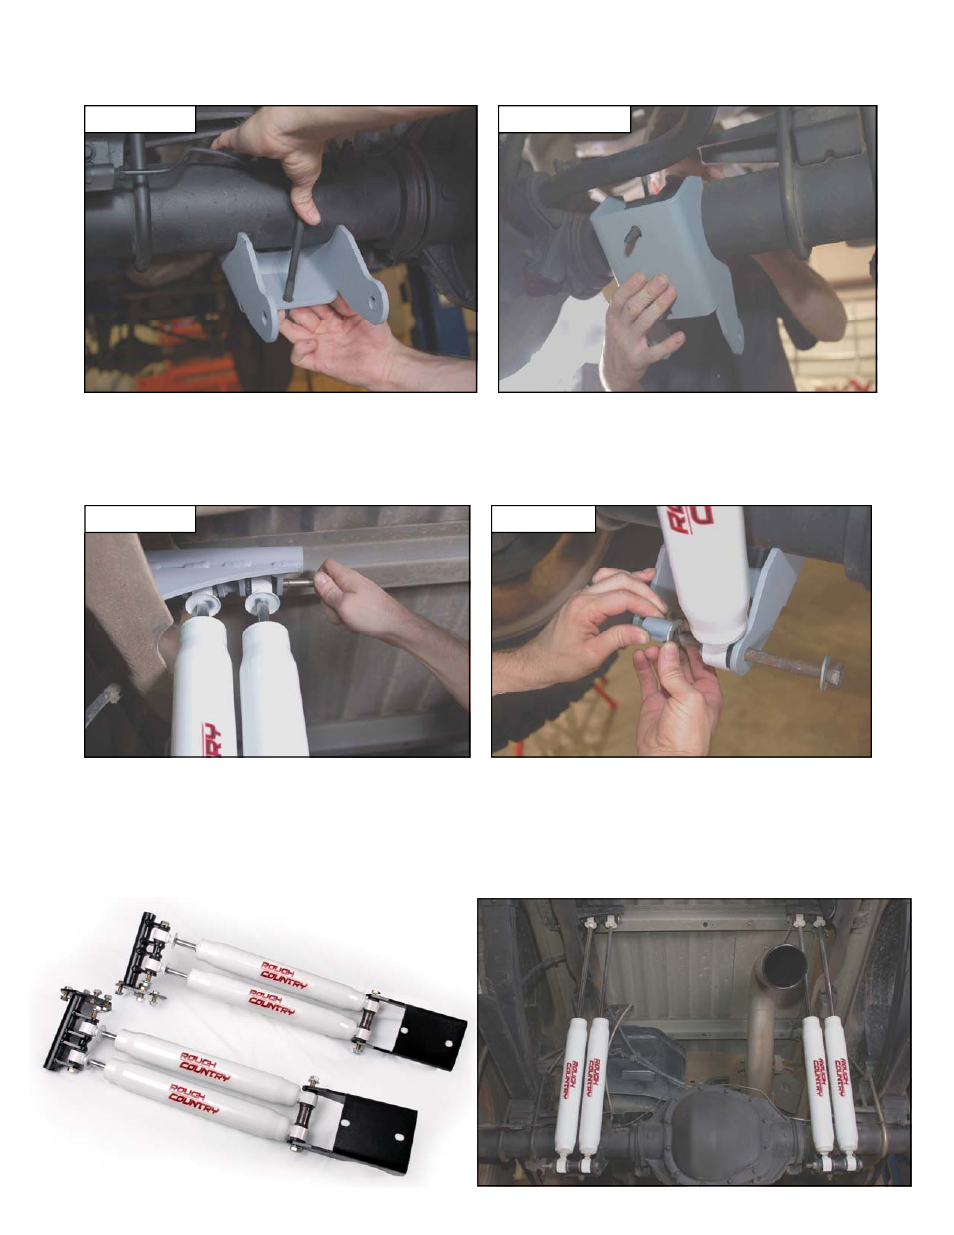
FIGURE 3
FIGURE 4
6. Locate and install the supplied bushings / sleeves in the new Rough Country shock absorbers.
7. Install the shock absorbers in the new upper mount as shown in Figure 5 with the supplied M12 x 150MM
bolts, washers and flange lock nuts. Do not tighten at this time.
8. Install the lower shocks on the axle mount as shown in Figure 6 with the supplied washers, spacer (1 per
mount) and M12 x 150MM bolts.
FIGURE 5
FIGURE 6
9. The new lower dual bracket will allow to “fine tune” the shocks on the axle tube. Check to make sure shocks
are properly spaced on axle and the shocks are perpendicular to ground. Tighten upper and lower mounts to
40 ft/lbs.