Acroprint timeQplus Biometric (V2) Installation User Manual
Page 18
Step 3: Employee Enrollment
Overview of Employee Enrollment
Employee data such as name, employee number, personal identification
number (PIN) and date of hire will be entered into the Attendance Rx software.
The employee PIN will be used in both the software and the TQ100 terminal to
link each transaction entered at the terminal back to the specific employee in the
Attendance Rx database.
The recommended process for enrolling employees is to first enter the employee
data via the Attendance Rx software. The software can automatically generate
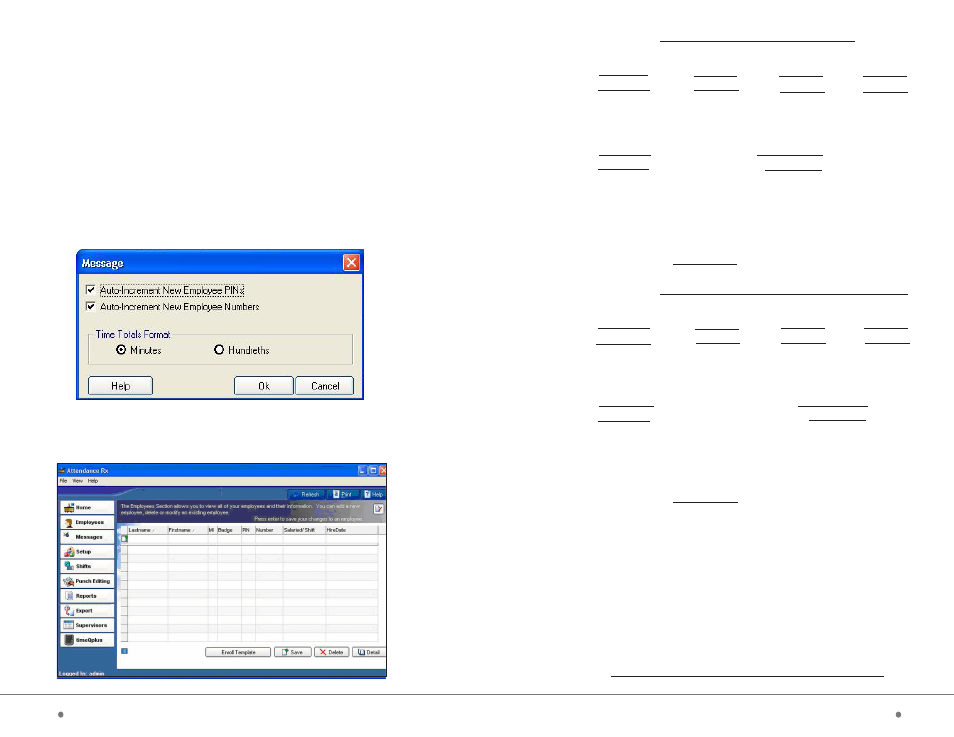
the PINs or you may choose to input your own PINs. The ‘Auto-Increment New
Employee PIN’ is defaulted to ‘on’ during installation. To turn off this function,
click on ‘File’ [upper left on the Attendance Rx main screen], then ‘Employee
Options’…to display the screen below. Uncheck the box next to ‘Auto-Increment
New Employee PINs’, and click ‘OK’.
Enter Employee Data
Log in to timeQplus BIOMETRIC Administrator, click on ‘Employee’ button.
timeQplus BIOMETRIC™ Terminal User Manual
6
17
timeQplus BIOMETRIC™ Installation Guide
Write shift name here:
Shift Rules:
Round (min) Grace (min)
Dock (min)
Start
AM PM
Stop
AM PM
If lunch is enabled for this shift, then:
Lunch Rules:
Start
AM PM Duration:
minutes
End
AM PM Auto After:
hours
Automatically pay Holidays for this shift?
Circle one: Yes No
If ‘Yes’ specify time to pay for each holiday.
Write value here:
hours:min
Write shift name here:
Shift Rules:
Round (min) Grace (min)
Dock (min)
Start
AM PM
Stop
AM PM
If lunch is enabled for this shift, then:
Lunch Rules:
Start
AM PM
Duration:
minutes
End
AM PM
Auto After:
hours
Automatically pay Holidays for this shift?
Circle one: Yes No
If ‘Yes’ specify time to pay for each holiday.
Write value here:
hours:min
Note:
If more than three shifts, copy this page to allow for
recording of additional shift information.
Password: You must set a password for the default Supervisor.
This password will be required to access the Attendance Rx Administrator
following installation.
Note:
For password rules, please refer to the User Manual.
You may write your password here or choose to record it in a more
secure location: