Cz`<<`.hc, Cz`<<`.hc 9. installation, 1 place of installation – STIEBEL ELTRON SH A с 01.03.2009 User Manual
Page 21: 2 installation
qqqĪZ`. <é<`VHCĪHB
Z+
ŝĜ
C
&<
.Z
+
.CZ`<<`.HC
.CZ`<<`.HC
9. Installation
See also chapter "Alternative installation methods".
9.1
Place of installation
The appliance is designed for installation on a solid wall. Ensure
the wall offers adequate load bearing capacity.
Always install the appliance vertically in a room free from the risk
of frost and near to a hot water draw-off point.
9.2 Installation
9.2.1 Securing the mounting bracket
»
Transfer the dimensions for the mounting bracket onto the wall.
Appliances with a capacity > 120 l require two mounting brackets.
»
Drill the holes and secure the mounting bracket with screws and
rawl plugs. Select fixing materials in accordance with the wall
construction/condition.
You can compensate for unevenness in the wall with the 5 mm
thick spacers.
2
6
_0
2_0
1
_0
5
7
2
2
1
2
2
2
2
2
2
2
2
2
2
1 Upper spacer
2 Lower spacer
9.2.2 Preparing the power cable
2
6
_0
1_0
1
_0
0
1
7
9.2.3 Installing the safety assembly
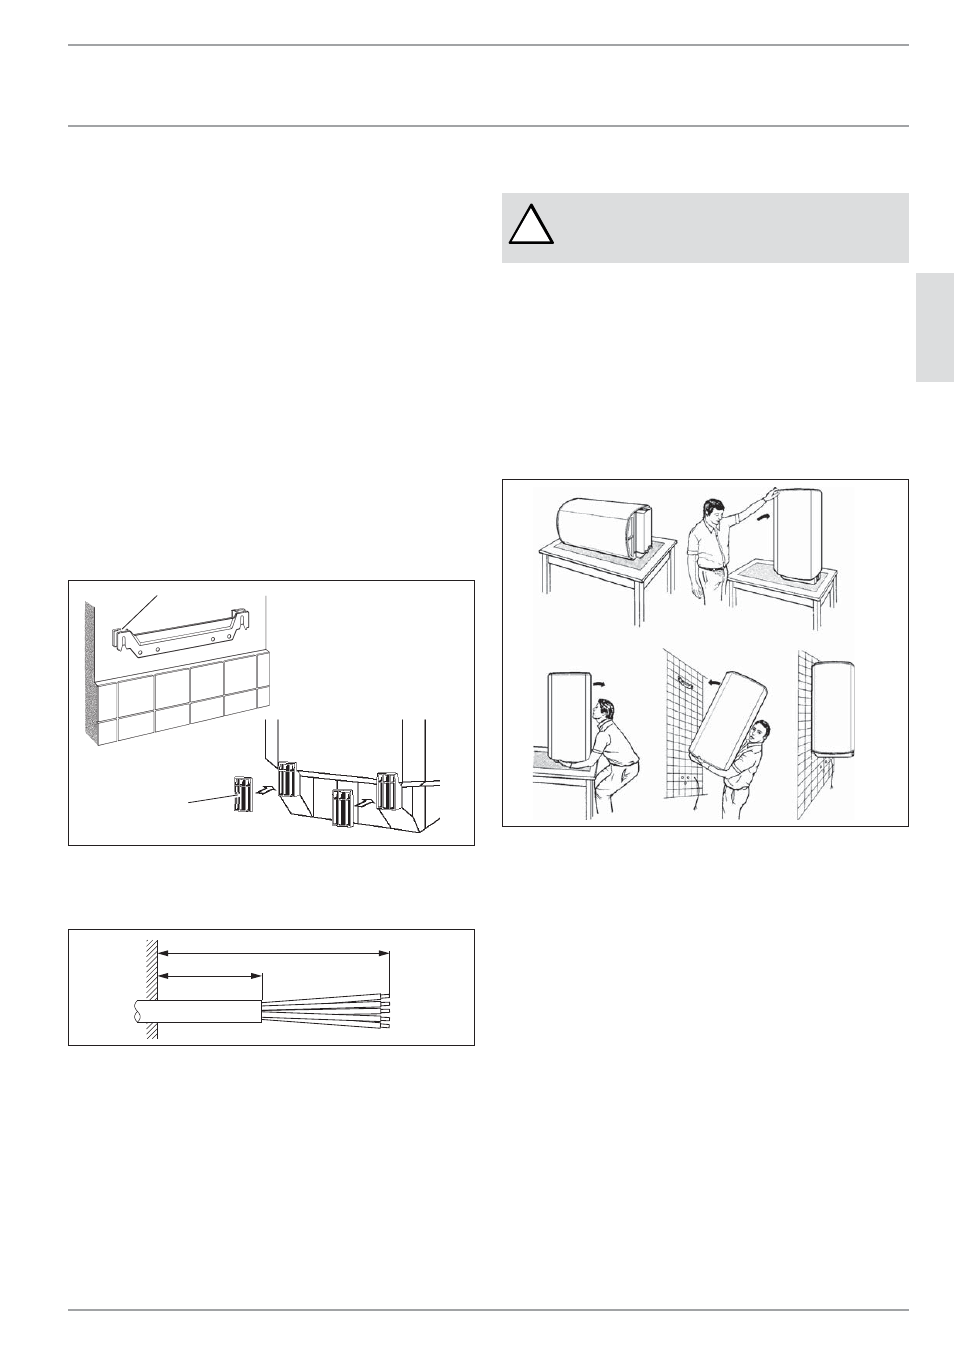
!
Risk of damage!
Carry out all water connection and installation works
in accordance with regulations.
»
Install the safety assembly. Be sure to choose the appropriate
safety assembly, according to the relevant static pressure.
»
Size the drain so that water can drain off unimpeded when the
safety valve is fully opened. The blow-off aperture of the safety
valve must remain open to the atmosphere.
»
Fit the blow-off line of the safety assembly with a constant slope.
»
Observe the information in the installation instructions of the
safety assembly.
9.2.4 Mounting the appliance
2
6
_0
2_0
1
_0
4
2
4