Using epson smart panel, Epson stylus photo rx500 – Epson RX500 Parts User Manual
Page 9
EPSON Stylus Photo RX500
10/03
EPSON Stylus Photo RX500
- 9
3. Press the top left button next to the LCD screen to select
One image, Range of images, or All images, then
press OK.
4. If you want to print one image or a range of consecutive
images, follow the instructions on the LCD screen and use
the numeric keypad to select the images you want to print.
Then press OK.
5. Use the numeric keypad to enter the number of copies you
want to print (up to 99), then press OK.
Note:
The number of copies is how many times each photo prints, not
the number of pages. For example, if you’re using a layout that
fits 8 photos and you select 3 copies, you will get one sheet with
3 photos printed on it.
6. Change any print settings, as needed. Then press the
x
Color button to print your images.
For a complete list of print settings available in memory card
mode, see the User’s Guide or online Reference Guide.
Print with DPOF
If your memory card contains photos taken with a camera
that supports DPOF (Digital Print Order Format), you can
pre-select the photos you want to print while the card is still in
the camera.
1. Insert a memory card containing DPOF image files.
2. Load the type of paper you want to print on.
3. Press the Memory Card button to enter memory card
mode.
4. Using the numeric keypad, enter the number of copies of
each photo you want to print (up to 99), and press OK.
5. Change any print settings, as needed. Then press the
x
Color button to print your images.
For a complete list of print settings available in memory card
mode, see the User’s Guide or online Reference Guide.
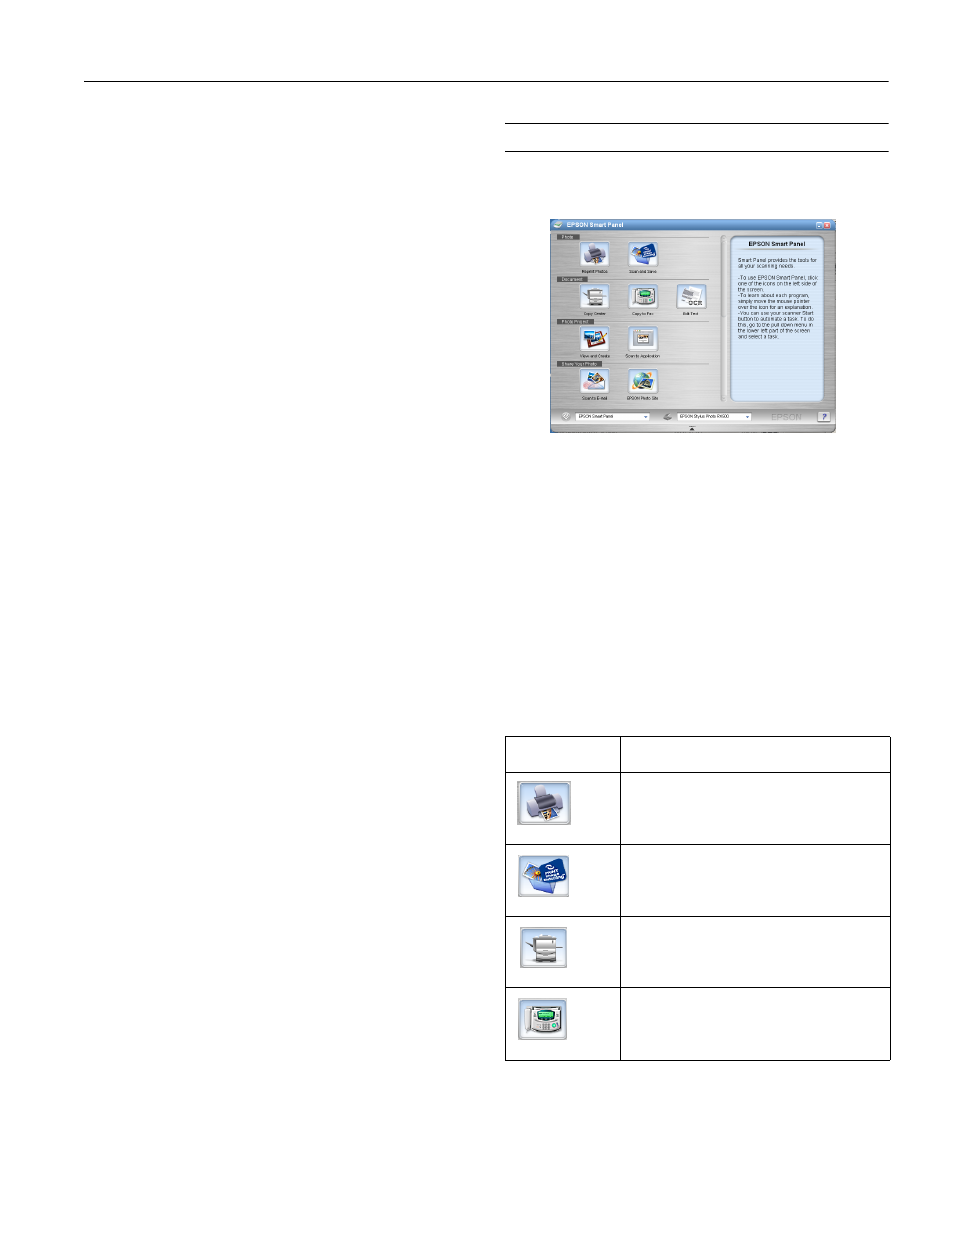
Using EPSON Smart Panel
Smart Panel is an easy, step-by-step interface for scanning,
copying, printing, and more.
You can launch Smart Panel from your computer or from the
control panel of your Stylus Photo RX500. To launch it from
the control panel, follow these steps:
1. Press the Scan button on the control panel.
2. Press the top left button next to the LCD screen until you
see To PC on the screen. Then press the OK button.
The first time you do this, you see a window on your
computer asking you to select the program to launch for
this action. Select EPSON Smart Panel, and then select
the Always use this program for this action box.
Click OK.
EPSON Smart Panel launches.
Choose from these features:
Smart Panel
Features
Description
RePrint Photos
Scans and prints photos in various sizes and
layouts. Includes Color Restoration.
Scan and Save
Scans a photo into ArcSoft
®
PhotoImpression,
™
where you can edit, retouch, enhance, or print it
with templates, frames, and borders.
Copy Center
Scans and prints a document like a photocopier.
Copy to Fax
When you install your own fax software, scans
your image or document into your PC fax utility.