Xantrex Technology XFR 2800 User Manual
Xfr 2800 watt series programmable dc power supply
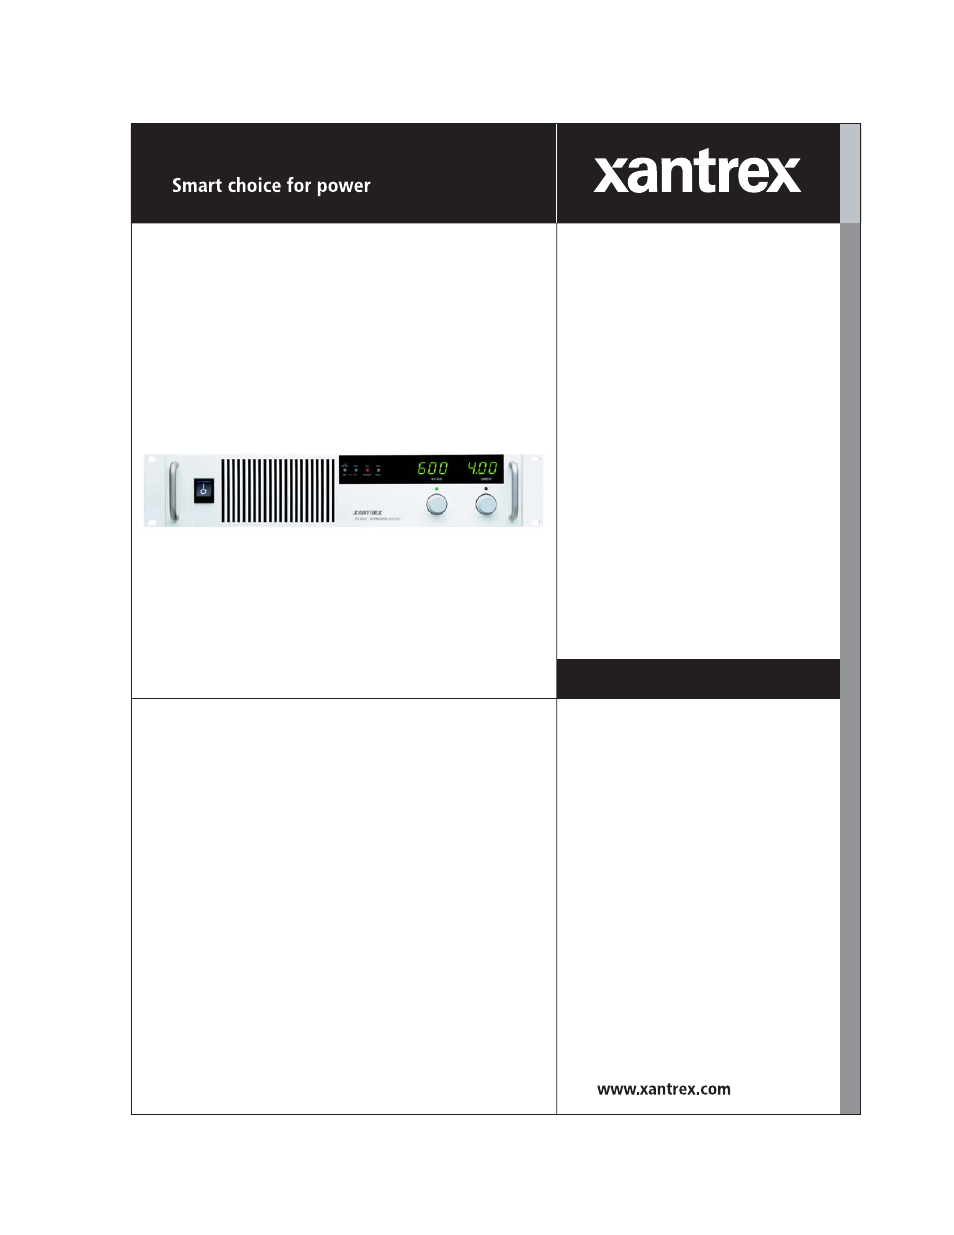
Table of contents
Document Outline
- Limited Warranty
- Disclaimer
- Exclusions
- Information
- WARNING: Limitations on Use
- Information About Your Power Supply
- Release
- Warnings and Cautions
- Power Supply Safety
- About This Manual
- Who Should Use This Manual
- Main Sections
- Manual Revisions
- Section 1. Features and Specifications
- Description
- Features and Options
- Front Panel Controls
- Rear Panel Connectors and Switch
- Rear Panel SW1 Switch
- 1 Resistive Programming of Output Voltage
- 2 Resistive Programming of Output Current
- 3 Selects Output Voltage Programming Source Range
- 4 Selects Output Current Limit Programming Source Range
- 5 Selects Output Voltage Monitor Range
- 6 Selects Output Current Monitor Range
- 7 Selects Remote Shutdown Logic
- 8 Selects Over Temperature Shutdown Reset Mode
- Figure 1.3 Programming and Monitoring SW1 Switch
- Rear Panel J2 Connector
- 1 Remote Output Voltage Programming Select
- 2 Remote Output Current Limit Programming Select
- 3 Control Ground
- 4 No connection
- 5 Voltage Program Signal Return
- 6 Output Voltage Programming Input
- 7 Current Program Signal Return
- 8 Output Current Limit Programming Input
- 9 Voltage Monitor Signal Return
- 10 Output Voltage Monitor
- 11 Current Monitor Signal Return
- 12 Output Current Monitor
- 13 No connection
- 14 Shutdown (S/D) Signal Return (–)
- 15 S/D Input (+)
- Figure 1.4 Programming and Monitoring J2 Connector
- Specifications
- Electrical Specifications
- Additional Specifications
- Input Conditions
- Additional Features
- Remote Programming and Monitoring
- Environmental Specifications
- Mechanical Specifications
- Section 2. Installation
- Introduction
- Basic Setup Procedure
- Inspection, Cleaning, and Packaging
- Returning Power Supplies to the Manufacturer
- Return Material Authorization Policy
- Packaging for Shipping or Storage
- 1. When returning the unit or sending it to the service center, attach a tag to the unit stating ...
- 2. For storage or shipping, repack the power supply in its original container. If the original co...
- 3. Label the carton as shown in Figure2.1.
- 4. If shipping, mark the address of the service center and your return address on the carton.
- 5. If storing, stack no more than eight cartons high. Check the storage temperature range and sto...
- Figure 2.1 Shipping or Storage Carton Label
- Location, Mounting, and Ventilation
- AC Input Power
- AC Input Connector and Voltage Selection
- AC Input Cord
- AC Input Wire Connection
- 1. Strip the outside insulation on the AC cable approximately 4in. (10cm). Trim the wires so th...
- 2. Unscrew the base of the strain relief from the helix-shaped body. Insert the base through the ...
- 3. Slide the helix-shaped body onto the AC cable. Insert the stripped wires through the strain re...
- 4. Route the AC wires to the input connector terminals as required. For input connector terminal ...
- 5. Route the wires inside the cover to prevent pinching. Fasten the AC input cover to the unit us...
- Figure 2.2 AC Input Cover and Strain Relief
- Functional Tests
- Equipment Required
- Power-on Check
- 1. Ensure that the AC power switch is in the OFF position.
- 2. Ensure that the output sense lines are connected in the default configuration. (The local sens...
- 3. Turn the voltage and current controls fully counterclockwise.
- 4. Connect the unit to an AC outlet.
- 5. Turn the front panel AC power switch to ON.
- Voltage Mode Operation Check
- 1. Ensure the voltage and current controls on the front panel are turned fully counter-clockwise.
- 2. Connect a DVM to the output terminals on the rear panel, observing correct polarity.
- 3. Turn the current control a 1/2turn clockwise. Slowly turn the voltage control clockwise and o...
- 4. Compare the DVM reading with the front panel voltmeter reading to verify the accuracy of the i...
- 5. Turn the front panel AC power switch to OFF.
- Current Mode Operation Check
- 1. Ensure the front panel AC power switch is set to OFF.
- 2. Turn the voltage and current controls on the front panel fully counterclockwise.
- 3. Connect the DC shunt across the output terminals on the rear panel.
- 4. Connect the DVM across the DC shunt.
- 5. Turn the AC power switch to ON.
- 6. Turn the voltage control 1 or 2 turns clockwise.
- 7. Turn the current control slowly clockwise.
- 8. Compare the DVM reading with the front panel ammeter reading using I=V/R where I is the curren...
- 9. Turn the AC power switch to OFF.
- 10. Disconnect the DVM and the shunt.
- Front Panel Function Checks
- 1. Turn the front panel AC switch to ON.
- 2. Set voltage and current controls fully clockwise. Push the STANDBY switch to its IN position a...
- 3. Press the STANDBY switch to its IN position.
- 4. Press the OVP CHECK switch and check that the voltmeter displays approximately the modelrated...
- 5. Turn the OVP SET potentiometer counter-clockwise and check that the voltmeter reading decrease...
- 6. Press the STANDBY switch to its OUT position.
- 7. Press the V/I CHECK switch and check that the voltmeter and ammeter display the power supply o...
- 8. Turn the front panel AC power switch to OFF.
- Load Connection
- Load Wiring
- Figure 2.3 Maximum Load Wire Length for 1V Line Drop
- Figure 2.4 Output Strain Relief and Cover
- 7.5V to 100V Models
- 1. Strip the ends of the wires.
- 2. Remove the top part of the output cover. Do not remove the chassismounted part of the cover.
- 3. Loosen wire clamp screws (part of strain relief). Do not disassemble the strain relief.
- 4. Insert load wire in strain relief.
- 5. Install connectors to load wiring.
- 6. Fasten connectors to bus bars with 5/16in. x 5/8in. (M8 x 16 mm) screws, 5/16in. (M8) flat ...
- 7. Tighten the strain relief clamp.
- 8. Replace the top cover.
- 7.5V to 100V Models
- Figure 2.5 Typical Load Connection Hardware
- (For 7.5 V to 100 V models.)
- 150V to 600V Models
- 1. Strip 0.4in. (10mm) at the ends of the wires.
- 2. Remove the top part of the output cover. Do not remove the chassismounted part of the cover.
- 3. Loosen wire clamp screws (part of strain relief). Do not disassemble the strain relief.
- 4. Insert load wire in strain relief.
- 5. To connect the wiring, loosen each terminal screw, insert a stripped wire into the terminal, a...
- 6. Tighten the strain relief clamp.
- 7. Replace the top cover.
- 150V to 600V Models
- (For 7.5 V to 100 V models.)
- Figure 2.6 Output Voltage Connector
- Figure 2.7 Single Load with Local Sensing (Default)
- Figure 2.8 Single Load with Remote Sensing
- Figure 2.9 Multiple Loads with Local Sensing
- Figure 2.10 Multiple Loads with Remote Sensing
- Local and Remote Sensing
- Sense Wiring
- Local Sensing
- Figure 2.11 J10 Sense Connector
- (Shown with local sense jumpers connected.)
- Using Remote Sensing
- 1. Turn OFF the power supply.
- 2. Remove the local sense jumpers connecting J10 mating connector terminal5 (positive sense) to ...
- 3. Connect the positive remote sense lead to J10 mating connector terminal5 (positive sense) and...
- 4. To prevent ground loops, ground the sense line shield, at one point only, to the power supply’...
- 5. Turn the power supply ON.
- 1. If you operate the power supply with remote sense lines connected to the load and with either ...
- 2. If you operate the power supply without remote sense lines or local sense jumpers in place, th...
- Using Remote Sensing
- (Shown with local sense jumpers connected.)
- Figure 2.12 Connecting Remote Sense Lines
- Section 3. Local Operation
- Introduction
- Standard Operation
- Operating Modes and Automatic Crossover
- Shipped Configuration (Local Control Mode)
- Setting Output Voltage and Current Limit
- 1. Turn both the voltage and current controls fully counter-clockwise.
- 2. Turn the AC power ON.
- 3. Press the STANDBY switch to its IN position to disable the power supply output. The red Shutdo...
- 4. Press and hold the V/I CHECK button to display the voltage and current control settings on the...
- 5. Adjust the voltage control to the desired voltage (the compliance voltage for applications usi...
- 6. Adjust the current control to the desired current limit setting.
- 7. Release the V/I CHECK button.
- 8. Press the STANDBY switch to its OUT position to apply power to the load. The S/D LED turns off.
- Using Over Voltage Protection (OVP)
- 1. The default preset limit is approximately 110% of the rated output voltage.
- 2. When using OVP with remote sensing lines connected, compensate for the voltage line drop acros...
- Front Panel OVP Operation
- 1. Disconnect any loads. Turn the power supply ON.
- 2. Adjust the power supply output voltage to any voltage lower than the desired trip level.
- 3. Press the front panel STANDBY (output shutdown) switch to its IN position. The red S/D LED tur...
- 4. Press the OVP CHECK switch to see the OVP set point on the voltmeter display.
- 5. Holding down the OVP CHECK switch, turn the OVP SET potentiometer until the desired set point ...
- 6. Press the STANDBY switch to its OUT position. The S/D LED turns off.
- 7. To check that the power supply shuts off at the desired set point, slowly increase the output ...
- Resetting the OVP Circuit
- 1. Reduce the power supply’s output voltage setting to below the OVP set point.
- 2. Press the STANDBY switch IN. The red S/D LED on the front panel turns on. The OVP LED turns off.
- 3. Press the STANDBY switch again to return power to the load and resume normal operation.
- 1. Reduce the power supply’s output voltage setting to below the OVP set point.
- 2. Turn the power supply OFF using the AC power switch, wait until the front panel displays go ou...
- Using the Shutdown Function
- STANDBY Switch
- Controlling the Shutdown Function via the J2 Connector
- 1. Turn OFF the power supply.
- 2. Connect the signal source to J2 connector terminal15 (Shutdown Input/positive) and terminal1...
- 3. Set switch SW17 to select the desired circuit logic as set out in Table3.2.
- 4. Turn on the power supply. The power supply will operate as described in the Supply Output colu...
- 1. If switch SW17 is ON but there is no signal applied, the S/D LED turns on and the power suppl...
- 2. Any of the eight switches on SW1 is OFF (OPEN) when it has been flipped up to break contact, O...
- Using Multiple Supplies
- Over Temperature Protection (OTP)
- User Diagnostics
- Emergency Shutdown
- Unusual or Erratic Operation
- 1. Shut the power supply OFF immediately.
- 2. Disconnect the power supply from the load.
- 3. Test the power supply with no load, running the tests in Functional Tests.
- 4. If the tests show that the power supply is functioning normally, check all load, programming, ...
- 5. Check the AC input for correct voltage and frequency.
- Troubleshooting for Operators
- Section 4. Remote Operation
- Introduction
- Remote Analog Programming of Output Voltage and Current Limit
- Remote Programming Options
- Remote Analog Programming Procedure
- 1. Turn the power supply OFF.
- 2. Using Table4.2, set switches SW11, SW12, SW13, and SW14 according to the selected program...
- 3. Install any J2 connector jumpers as indicated in Table4.2.
- 4. Connect the programming source(s) to the mating J2 connector as shown in Figure4.1, observing...
- 5. Set the programming sources to the desired levels and turn the power supply ON. The REM LED tu...
- 6. Adjust the external programming source to change the power supply’s output.
- 1. Switches SW1 to SW4 can be set to their defaults (all open) unless otherwise specified in Tabl...
- 2. Resetting switches SW13 or SW1-4, the programming scale selection switches, may require that ...
- 3. Any of the eight switches on SW1 is OFF (OPEN) when it has been flipped up to break contact, O...
- 4. The control circuits have been designed to allow you to set output voltage and current up to 5...
- Remote Monitoring of Output Voltage and Current
- Section 5. Calibration
- Introduction
- Calibration Setup
- Service Environment and Precautions
- Equipment Required
- Accessing Calibration Potentiometers
- Removing Option Card
- 1. Turn OFF the power supply. Disconnect AC Power. Remove the cover.
- 2. Remove 4 screws from their standoffs inside the power supply to release the option card.
- 3. Remove 2 screws at the rear panel to release the option card’s sub-plate.
- 4. Unplug the ribbon cable connectors from the option card. Lift out card.
- Removing Option Card
- Calibrating for Programming Accuracy
- Voltage Programming Circuit Calibration
- 1. Ensure that the power supply is turned OFF. Disconnect any load.
- 2. Connect the program source between J2 connector terminals 6 (output voltage program input) and...
- 3. Connect the DVM across the power supply output.
- 4. Turn the power supply ON.
- 5. Apply 1% of program voltage.
- 6. Adjust the voltage program offset potentiometer (R472) until the DVM reads 1% of the modelrat...
- 7. Apply 100% of program voltage.
- 8. Adjust the voltage program range potentiometer (R462) until the DVM reads the modelrated outp...
- Current Limit Programming Circuit Calibration
- 1. Ensure that the power supply is turned OFF. Disconnect any load.
- 2. Connect the program source between J2 connector terminals 8 (output current limit programming ...
- 3. Connect the shunt and DVM across the power supply output.
- 4. Turn the power supply ON.
- 5. Apply 1% of program voltage.
- 6. Adjust the current limit program offset (R469) until the shunt/DVM indicates 1% of the modelr...
- 7. Apply 100% of program voltage.
- 8. Adjust the current limit program range (R459) until the shunt/DVM indicates the modelrated ou...
- Voltage Programming Circuit Calibration
- Calibrating for Readback Accuracy
- Output Voltage Monitor Circuit Calibration
- 1. Ensure that the power supply is turned OFF. Disconnect any load.
- 2. Set SW1 switch 5 OPEN to select 05V output voltage monitor range, CLOSED for 010V.
- 3. Connect a DVM across the power supply output to read the output voltage. Connect a second DVM ...
- 4. Turn the power supply ON.
- 5. Set the power supply output voltage to 1% of the modelrated output.
- 6. Adjust the output voltage monitor offset (R397) until the monitor DVM reads 1% of the readback...
- 7. Set the power supply output voltage to the modelrated maximum.
- 8. Adjust the output voltage monitor range (R387) until the monitor DVM reads 100% of the readbac...
- Output Current Monitor Circuit Calibration
- 1. Ensure that the power supply is turned OFF. Disconnect any load.
- 2. Set SW1 switch 6 OPEN to select 05V output current monitor range, CLOSED for 010V.
- 3. Connect the shunt and DVM across the power supply output to read the output current. Connect a...
- 4. Turn the current control fully counter clockwise, then turn on the power supply.
- 5. Set the power supply’s output current to 1% of the modelrated output. See Note.
- 6. Adjust the output current monitor offset (R394) until the monitor DVM indicates 1% of the read...
- 7. Set the power supply output current to the modelrated output.
- 8. Adjust the output current monitor range (R383) until the monitor DVM indicates 100% of the rea...
- Output Voltage Monitor Circuit Calibration