Removing and replacing the t1/e1/pri card – Vanguard Managed Solutions Vanguard 7300 Series User Manual
Page 162
5-24
Modifying Your Vanguard 7300
Removing and Replacing the T1/E1/PRI Card and Rear Transition Module
Removing and Replacing the T1/E1/PRI Card
Introduction
This section explains how to remove and reinstall the T1/E1/PRI Card.
Note
Be sure to review all applicable warnings and cautions in the “General Card
Replacement Guidelines” section on page 5-2 before you begin.
Removing the
T1/E1/PRI Card
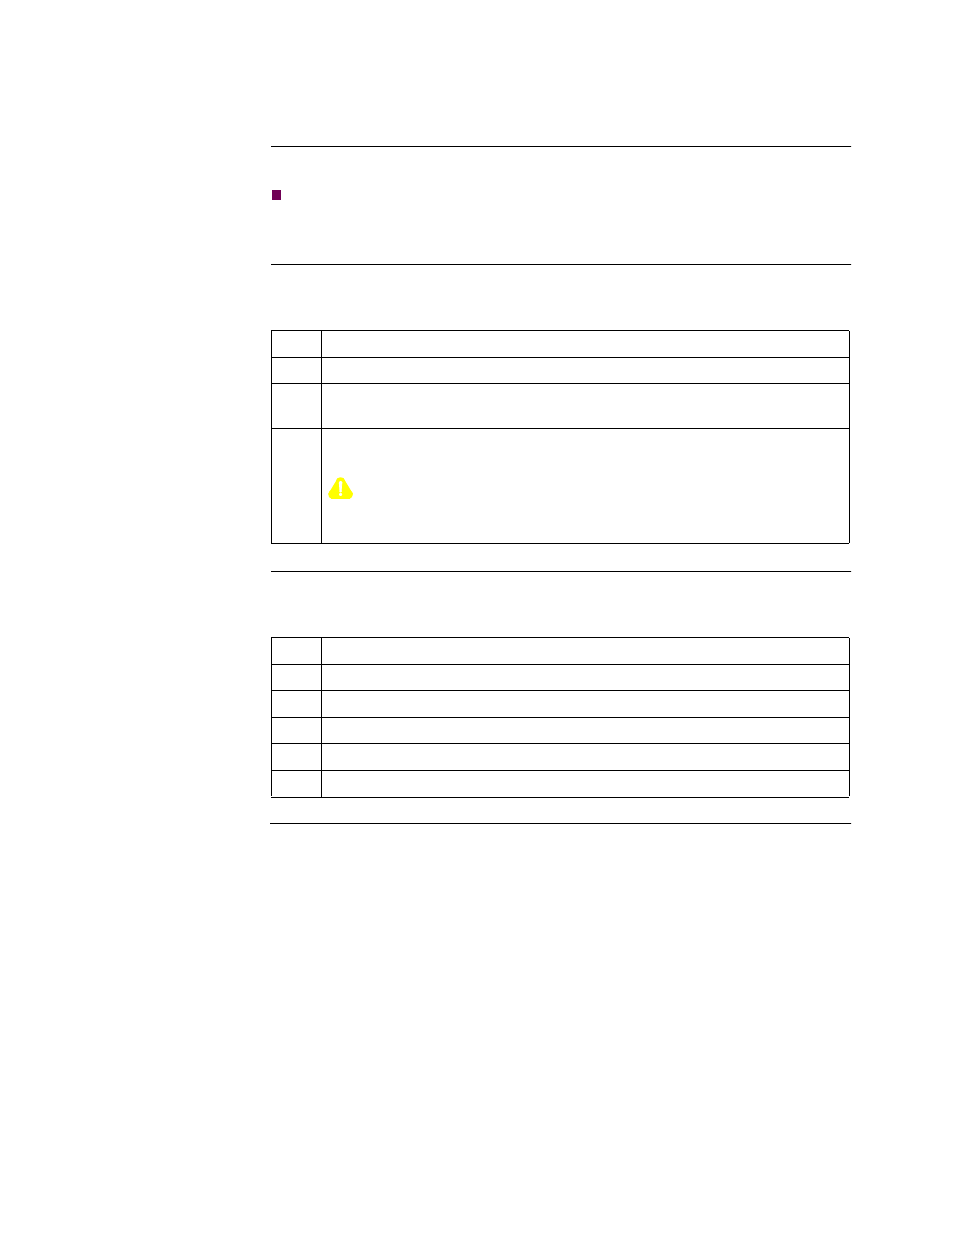
Use the steps in this table to remove the T1/E1/PRI Card from the Vanguard 7300
enclosure:
Installing the
T1/E1/PRI Card
Use the steps in this table to install the T1/E1/PRI Card into the Vanguard 7300
enclosure:
Step
Action
1
Loosen the captive screws from the front of the T1/E1/PRI Card.
2
Eject the card by pressing the two red ejector locks and then pressing the
card’s ejector levers outward at the same time.
3
Pull the card from the enclosure and place it on a clean, grounded, and
static-free surface.
Caution
Avoid touching areas of integrated circuitry to prevent static discharge
damage.
Step
Action
1
Open the ejector levers on the T1/E1/PRI card.
2
Align the card with the card rails on the chassis.
3
Carefully insert the card in the rails and slide it in until you feel resistance.
4
Simultaneously press the ejector levers inward until they lock.
5
Tighten the captive screws.