Digital audio setting 1, Down sampling (default: 48khz), Dolby digital (default: bit stream) – Toshiba RD-XV47KE User Manual
Page 93: Mpeg (default: pcm)
93
EN
In
troducti
on
Connecti
o
ns
Bas
ic Setup
P
layback
Ed
iti
n
g
V
CR Fu
ncti
on
s
O
th
ers
Fu
nc
ti
on
Set
u
p
Recordi
n
g
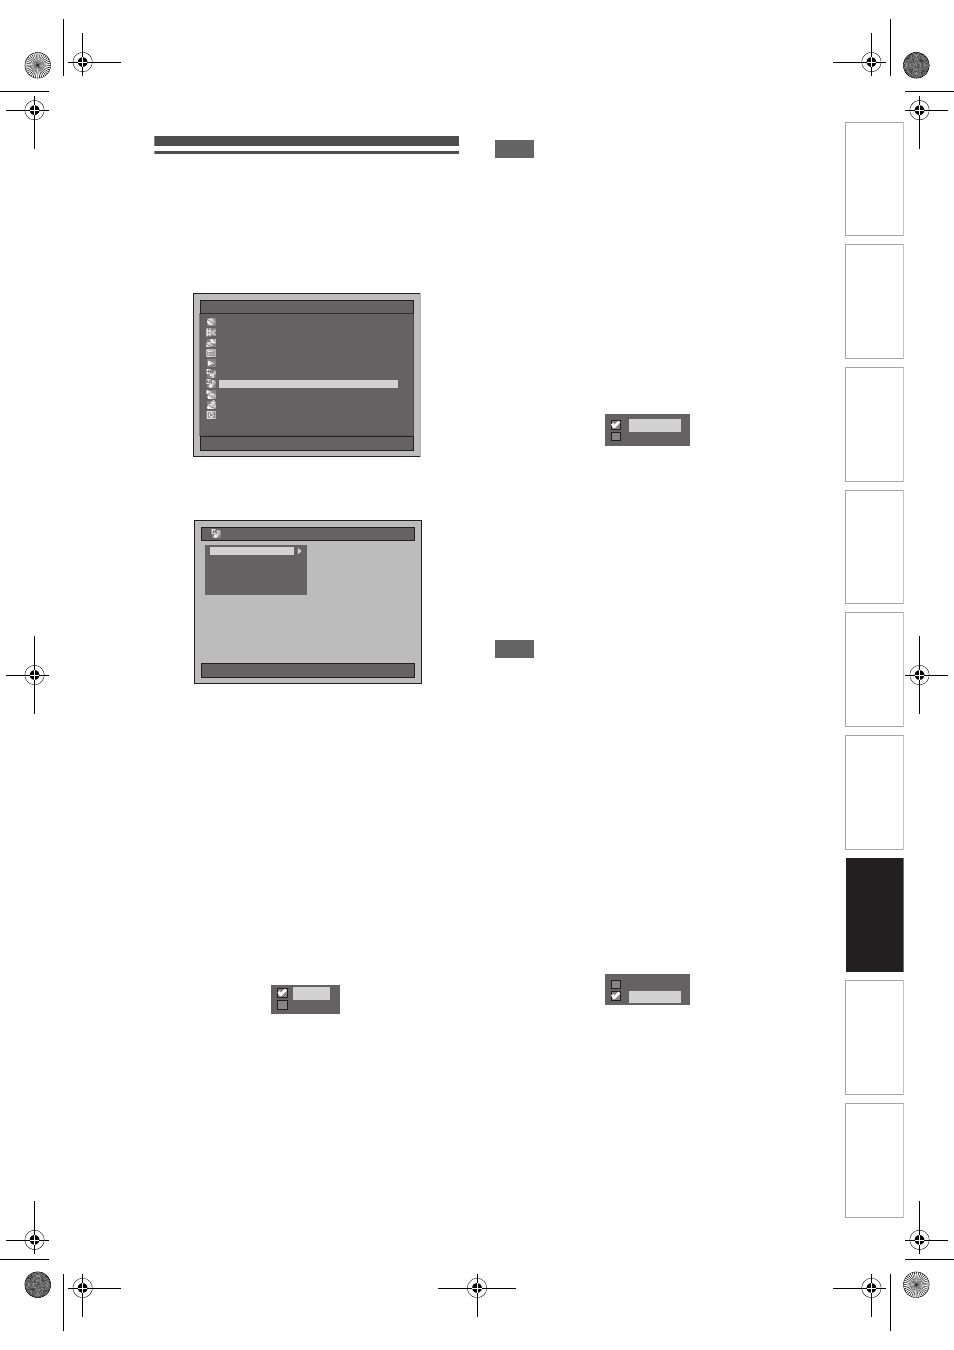
Digital Audio Setting
1
Press [SETUP] in stop mode.
Setup Menu will appear.
2
Select “Digital Audio Setting” using
[Cursor
U
/
D
], then press [ENTER].
3
Select a desired item using
[Cursor
U
/
D
], then press [ENTER].
4
Refer to 1. to 5. on pages 93 to 94
and set the selected item.
5
When you finish with the setting,
press [SETUP] to exit.
1. Down Sampling (Default: 48kHz)
Set the Down Sampling.
(Follow steps 1 to 2 above.)
Select “Down Sampling” using
[Cursor
U
/
D
], then press [ENTER].
Option window will appear.
Select the desired setting using
[Cursor
U
/
D
], then press [ENTER].
The selected setting will be checked and
activated.
48kHz: If your amplifier / decoder is NOT compatible
with 96 kHz PCM, select “48kHz”. Sound
recorded at 96 kHz is down sampled to
48 kHz.
96kHz: If your amplifier / decoder is compatible with
96 kHz PCM, select “96kHz”. Sound is
sampled at 96 kHz.
Note
When playing back disc with copyright protection:
• Even if you select “96kHz”, the sound will be down
sampled at 48 kHz.
2. Dolby Digital (Default: Bit Stream)
Set the Dolby Digital.
(Follow steps 1 to 2 on the left.)
Select “Dolby Digital” using
[Cursor
U
/
D
], then press [ENTER].
Option window will appear.
Select the desired setting using
[Cursor
U
/
D
], then press [ENTER].
The selected setting will be checked and
activated.
Bit Stream: Outputs Dolby Digital signals.
If your amplifier / decoder is compatible
with Dolby Digital, set to “Bit Stream”.
PCM:
Converts the Dolby Digital into PCM
(2 channel).
If your amplifier / decoder is NOT
compatible with Dolby Digital, set to
“PCM”.
Hint
When playing back the HDD or a DVD-RW disc
recorded in VR mode:
• If the audio source on a disc is in Dolby Digital
format, set “Dolby Digital” to “PCM” so that you can
switch to main audio (L), sub audio (R), or a
combination of both (L / R) using your amplifier /
decoder.
3. MPEG (Default: PCM)
Set the MPEG.
(Follow steps 1 to 2 on the left.)
Select “MPEG” using [Cursor
U
/
D
],
then press [ENTER].
Option window will appear.
Select the desired setting using
[Cursor
U
/
D
], then press [ENTER].
The selected setting will be checked and
activated.
Bit Stream: Outputs MPEG Audio signals.
If your amplifier / decoder is compatible
with MPEG, set to “Bit Stream”.
PCM:
Converts MPEG into PCM.
If your amplifier / decoder is NOT
compatible with MPEG, set to “PCM”.
Setup Menu
01/01/07(Mon)
19:34
Disc Management
Editing
Editing
Dubbing
Dubbing
Timer Programme
Timer Programme
Title List
Title List
Initial Setting
Initial Setting
Digital Audio Setting
Playback
Playback
Recording
Recording
Display
Display
01/01/07(Mon)
19:34
Digital Audio Setting
Dolby Digital
Dolby Digital
MPEG
MPEG
DTS
DTS
Dynamic Range Control
Dynamic Range Control
Down Sampling
96kHz
96kHz
48kHz
PCM
PCM
Bit Stream
Bit Stream
PCM
E3B90ED_EN.book Page 93 Friday, February 23, 2007 12:38 PM