Tunturi J3.5F User Manual
Page 4
4
OWNER’S MANUAL
•
J3.5F
HORIZONTAL HANDLEBAR
The horizontal handlebar (rod) is tapered on one
side. Insert the tapered end of the rod into the
right handrail before fitting the rod into the left
side.
NOTE:
the left side is secured with the long
bolt while the right ride is secured with the short
bolt. Do not tighten these bolts until the monitor
has been secured.
MONITOR
Connect the wires then push the monitor onto the
handrails. You may have to shake the handrails
from side to side to get the monitor to fit. Once
you have the monitor in place, secure and tighten
the bolts on the monitor. Tighten all bolts.
Remove the protective film from the display.
POWER CORD AND GROUNDING
INSTRUCTIONS
Plug the socket end of the power cord into
the treadmill at the left front corner. Before
connecting the device to a power source, make
sure that local voltage matches that indicated on
the type plate. The treadmill operates at 115 V/
230 V. Turn on the power using the switch next
to the socket on the treadmill. This treadmill
must be grounded. If it should malfunction or
breakdown, grounding provides a path of least
resistance for electrical current to reduce the risk
of electrical shock. This product is equipped with
a cord having an equipment-grounded conductor
and a grounding plug. The plug must be plugged
into an appropriate outlet that is properly
installed and grounded in accordance with all
local codes and ordinances. Do not use extension
cables when connecting the equipment to the
power source.
DANGER!
Improper connection of the equipment-
grounding conductor can result in a risk of
electric shock. Check with a qualified electrician
or serviceman, if you are in doubt as to whether
the product is properly grounded. Do not modify
the plug provided with the product - if it will not
fit the outlet, have a proper outlet installed by a
qualified electrician.
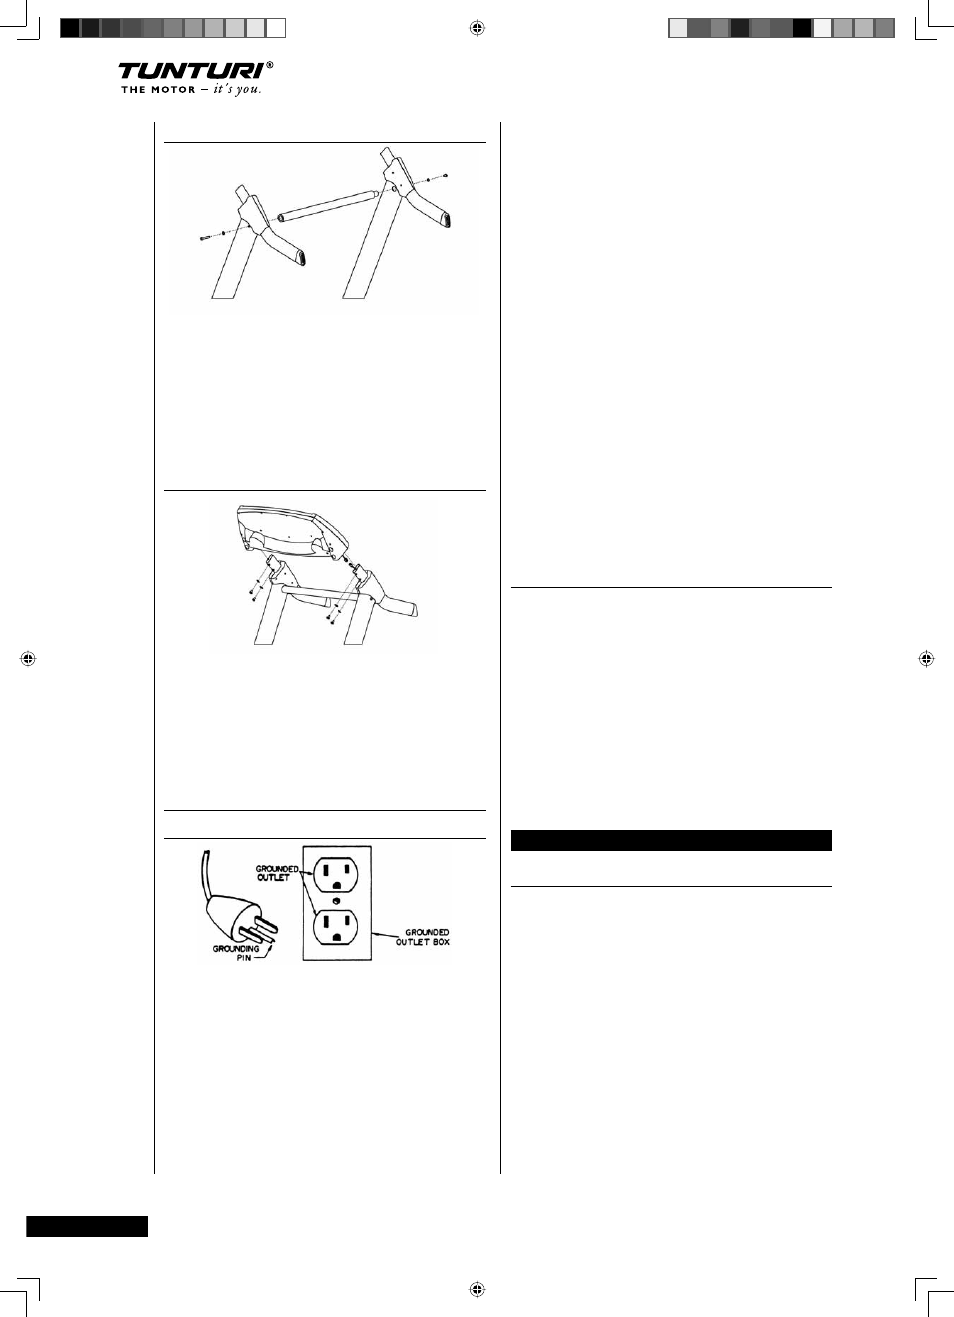
If the product is for use on a nominal 115-volt
circuit, it has a grounding plug that looks like
the plug illustrated. Make sure that the product
is connected to an outlet having the same
configuration as the plug. No adapter should be
used with this product.
SAFETY TETHER KEY
The treadmill cannot be used if the tether key
is not properly installed on the meter; if the key
is removed from its place, the treadmill will
immediately stop. Insert the safety tether key
into the key holder at the left side of the meter.
Ensure that the clip of the safety tether key is
properly attached to your clothing; as the cord
tightens, make sure the clip does not detach itself
from your clothing before the safety tether key
disconnects from the user interface.
METER
FUNCTION KEYS
STOP
Press
STOP
and the treadmill stops. Press
STOP
after your exercise and the meter then resets and
switches to its original state.
SPEED CONTROL KEYS
Hare key increases the belt speed in 0,1 km/h /
mph increments, the tortoise key decreases it in
0,1 km/h increments. Pressing these keys longer
makes the speed change faster. Track speed
ranges from 1,0-16,0 km/h / 0,6-10 mph.
ELEVATION CONTROL KEYS
Click the elevation up key to increase elevation
in 1 % increments, and the elevation down key
Tunturi_J35F 4
28.8.2003, 14:33:08