6–basic recording – Tascam DP-004 User Manual
Page 59
6–Basic Recording
TASCAM DP-004
59
For example, if you press the
REC
keys for track 1,
track 2 and track 3 in that order, track 1, which
was pressed first, will no longer be in record
standby, but track 2 and track 3, which were
pressed afterwards, will be in record standby.
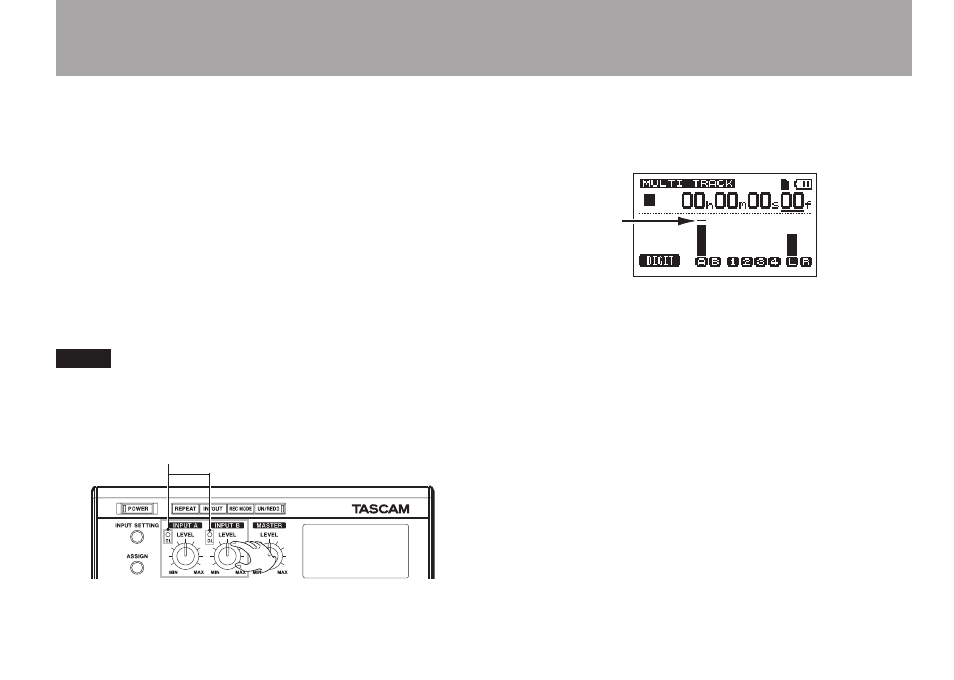
2 Set the recording level. Turn the (
INPUT A
or
INPUT
B
)
LEVEL
knob to adjust the input level of the input
channel. Watch the display meters and the
OL
indicator above and to the left of the
LEVEL
knob
while setting the level suitably. At the same time,
confirm that sound heard from the headphones is
not distorted.
NOTE
The meter for the track that the input signal is assigned
to moves simultaneously with the corresponding input
meter (A or B).
OL indicator
The
OL
indicator lights if the input is too loud. If
the
OL
indicator stays lit even when you lower the
LEVEL
knob, lower the output level on the signal
source connected to the input.
Overload
warning bar
3 Press the playback (Á) key while pressing and
holding the record (–) key. Recording starts and
the record (–) key indicator lights red. The track
REC
indicator changes from blinking to lit.
4 Press the stop (ª) key to stop recording.
5 To return to the starting point of the recording,
press the key while pressing and holding the
stop (ª) key. (This is the Last Recording Point
(LRP) function.)
To go to the beginning of the song (00:00:00:00),
press the
Ô
key while pressing and holding the
stop (ª) key. (This is the Return To Zero (RTZ)
function)
6 Press the playback (Á) key to play the recorded