Hardware setup, Advanced setup —continued – Onkyo PR-SC886 User Manual
Page 110
110
This section explains items on the Hardware menu.
Note:
This procedure can also be performed on the AV control-
ler by using its [SETUP] button, arrow buttons, and
[ENTER] button.
Remote Control
■ Remote ID
When several Onkyo components are used in the same
room, their remote ID codes may overlap. To differenti-
ate the AV controller from the other components, you
can change its remote ID from 1, the default, to 2 or 3.
Note:
If you do change the AV controller’s remote ID, be sure
to change the remote controller to the same ID (see
below), otherwise, you won’t be able to control it with
the remote controller.
Changing the Remote Controller’s ID
Zone2/Zone3
See “Zone 2 and Zone 3” on page 115.
Hardware Setup
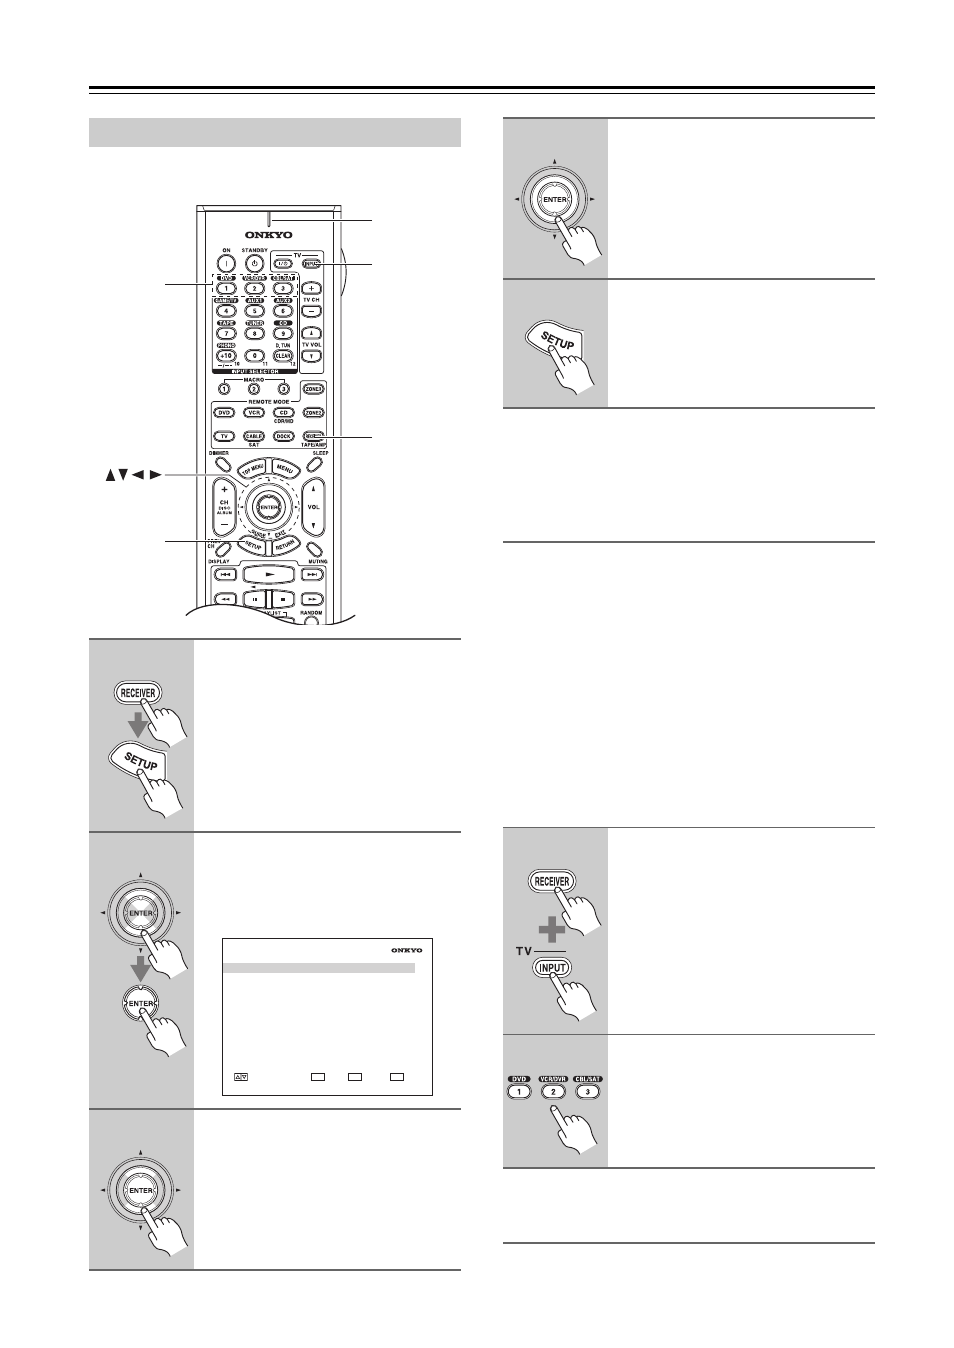
1
Press the [RECEIVER] REMOTE
MODE button, followed by the
[SETUP] button.
The main menu appears onscreen.
If the main menu doesn’t appear, make
sure the appropriate external input is
selected on your TV.
2
Use the Up and Down [ ]/[ ] but-
tons to select “7. Hardware
Setup”, and then press [ENTER].
The “Hardware Setup” menu appears.
3
Use the Up and Down [ ]/[ ] but-
tons to select an item, and then
press [ENTER].
The screen for that item appears.
SETUP
RECEIVER
INPUT
ENTER
Number
buttons
Remote
indicator
7. Hardware
Setup
1. Remote
Control
2. Zone2/Zone3
3. Tuner
4. Analog
Multich
5. HDMI
6. Network
MOVE
ENTER
RETURN
ENTER
RETURN
EXIT
SETUP
4
Use the Up and Down [ ]/[ ] but-
tons to select an item, and use
the Left and Right [
]/[
] but-
tons to change it.
The items are explained below.
5
When you’ve finished, press the
[SETUP] button.
Setup closes.
1
While holding down the
[RECEIVER] REMOTE MODE but-
ton, press the TV [INPUT] button.
The Remote indicator flashes four
times.
2
Use the number buttons to enter
ID 1, 2, or 3.
The Remote indicator flashes twice.