Step recording, 29 creating a new song – Roland PRELUDE MUSIC KEYBOARD 2 User Manual
Page 29
29
Creating a new song
4. Use [
] [
] [
] [
] to select a parameter, and
turn the VALUE dial to edit the value.
You can use [OCTAVE] to change the octave setting during
recording.
If “PUNCH IN/OUT” is set for Pedal Assign (p. 45 in the
owner’s manual).
• Set Punch Sw to “OFF.” If this is “ON,” you won’t be able
to use the pedal to perform Punch In/Out recording.
• Recording will be possible only by using the pedal to
perform Punch In/Out recording.
5. Press [
] to start recording.
If Count In is set to WAIT NOTE, recording will start the
moment you play the keyboard.
[SONG REC] will be lit during recording.
6. Play the keyboard.
7. Press [
] to stop recording.
If you want to keep the song you recorded, proceed as
described in “Saving the song you recorded” (p. 31).
1. If you want to create a new song, initialize the song (p. 28)
and then proceed to step 3.
If you want to record using an existing song, select the
desired song (p. 29 in the owner’s manual).
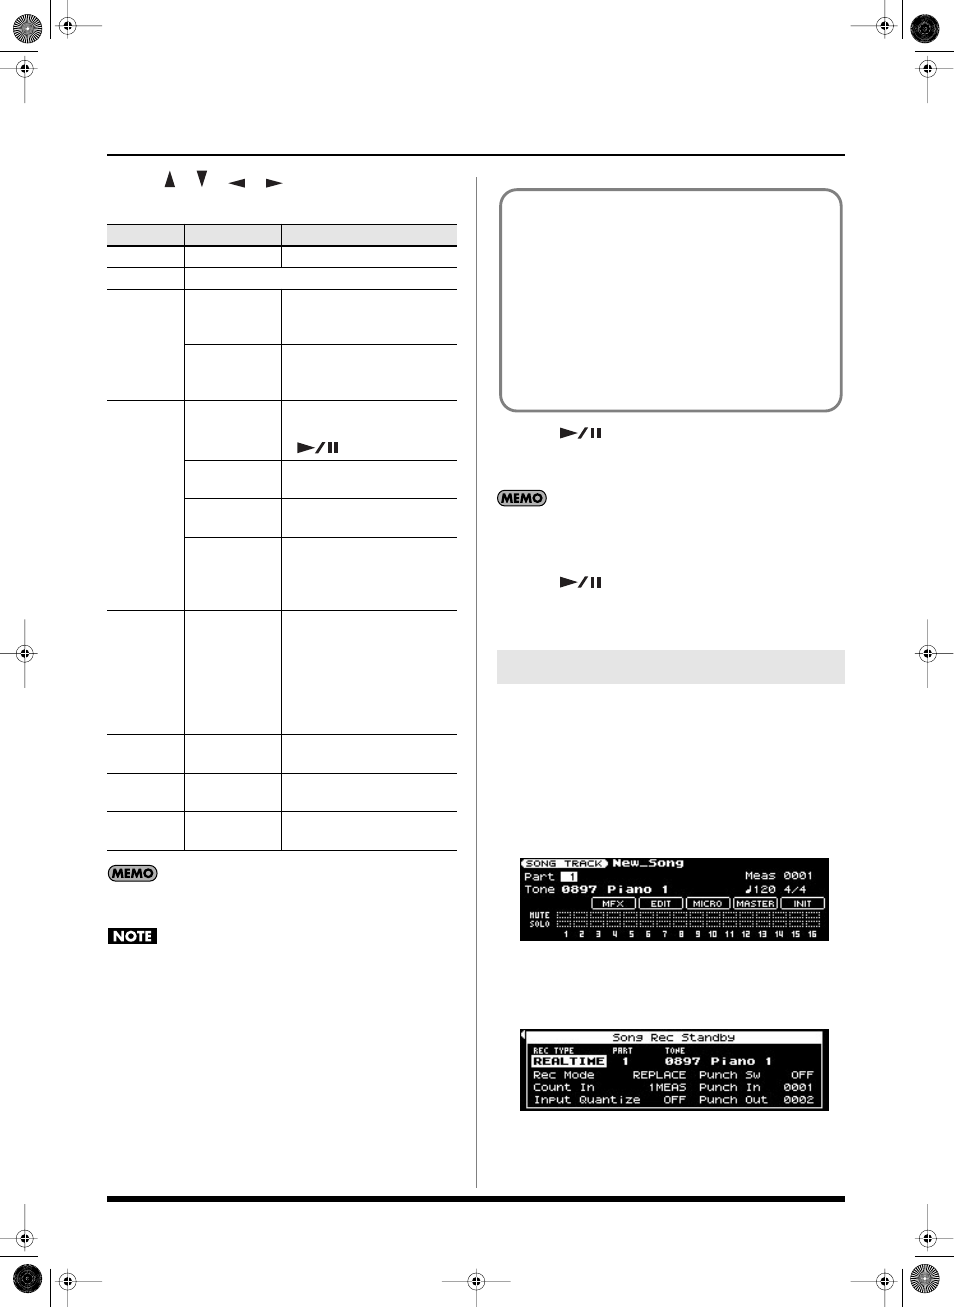
2. Press [PART VIEW] so the button is lit.
The SONG TRACK screen will appear.
3. Press [SONG REC].
The Song Rec Standby screen will appear, and [SONG
REC] will blink.
Parameter
Value
Explanation
PART
1–16
Selects the part to record.
TONE
Selects a tone.
Rec Mode
REPLACE
New material is recorded as
previously recorded material
is erased.
MIX
New notes are recorded on
top of notes previously
recorded.
Count In
OFF
No count-in. Recording starts
as soon as you press
[
].
1MEAS
Recording starts after a 1-
bar count-in.
2MEAS
Recording starts after a 2-
bar count-in.
WAIT NOTE
Recording starts as soon as
you play a note on the
keyboard. (There will be no
count-in.)
Input
Quantize
OFF, 1/4,
1/8, 1/8T,
1/16, 1/16T,
1/32, 1/32T,
1/64
Quantize corrects the timing
of your notes by shifting
them to the nearest grid
mark.
This specifies the number of
steps per measure (i.e., the
resolution).
Punch Sw
ON, OFF
Specifies whether to use
Auto Punch-In/Out.
Punch In
0001–9998
Specifies the Auto Punch-In
measure.
Punch Out
0002–9999
Specifies the Auto Punch-Out
measure.
Step recording
• If you want to record while hearing the
accompaniment provided by the Arranger, set
Backing= STYLE (p. 23 in the owner’s manual)
before you start recording.
• If you want to record while hearing the Style’s
rhythm, set Backing= OFF (p. 23 in the owner’s
manual) before you start recording.
• If you want to record only the keyboard, set
Backing= SONG (p. 23 in the owner’s manual)
before you start recording.
Prelude_OM_Ver2.book Page 29 Wednesday, September 9, 2009 5:38 PM