NETGEAR MA101 User Manual
NETGEAR Hardware
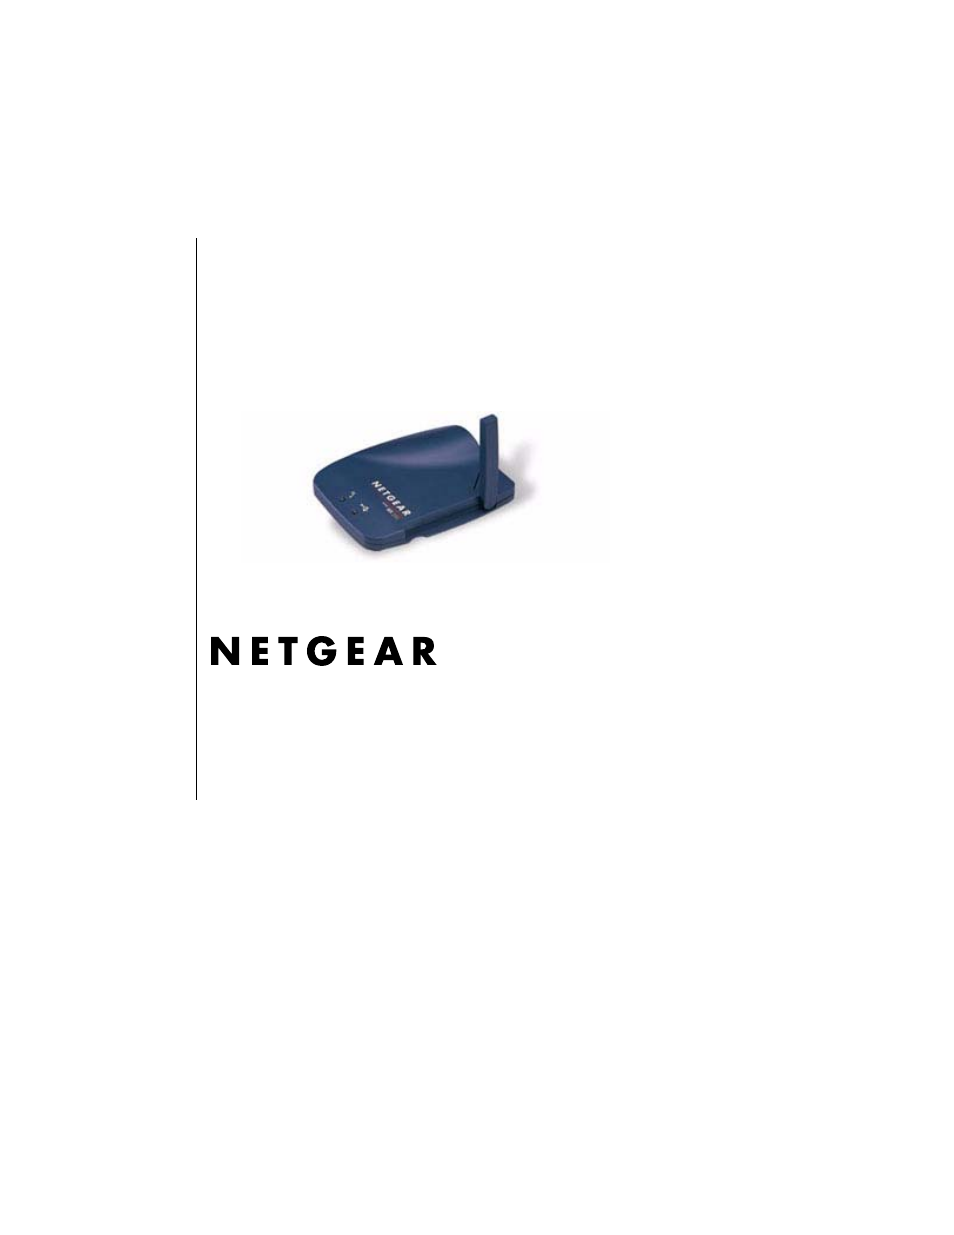
Table of contents
Document Outline
- Reference Manual for the Model MA101 802.11b Wireless PC Card
- Technical Support
- Contents
- Chapter 1 Introduction
- Chapter 2 Installing the MA101 802.11b Wireless USB Adapter
- What You Will Need Before You Begin
- Two Basic Operating Modes
- MA101 Default Wireless Configuration Settings
- Using the MA101 to Connect to a Wireless Network Access Point in Infrastructure Mode
- Setting Up the MA101 in Infrastructure Mode
- For Windows XP Users Installing a MA101
- a. Power on your computer and let the operating system boot up completely.
- b. Locate an available USB port on the back of your computer.
- c. Lift the antenna on the MA101.
- d. Connect the USB cable from the MA101 USB Adapter to your computer.
- a. After connecting the MA101, the Found New Hardware popup message appears, then the Wizard dialog displays.
- b. Insert the Model MA101 Resource CD into your CD-ROM drive.
- c. After inserting the Model MA101 Resource CD, the Found New Hardware Wizard appears. Click the Next button to proceed with the Wizard.
- d. The wizard will install the MA101 driver.
- e. After the installation completes, click Finish to close the wizard.
- a. Click on the “Allow me to connect to the selected wireless network even though this is not secure” check box.
- b. Click Connect. The connection status popup message appears.
- For Windows 98/Me Users Installing a MA101
- a. Power on your computer and let the operating system boot up completely.
- b. Have the Windows 98 or Me operating system installation files handy. Windows 98/Me needs these files to complete the installation of new network adapter drivers.
- a. Run the Setup.exe program on the Model MA101 Resource CD.
- b. Click Next and follow the prompts to complete the installation.
- c. When the installation is complete, click Finish to close the wizard.
- a. Lift the antenna on the MA101.
- b. Locate an available USB port on the back of your computer.
- c. Connect the USB cable from your computer to the MA101.
- d. Click the CD-ROM drive box and click Next to proceed.
- e. After the installation completes, click Finish to close the wizard.
- f. Click Yes when asked if you want to reboot the system.
- g. You should now see the Windows system tray icon on the right in the lower right portion of the Windows task bar.
- a. The MA101 default settings are as follows:
- b. Double click on the System Tray icon to run the wireless LAN configuration utility you just installed to verify your settings.
- For Windows 2000 Users Installing a MA101
- a. Power on your computer and let the operating system boot up completely.
- b. Have the Windows 2000 operating system installation files handy. Windows 2000 needs these files to complete the installation of new network adapter drivers.
- c. Insert the Model MA101 Resource CD into your CD-ROM drive.
- a. Run the Setup.exe program on the Model MA101 Resource CD.
- b. Click Next and follow the prompts to complete the installation.
- c. When the installation is complete, click Finish to close the wizard.
- a. Lift the antenna on the MA101.
- b. Locate an available USB port on the back of your computer.
- c. Connect the USB cable from your computer to the MA101.
- d. The Windows Found New Hardware Wizard dialog box displays. Click Next, and Next again at the search for the best driver screen.
- e. If the Digital Signature Not Found warning appears, click Yes to continue. Netgear tested the MA101 for Windows 2000 compatibility. If asked, insert the Windows 2000 CD and follow the prompts.
- f. Click Finish to close the wizard. Click Yes to reboot the system. You should now see the Windows system tray icon in the Windows task bar.
- a. The MA101 default settings are as follows:
- b. Double click on the System Tray icon to run the wireless LAN configuration utility you just installed to verify your settings.
- For Windows XP Users Installing a MA101
- Using the MA101 to Connect in Ad-Hoc Mode
- Interpreting System Tray Icon Colors
- Troubleshooting Tips
- Chapter 3 Protecting Your Wireless Connection
- Enabling Basic Wireless Security Features
- Identifying the Wireless Network Name (SSID) and WEP Security Settings
- Setting the Wireless Network Name (SSID)
- Configuring WEP Encryption Security
- 1. Run the Configuration Utility and select the Security tab page.
- 2. Select the WEP encryption strength you will use. The characters are case sensitive. Use the same values when configuring other wireless devices that will communicate with this wireless USB adapter.
- 3. Click Apply then OK for the changes to take effect.
- Enabling Basic Wireless Security Features
- Appendix A Technical Specifications
- Appendix B 802.11b Wireless Networking Basics
- Appendix C Preparing Your PCs for Network Access
- Preparing Your Computers for TCP/IP Networking
- Configuring Windows 98 and Me for TCP/IP Networking
- Install or Verify Windows Networking Components
- 1. On the Windows taskbar, click the Start button, point to Settings, and then click Control Panel.
- 2. Double-click the Network icon.
- a. Click the Add button.
- b. Select Protocol, and then click Add.
- c. Select Microsoft.
- d. Select TCP/IP, and then click OK.
- a. Click the Add button.
- b. Select Client, and then click Add.
- c. Select Microsoft.
- d. Select Client for Microsoft Networks, and then click OK.
- a. Click the Add button.
- b. Select Client, and then click Add.
- c. Select Microsoft.
- d. Select File and Print Sharing for Microsoft Networks, and then click OK.
- 3. Restart your PC for the changes to take effect.
- Enabling DHCP to Automatically Configure TCP/IP Settings in Windows 98 and Me
- Selecting Windows’ Internet Access Method
- 1. On the Windows taskbar, click the Start button, point to Settings, and then click Control Panel.
- 2. Double-click the Internet Options icon.
- 3. Select “I want to set up my Internet connection manually” or “I want to connect through a Local Area Network” and click Next.
- 4. Select “I want to connect through a Local Area Network” and click Next.
- 5. Uncheck all boxes in the LAN Internet Configuration screen and click Next.
- 6. Proceed to the end of the Wizard.
- Verifying TCP/IP Properties
- Install or Verify Windows Networking Components
- Configuring Windows 2000 or XP for TCP/IP Networking
- Install or Verify Windows Networking Components
- 1. On the Windows taskbar, click the Start button, point to Settings, and then click Control Panel.
- 2. Double-click the Network and Dialup Connections icon.
- 3. If an Ethernet adapter is present in your PC, you should see an entry for Local Area Connection. Double-click that entry.
- 4. Select Properties.
- 5. Verify that Client for Microsoft Networks and Internet Protocol (TCP/IP) are present. If not, select Install and add them.
- 6. Select Internet Protocol (TCP/IP), click Properties, and verify that Obtain an IP address automatically is selected.
- 7. Click OK and close all Network and Dialup Connections windows.
- 8. Then, restart your PC.
- DHCP Configuration of TCP/IP in Windows XP or 2000
- DHCP Configuration of TCP/IP in Windows XP
- DHCP Configuration of TCP/IP in Windows 2000
- Verifying TCP/IP Properties for Windows XP or 2000
- Install or Verify Windows Networking Components
- Index