Saving images in paperport® se 8.0 – Planon System Solutions R700 User Manual
Page 23
4.
To open the Twain Penscanner Control window click on scan.
5. Click on the download
icon.
6. Follow the onscreen instructions same as those on page 20.
7. Once the image(s) download, Click OK or select all (multiple images.)
1. The image(s) are loaded to your desktop PaperPort area.
Select the image(s) and each can be run under all the applications that the
software has detected such as Word, or Excel, etc.
2. At this point you can run the OCR, as you require for a single or multiple
page document. We recommend scanning in Hi-Resolution mode for best
results.
3. Other applications are automatically listed at the bottom status bar. This
depends what applications you have on your system.
4. Simply select the image and Click on the application you wish to use or
drag your file over to the application. It starts automatically.
5. The default file format is .max, which allows you to stack & unstack
multiple pages. This format also allows the most editing options.
6. You can select other default file formats such as, tiff, jpg, bmp. but these
cannot be un-stacked, all images will open in the selected application. They
can then be manipulated separately, or altogether.
23
DocuPen™ Operation Manual
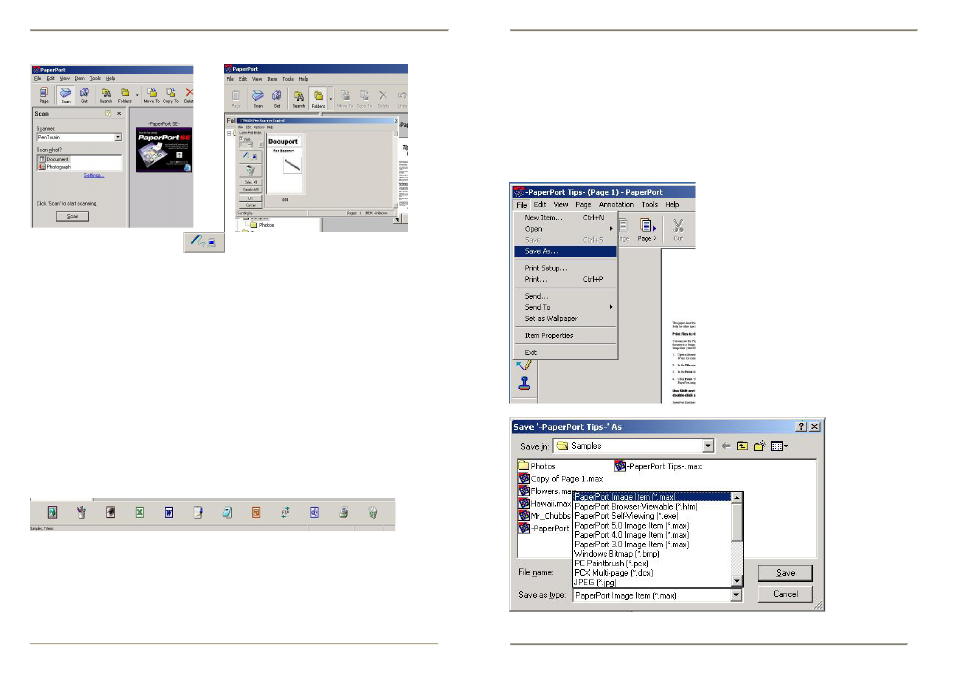
Saving Images in PaperPort® SE 8.0
You can save scanned images to a separate file on your PC in either of the
following ways:
From the PaperPort Desktop Window: Click on one or more thumbnail
images in the Desktop window, and choose the window’s File, Save As,
command. In the standard Windows Save As dialog box, define the image file
name and destination folder. Then click the Save button.
DocuPen™ Operation Manual
24