2 dialing mode, Help button, 3 help function – Panasonic KX-FLM651 User Manual
Page 22: Volume, Dialing mode, Help function, 2 dialing mode, 3 help function, Preparation 20
2. Preparation
20
For assistance, please visit http://www.panasonic.com/consumersupport
2.2 Dialing mode
If you cannot dial (page 26, 30), change this
setting depending on your telephone line
service.
1
Press {MENU}.
SYSTEM SETUP
PRESS NAVI.[( )]
2
Press {#}, then {1}{2}{0}.
DIALING MODE
=TONE
[±]
3
Press {1} or {2} to select the desired setting.
{
1} “
PULSE”: For rotary pulse dial service.
{
2} “
TONE” (default): For tone dial service.
4
Press {SET}.
5
Press {MENU} to exit.
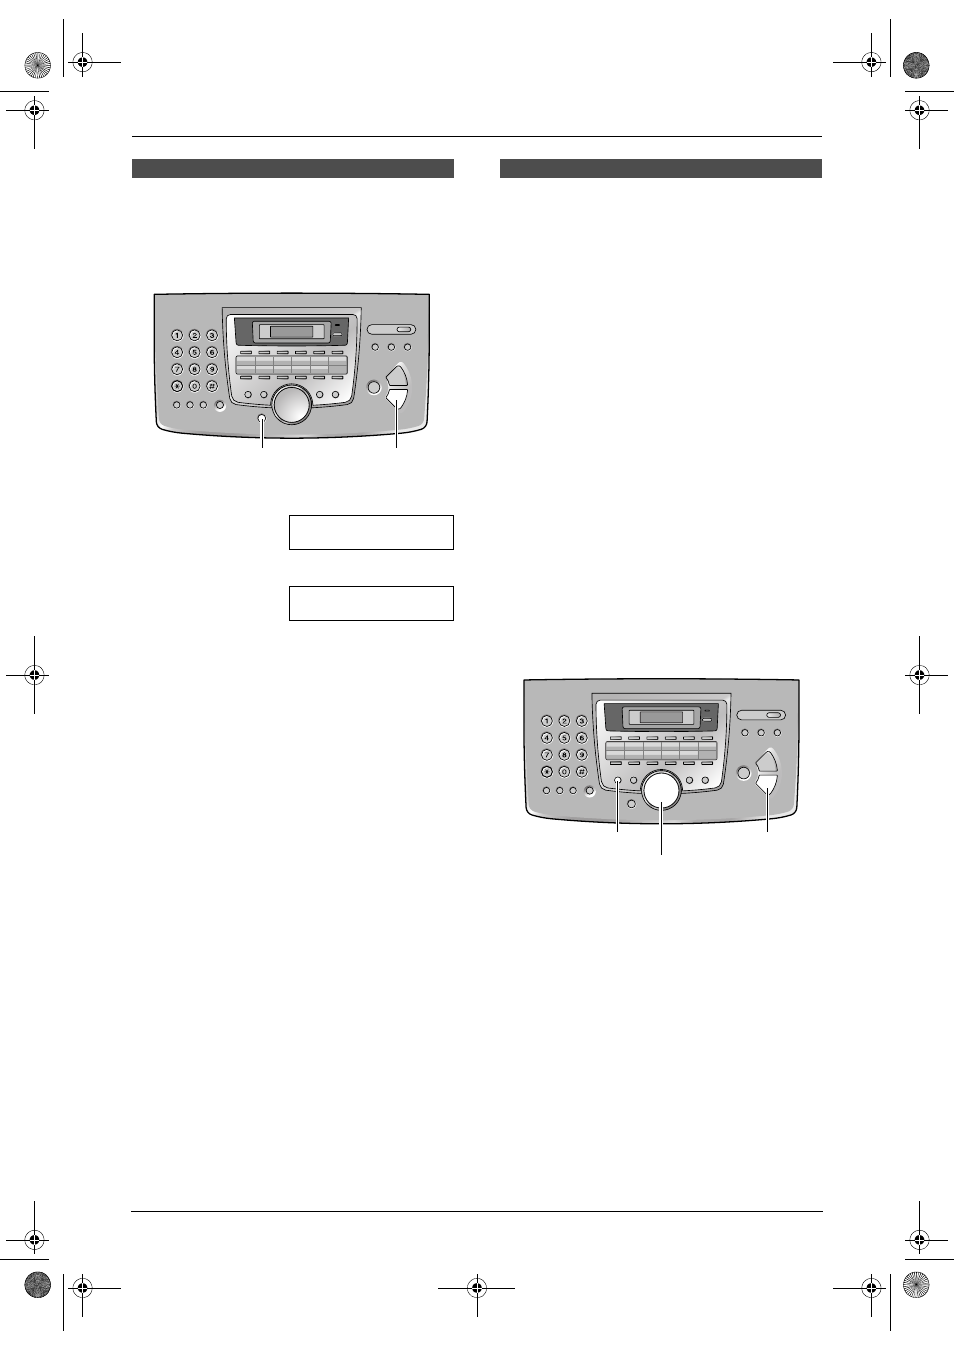
Help Button
2.3 Help function
The unit contains helpful information which can
be printed for quick reference.
–
“
BASIC SETTINGS”:
How to set the date, time, your logo and fax
number and note for the quick setup (feature
#100 on page 53).
–
“
FEATURE LIST”:
How to program the features.
–
“
DIRECTORY”:
How to store names and numbers in the
directory and how to dial them.
–
“
FAX SND/RCV”:
Help with problems sending/receiving faxes.
–
“
COPIER”:
How to use the copier function.
–
“
Q and A”:
Frequently asked questions and answers.
–
“
ERRORS”:
Explanation of error messages shown on the
display.
–
“
REPORTS”:
List of available reports.
–
“
CALLER ID”:
How to use the Caller ID features.
1
Press {HELP}.
2
Press {<} or {>} repeatedly to display the
desired item.
3
Press {SET}.
L
The selected item will be printed.
Volume
{
SET}
{
MENU}
{
SET}
{
HELP}
{
<}{>}
FLM651-PFQX2292ZA-en.book Page 20 Monday, September 12, 2005 2:22 PM