Marking the wall, Lower mounting points – Premier Mounts PCM-MS3 User Manual
Page 9
Installation
Instructions
Page
9
PCM-MS3
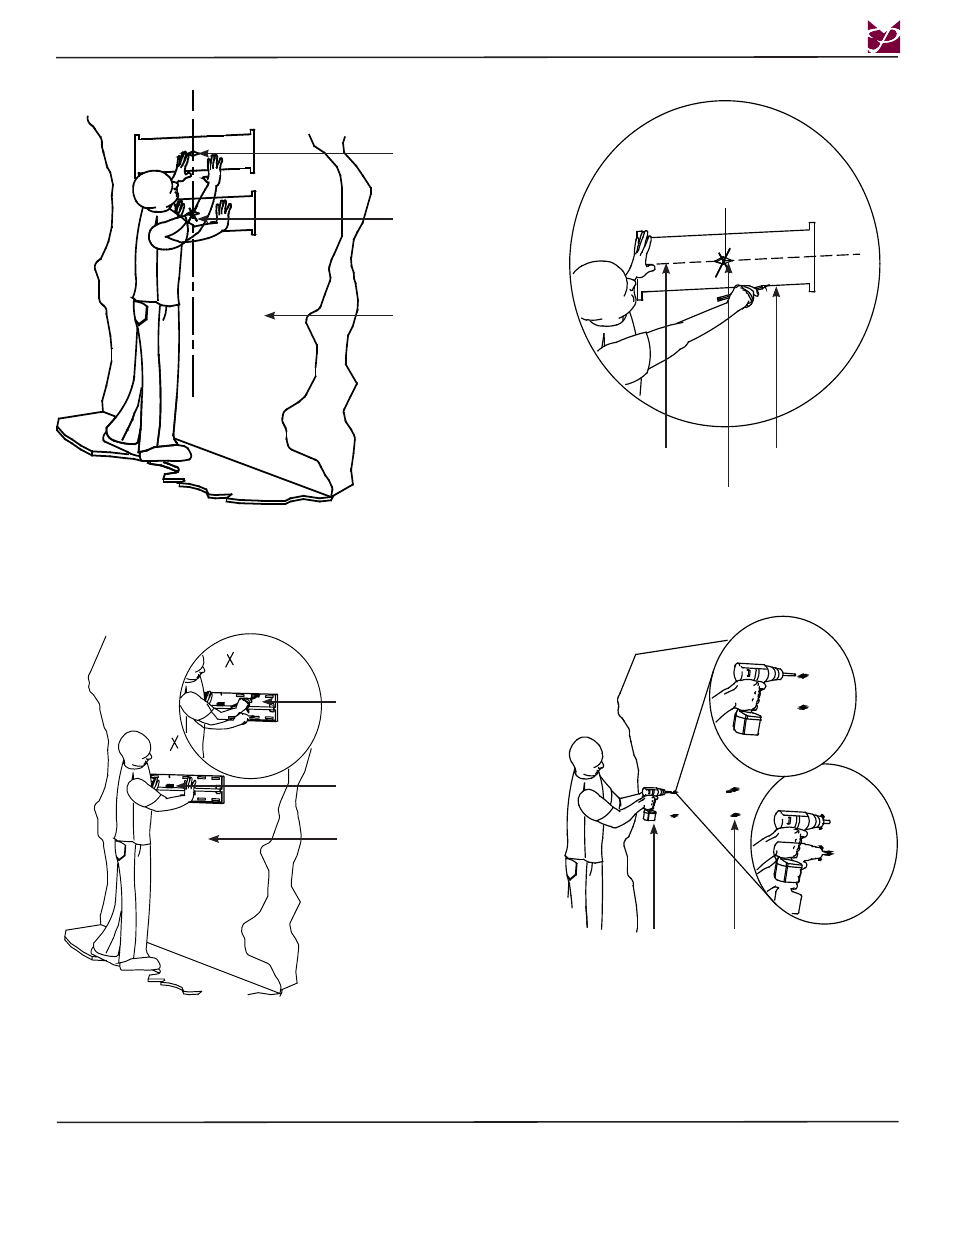
Step 1. Align the center viewing port from the
carton template to the wall.
Step 2. Match the center of viewing port to the
center of viewing height desired.
Marking the Wall
Step 3. Mark a line on the bottom of the carton
template.
Lower Mounting Points
Step 1. Place the upper portion of the bottom wall
plate to the reference line and mark the four
(4) lag bolt mounting points through the wall
plate slots on the wall.
Step 2. Level the wall plate with the reference arrow
pointing up to the ceiling.
Step 3. Pilot holes are recommended, size will
depend on the commercially available
hardware that will be used.
Mounting Surfaces:
Wood Studs -
Drill six (6) pilot holes in the marked wall.
Concrete Wall - Drill six (6) pilot holes in the marked wall
(using a commercially available concrete drill
bit).
Wall Structutre
Wall Marking
Viewing Port
Center Line
Viewing Port
Mark Bottom of
Template
Wall Structutre
Level
Wall Plate
Center Line
Mark Bottom of
Template