Premier Mounts PCM-MS3 User Manual
Page 11
Installation
Instructions
Page
11
PCM-MS3
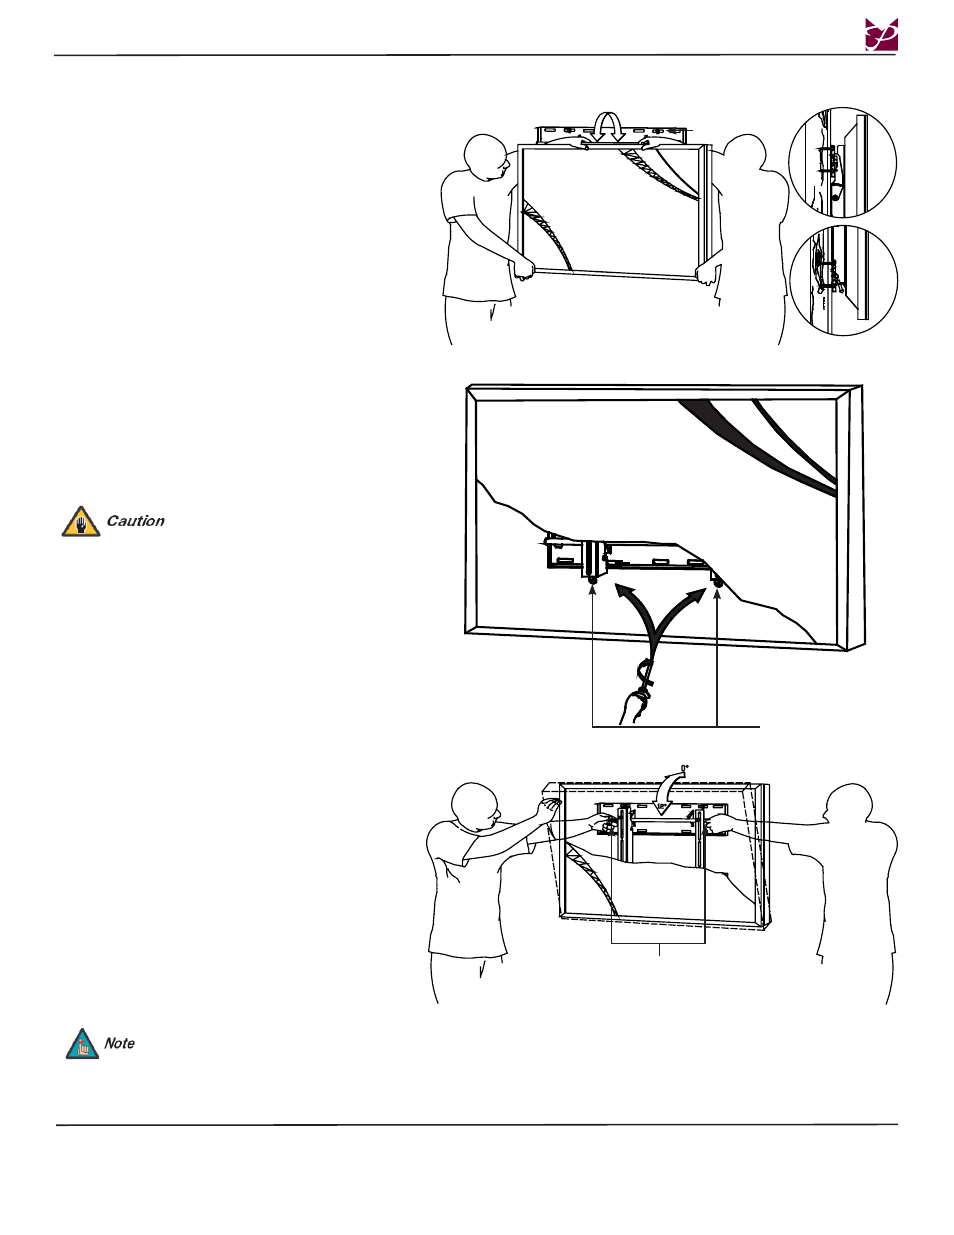
Securing the Display
Step 1. Raise the flat panel with the mounting
brackets secured to the flat panel and insert
the top and bottom hooks from each bracket
to the rods from the wall plates.
Step 1. Tilt the flat panel and secure the two (2)
M6 x 12 mm) safety knobs to each of the
mounting
brackets.
To remove the display from the wall simply extend the display to its maximum tilt range, remove the two 6 (mm) safety
knurl knobs push the flat panel back to it’s flat position loosen or remove the two (2) M6 x 30 lateral shift screws and lift
the unit of the wall.
Top
Bottom
Wall Plate
M6 x 12mm Safety
Knurl Knobs
Lateral Shift Adjustment
Step 1. Make any lateral shift adjustment and lock it
by tightening the two (2) M6 x 30 (mm)
Phillips screws found on the bottom of the
mounting
brackets.
Do not over tighten the M6 screws to
the rods.
M6 x 30mm Lateral
Shift Screws
Safety Knurl Knob Installation