Copier, Copy, 1 making a copy – Panasonic DP-MB350 User Manual
Page 36: Making a copy, 1 making a copy, Copier 36, 1 using the scanner glass 1
5. Copier
36
5 Copier
Copy
5.1 Making a copy
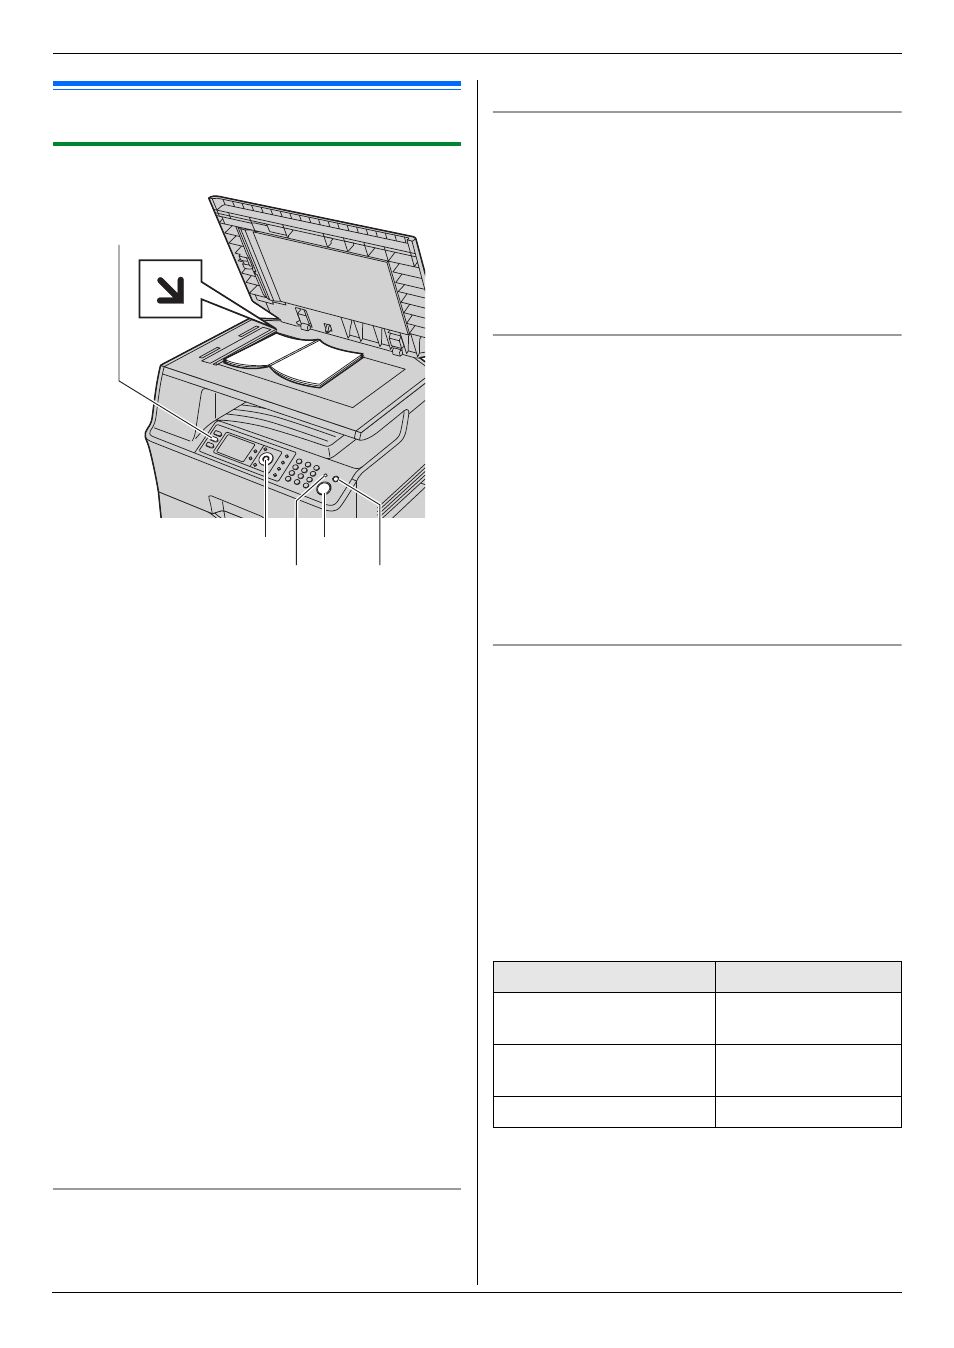
5.1.1 Using the scanner glass
1
If the
{
Copy
}
light is OFF, turn it ON by pressing
{
Copy
}
.
2
Set the original (page 19).
3
If necessary, change the copy settings according to
the type of document.
L
To change the number of copies, see page 36.
L
To select the contrast, see page 36.
L
To select the resolution, see page 36.
L
To select the zoom rate, see page 36.
4
{
Start
}
L
If the copy input tray prompt (feature #471 on
page 68) is activated, select the desired
recording paper size by pressing
{<}
or
{>}
repeatedly, then press
{
Start
}
again.
L
The unit will start copying.
5
After you finish copying, press
{
Stop
}
to reset the
settings you set in step 3.
Note:
L
To stop copying, see page 78.
L
You can change the default operation mode (feature
#463 on page 60) and the timer before returning to
the default operation mode (feature #464 on page
60).
L
If the
{
Fax Auto Answer
}
light is ON, the unit can
receive faxes automatically even when in the copy
mode.
To change the number of copies
1. Press
{V}
or
{^}
repeatedly to select “
Copies
”.
2. Enter the number of copies (up to 99).
3.
{
Set
}
To select the contrast
Adjust this setting depending on the darkness or
lightness of the document. 5 levels (low to high) are
available.
1. Press
{V}
or
{^}
repeatedly to select “
Contrast
”.
2. Press
{<}
or
{>}
.
i
{
Set
}
Note:
L
You can hold the previous contrast setting (feature
#462 on page 60).
To select the resolution
1. Press
{V}
or
{^}
repeatedly to select
“
Resolution
”.
2. Press
{<}
or
{>}
repeatedly to select the desired
resolution.
–
“
Text/Photo
”: For both text and photographs.
–
“
Text
”: For text only.
–
“
Photo
”: For photographs, shaded drawings,
etc.
3.
{
Set
}
Note:
L
You can change the default resolution (feature #461
on page 67).
To select zoom rate (enlargement / reduction)
1. Press
{V}
or
{^}
repeatedly to select “
Zoom
”.
2. Press
{<}
or
{>}
repeatedly to select the zoom rate
that fits the size of your document and recording
paper.
–
“
100%
”
–
“
50%
”
–
“
200%
”
L
You can enter the desired percentage from
“
25%
” to “
400%
” specifically by using the dial
keys.
L
Additional zoom rates can be selected according
to the recording paper size setting (feature #380
on page 59 or feature #382 on page 59).
3.
{
Set
}
Note:
L
Zoom copy is not available for the following features:
–
Quick ID copy feature (page 39)
–
Easy repeat feature (page 39)
–
Poster feature (page 40)
{
Set
}{
V}{^}{<}{>}
{
Copy
}
{
Fax Auto Answer
} {
Stop
}
{
Start
}
Feature #380/#382 setting
Additional zoom rate
“
Letter
”
“
A4
→Letter
”
“
Legal
→Letter
”
“
A4
”
“
Letter
→A4
”
“
Legal
→A4
”
“
Legal
”
–