Manual recording, General information, Recording without automatic switch-off – Philips VR752/07 User Manual
Page 14: Preventing accidental erasing, Lining up recordings (assemble cut), Selecting the recording speed (sp or lp)
14
EN
General information
Use 'Manual recording' to make a spontaneous
recording (for example, a programme currently
being shown).
If you want to start and stop a recording manual-
ly, read the section 'Recording without auto-
matic switch-off'.
Read the section 'DIRECT RECORD' if you want
to record a programme currently being shown.
Read the section 'Automatic controlled record-
ing from a satellite receiver (RECORD LINK)',
if you want a recording to be controlled automati-
cally by a satellite receiver.
Recording without automatic switch-off
1.
1.
Insert a cassette.
2.
2.
Use
to select the programme number
you want to record, for example, 'P01'.
3.
3.
To start recording, press
.
4.
4.
Stop recording with
.
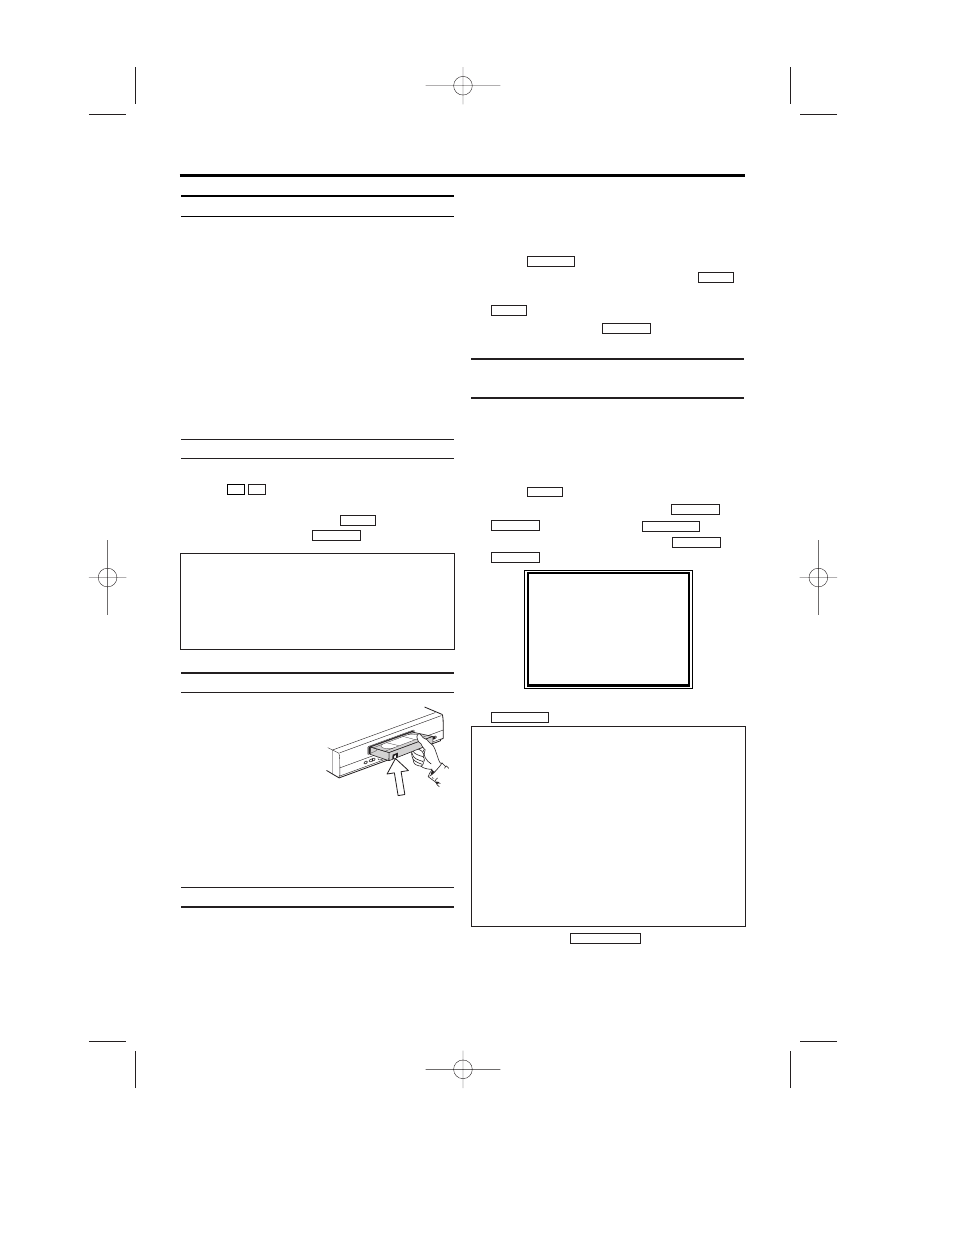
Preventing accidental erasing
All cassettes (except
rental and pre-recorded
cassettes) have a securi-
ty tab on the back of the
cassette.
To prevent recording
over important record-
ings (erasing), you can remove this security tab.
If you later decide to record on a protected cas-
sette, simply cover the hole with adhesive tape
or slide the tab to the right.
Lining up recordings (assemble cut)
When you add a further recording to a cassette,
which already has a recording on it, a short blank
(flicker) can appear between the old and the new
recording or the picture itself can flicker. To help
reduce these from occurring, proceed as follows:
1.
1.
Find the tape position of the old recording
where you want to insert the new recording.
2.
2.
Look at the last minute of the old recording
(playback).
3.
3.
Press
at the tape position where
the new recording is to go and press
.
4.
4.
Now start recording as usual by pressing
on the remote control.
5.
5.
Stop recording with
.
Selecting the recording speed
(SP or LP)
LP allows to double the recording duration on tape
(for example six hours instead of three hours on an
E180 cassette).
1.
1.
Switch on the TV. If required, select the pro-
gramme number for the video recorder.
2.
2.
Press
. The main menu will appear.
3.
3.
Select 'RECORD SETUP' using
or
and confirm with
.
4.
4.
Select 'RECORD SPEED' using
or
.
5.
5.
Select the required recording speed with
.
6.
6.
To end, press
.
STATUS/EXIT
FWD 1- B
STOP C-L
PLAY B-K
FWD 1- B
STOP C-L
PLAY B-K
MENU
STOP C-L
REC I
REC I
STILL
2
2
STOP C-L
REC I
P–
P+
5. Manual recording
SELECT K L CHOOSE B
→RECORD SPEED
[SP]
DIRECT RECORD
[OFF]
RECORD LINK
[OFF]
END=EXIT
'SP'/'LP'/'AUTO'
'SP': Standard Play (normal recording speed)
offers the usual first-class picture quality.
'LP': Long Play (half recording speed, double
recording time). 6 hours can be recorded on a
3-hour cassette (E180) with a somewhat
reduced picture quality.
'AUTO': Automatic Long Play. If there is not
enough space on the tape to record a pro-
grammed recording in standard speed, the
recording is automatically done in 'LP' (Long
Play). Otherwise, the recording speed will be
'SP' (Standard Play).
The message 'PROTECTED CASSETTE
CANNOT RECORD' appears briefly on the
screen, then the cassette is ejected.
A cassette without its security tab had been
inserted. Cover the hole with adhesive tape or
insert a new cassette.
HG491/495BD(EN).qx3 03.12.19 9:54 PM Page 14