Saving a scanned image on the computer – Lexmark 4800 Series User Manual
Page 89
Scanning to a computer over a network using the control panel
1
Make sure:
•
The printer is connected to a network through a print server or through the wireless network connection.
•
The printer, the print server (if used), and the computer receiving the scan are all turned on.
•
The printer is configured to scan over a network.
2
Load an original document facedown on the scanner glass.
3
From the control panel, press
or
repeatedly until Scan is highlighted.
4
Press
.
5
Press
or
repeatedly until the computer to which you want to scan is highlighted.
6
Press .
If you set a PIN during network setup and are being asked for it:
a
Enter the PIN using the
and
to select a digit location and the
and
to select a value for that digit.
b
Press .
7
Wait until the printer has finished downloading the scan applications list.
8
Make your selections using the control panel buttons.
9
Press
.
Saving a scanned image on the computer
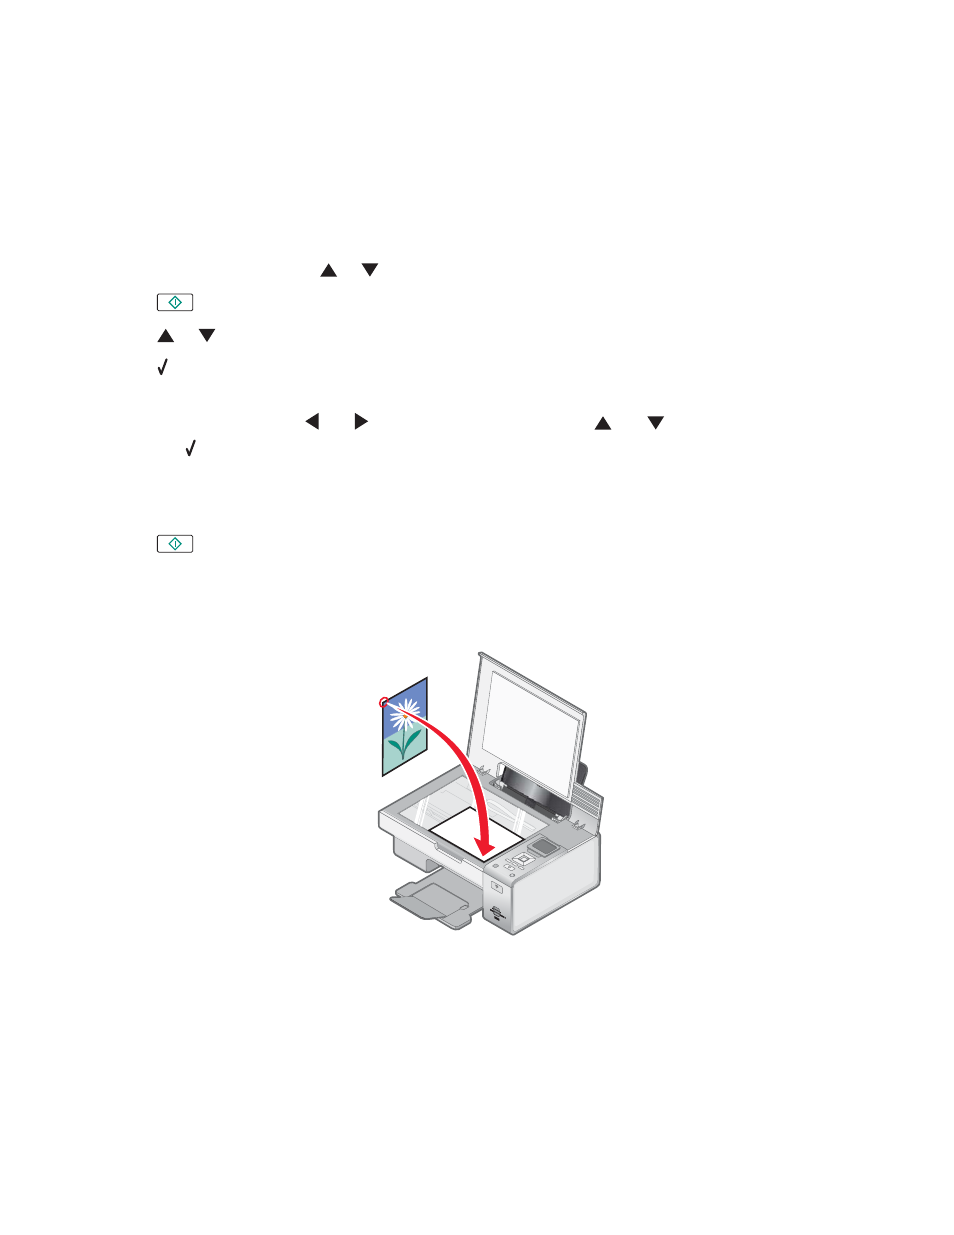
1
Load an original document facedown on the scanner glass.
W
F
I
I
P
R
IN
TIN
G
2
Close the top cover.
3
From the desktop, double-click the Productivity Studio icon.
4
Click Scan.
5
Select the Photo or Several Photos option.
6
Click Start.
89