Rotating a photo, Changing the resolution / size of a photo – Lexmark 4800 Series User Manual
Page 67
8
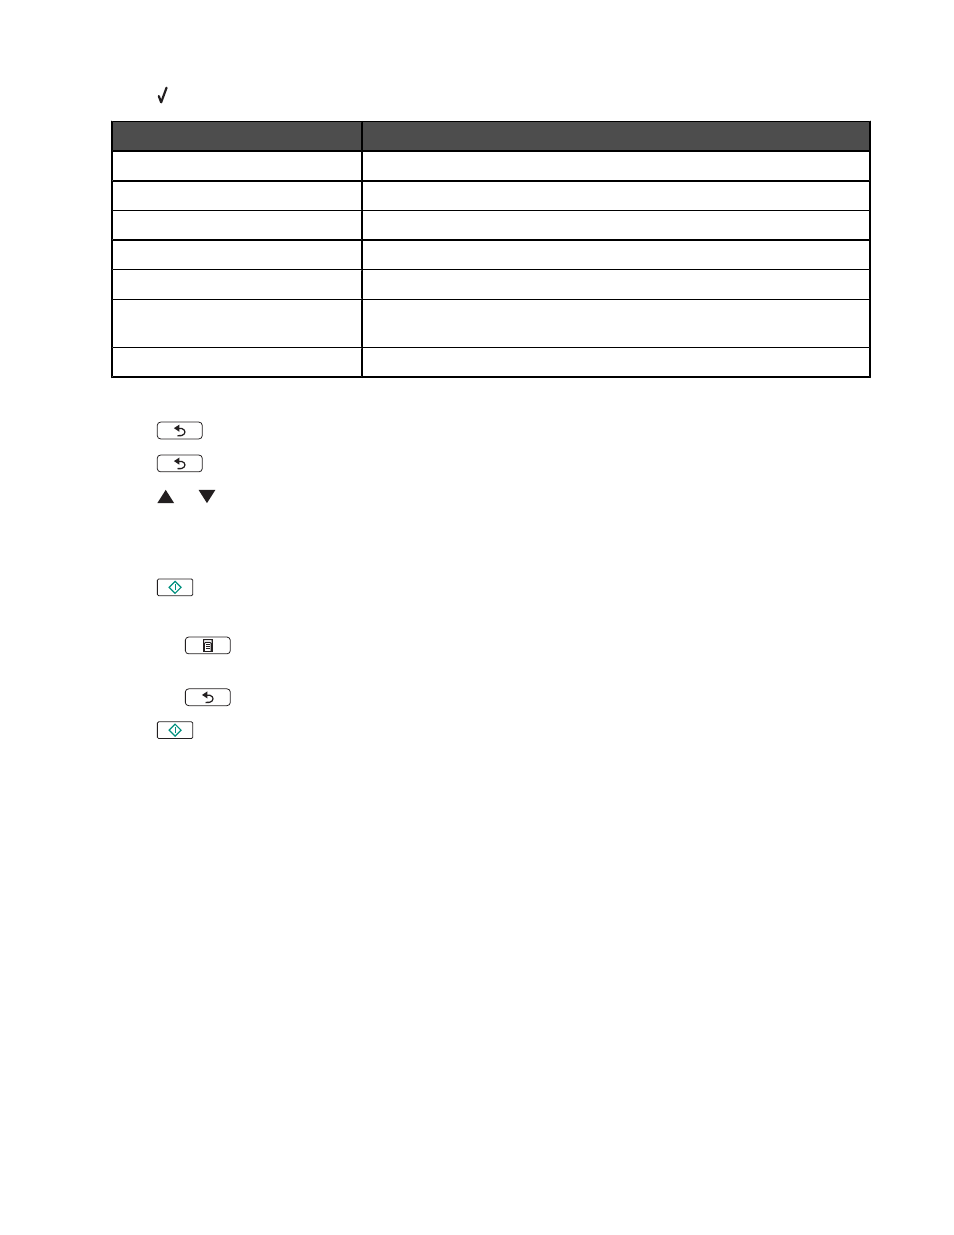
Press to select Edit Photo.
From here
You can
Brightness
Adjust the brightness of a photo.
Rotate
Rotate a photo in 90-degree increments clockwise or counterclockwise.
Crop
Crop a photo.
Auto Enhance
Enhance a photo automatically.
Remove Red Eye
Reduce the red-eye effect caused by light reflection.
Colorized Effect
Select whether to print a photo in black and white, sepia, antique brown,
or antique gray.
Frames
Select a frame for the photo.
9
Make your selections using the control panel buttons.
10
Press
to save your changes.
11
Press
to go back to the photo.
12
Press
or
to select the number of copies to print.
Note: The number of copies is automatically set to 1.
13
You can select more photos for printing and editing by repeating step 5 through step 12.
14
Press
to go to the print preview screen.
15
If you want to adjust the print settings:
a
Press
.
b
Make your selections using the control panel buttons.
c
Press
to save your selections, and then go back to the print preview screen.
16
Press
to print.
Note: To prevent smudging or scratching, avoid touching the printed surface with your fingers or sharp objects.
For best results, remove each printed sheet individually from the paper exit tray, and allow the prints to dry at
least 24 hours before stacking, displaying, or storing.
Rotating a photo
1
From the Productivity Studio Welcome Screen, click File
Open to select the image you want to edit.
2
With an image open, click the Quick Fixes tab.
3
Click Rotate Left or Rotate Right to rotate the image 90 degrees in either direction.
The thumbnail of the photo is updated.
Changing the Resolution / Size of a photo
Resolution refers to dpi (dots per inch).
1
From the Productivity Studio Welcome Screen, click File
Open to select the image you want to edit.
2
With an image open, click Advanced.
67