To extend your network, How to expose a device to the internet, How to expose a device to the internet 25 – Linksys E1550 User Manual
Page 28
25
Setting Up: Advanced
Linksys E1550
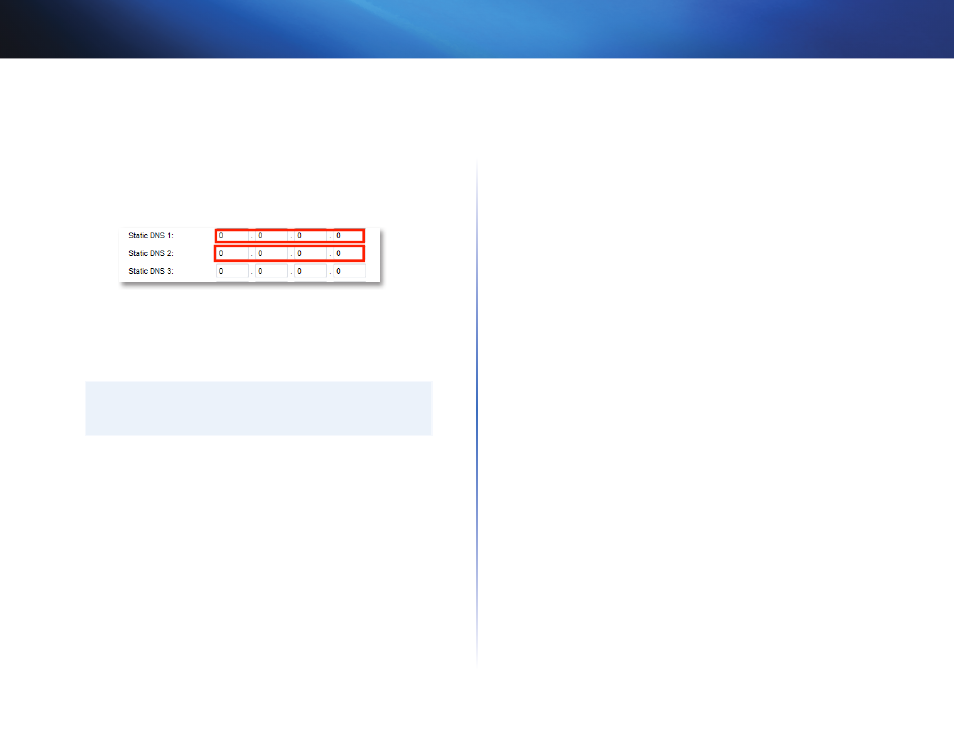
To use their DNS:
Setup > Basic Setup
1. Log into the browser-based utility (see “How to open the browser-based
2. Click the Setup tab, then click the Basic Setup page
3. Complete the Static DNS fields with the information provided by your
content filtering provider
4. Click Save Settings
To extend your network
This topic covers cases three and four above.
NOTE
This is a complex process, so this procedure assumes that you have
some networking knowledge
To extend your network or add wireless capabilities:
1. If you want to extend your network, you may also follow the instructions
above One example of this might be to provide a separate wireless
network for your children to keep their wireless network traffic separate
from your wireless network You might also want to isolate one network
from another network so that network shares aren’t visible across
networks In this case, use an Ethernet cable to connect the Internet
port of the downstream router to one of the LAN ports of the upstream
router Make sure that the local network subnets on the two routers are
different
- OR -
You can extend your network by turning the downstream router into an
access point (See “How to use a router as an access point” on page 22)
When you use a router as an access point, computers connected to the
access point are on the same IP subnet as all other devices connected to
the router File, printer, and media sharing is much easier if all devices are
on the same subnet
How to expose a device to the Internet
Why would I expose a device to the Internet? If you are operating a web
server, a mail server, or a web camera, you may want to expose that device to
the Internet so anybody can access it Your router includes a DMZ (Demilitarized
Zone) feature that forwards all inbound ports presented on the WAN interface,
except those that are specifically forwarded, to an individual IP address or
MAC address This feature is normally not used, because it presents significant
security risks to the device that you designate for the DMZ The DMZ device is
not protected by the built-in firewalls, Internet filters, or router web filters, and
is open to attacks from hackers
A much better way of “exposing” devices to the Internet would be to use port
forwarding See “How to set up port forwarding” on page 39
To set up a device in the DMZ:
Applications & Gaming > DMZ
1. Configure your device with a static IP address See your device’s
documentation for help with setting a static IP address or use DHCP
reservation (see “How to set up the DHCP server on your router” on page
15)
2. Log into the browser-based utility (see “How to open the browser-based
3. Click the Applications & Gaming tab, then click the DMZ page
4. Select Enabled
5. In the Source IP Address section, select Any IP Address to allow access
to your DMZ device from the entire Internet, or select the source range
button and enter a range of allowed source addresses
6. In the Destination section, enter the last three digits of the IP address of
the device that will be in the DMZ The rest of the IP address is already
completed