Lexmark 2600 SERIES 4433 User Manual
Page 24
Load up to
Make sure
10 iron-on transfers
•
You follow the loading instructions that came with the iron-on transfers.
•
The print side of the transfers faces you.
•
The transfers are loaded in the center of the paper support.
•
The paper guides rest against the edges of the transfers.
Note: For best results, load transfers one at a time.
25 greeting cards
25 index cards
25 photo cards
25 postcards
•
The print side of the cards faces you.
•
The cards are loaded in the center of the paper support.
•
The paper guides rest against the edges of the cards.
Note: Photo cards require more drying time. Remove each photo card as it
exits, and then allow it to dry to avoid ink smudging.
custom-size paper
•
The print side of the paper faces you.
•
The paper size fits within these dimensions:
Width:
–
76.2–215.9 mm
–
3.0–8.5 inches
Length:
–
127.0–355.6 mm
–
5.0–17.0 inches
•
The paper is loaded in the center of the paper support.
•
The paper guides rest against the edges of the paper.
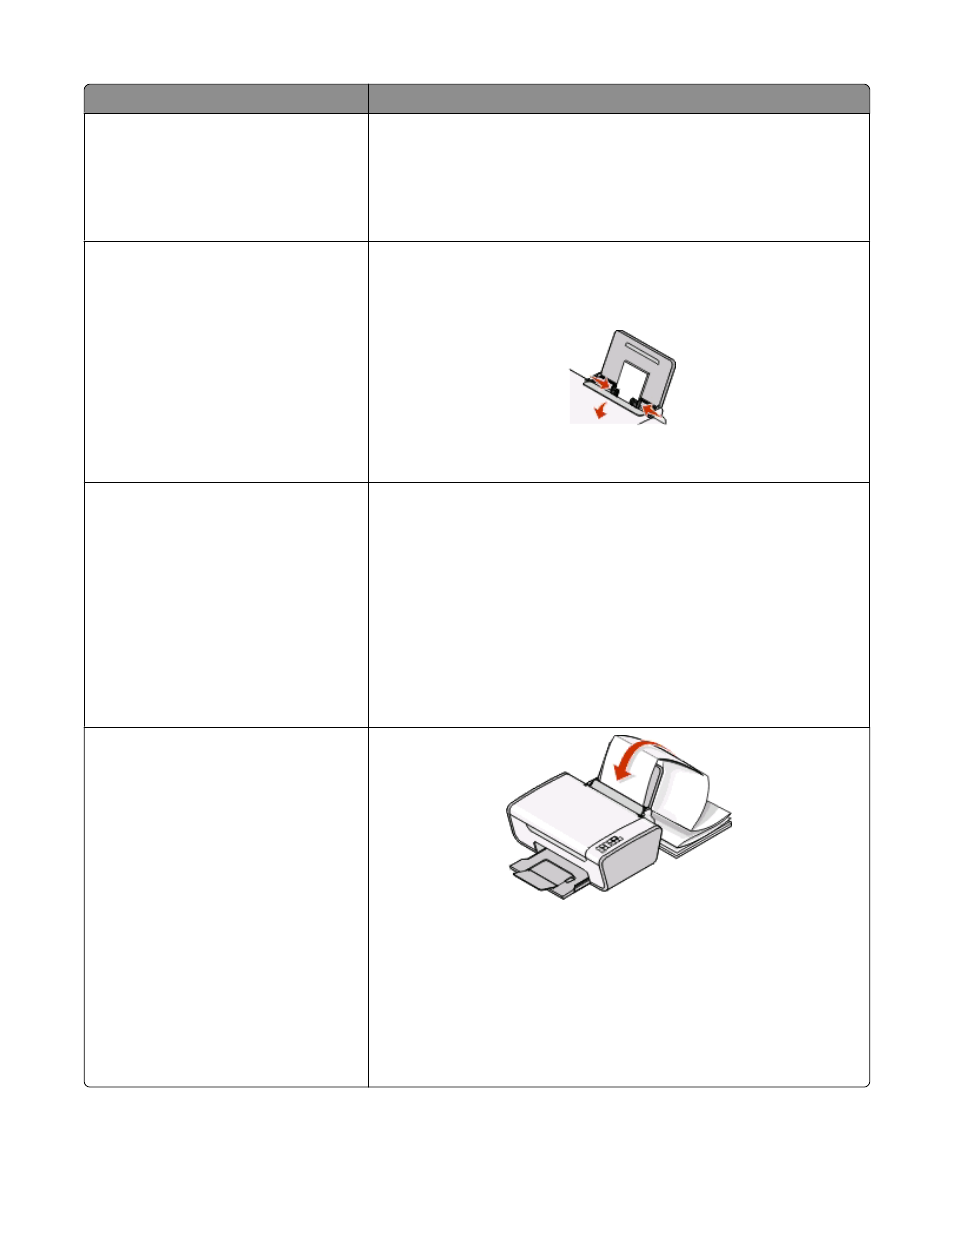
banner paper
•
You remove all the paper from the paper support before loading the
banner paper.
•
You tear off only the number of pages needed to print the banner.
•
You place the required stack of banner paper behind the printer, and then
feed in the first sheet.
•
The leading edge of the banner paper feeds into the printer first.
•
The paper is loaded in the center of the paper support.
•
The paper guides rest against the edges of the paper.
Loading paper and original documents
24