Date/time imprinting, Setting the print quantity to zero, Setting the date/time – Konica Minolta APS Camera User Manual
Page 35
67
66
PRINT-QUANTITY SELECT
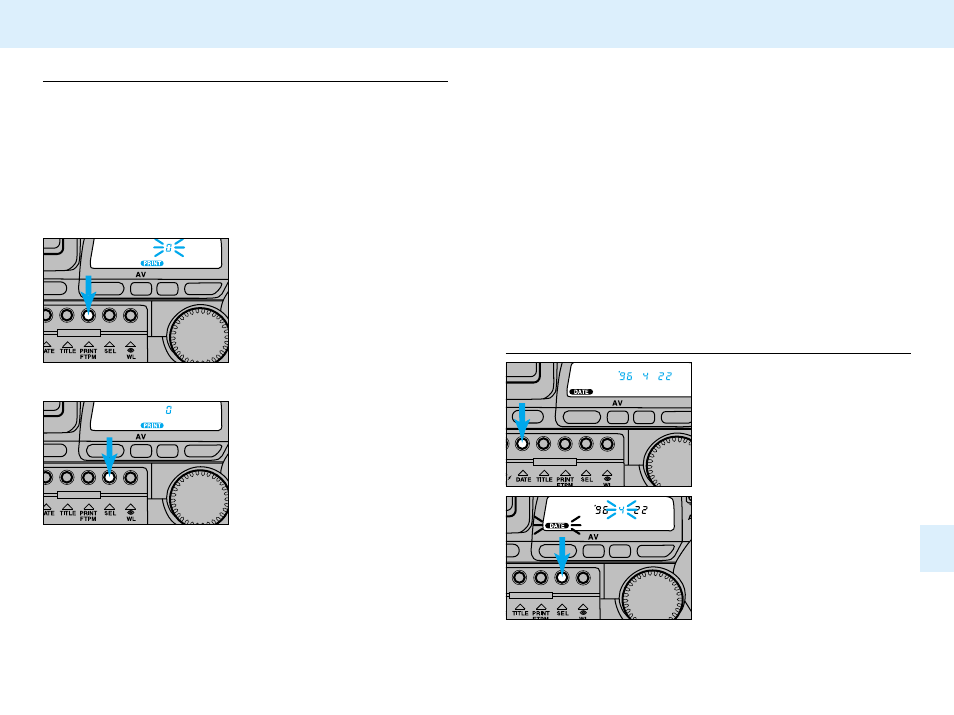
After taking the picture-
1. Open the control- panel
door, then press and
hold the print button until
the quantity displayed
changes to a blinking
zero.
If someone walked into the picture at the last moment, or you
don't need prints, you can set the print quantity to zero after
taking the picture.
•Zero the print quantity before taking the next picture.
•Automatic rewind prevents the last frame from being zeroed.
•Once selected, this quantity is not changeable until reprints
are ordered.
•The exposed frame itself remains on the film and can be
printed when ordering reprints.
•Some labs may not be able to read the print quantity data.
See your photofinisher for details.
Setting the Print Quantity to Zero
2. Press the select button.
•The camera will wind the film
back to rewrite the data, then
readvance the film to the next
frame.
DATE/TIME IMPRINTING
Your camera records date, time, and title information on the
film’s magnetic data strip. The recorded information is read at
the photo lab and imprinted on the back of your photographs.
•Some labs can not print date and/or time information on the
front of your photographs. See your photofinisher for a full
description of available services.
•This camera always records date and time information on the
film’s magnetic data strip.
•See your photofinisher for details on having date and time
information imprinted onto prints made from the slides.
Setting the Date/Time
1. Open the control- panel
door, then press the date
button.
2. Press the select button
until the item you want to
adjust blinks.
•Each press of the select button
causes the next item to blink.
•The sequence is as follows:
year -> month -> date -> hour
-
> minute -> stops blinking