Shooting tips, Custom white-balance calibration – Konica Minolta DiMAGE A2 User Manual
Page 71
71
Custom-white-balance function allows the camera to be calibrated to a specific lighting
condition. Three setting can be stored in the camera and used repeatedly. Custom white
balance is especially useful with mixed-lighting conditions or when critical control over
color is needed.
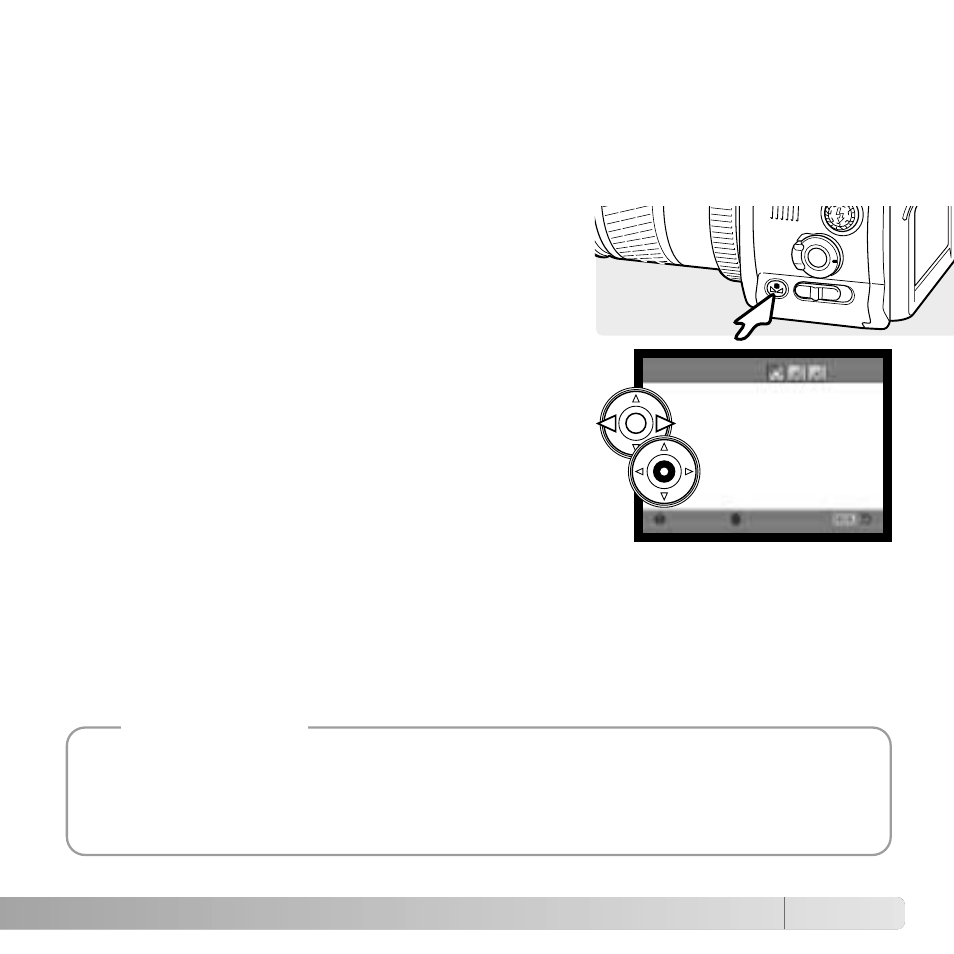
CUSTOM WHITE-BALANCE CALIBRATION
Select a white object and fill the the center of the live
image with it; the object does not need to be in focus.
Press and hold the custom white-balance button to
calibrate the camera; the measuring area is briefly
displayed before the shutter releases.
When making the calibration, the color of the object used is critical. The object should be white.
A colored object will cause the calibration to compensate for the object color rather than the color
temperature of the ambient light. A blank piece of white paper is an ideal surface and can easily
be carried in a camera bag.
Shooting tips
If an error occurs during calibration, a message will appear on the monitors. Press the
controller to cancel the message and press the menu button to cancel the register-
selection screen; the custom white-balance indicator will be yellow to indicate the error.
Recalibrate using a suitable reference target. A calibration error may occur under
extremely bright light sources, especially with flash units. Use a gray card as the
calibration target to reduce the intensity of the illumination.
On the register-selection screen use the control dials or
left/right keys of the controller (1) to select the custom
white-balance register in which to store the setting; any
previous setting is replaced. Press the central button of
the controller (2) to complete the operation. The menu
button cancels the operation without saving the setting.
:enter
Select register
:select
1
2