Saving projected images, Capturing the image, Deleting the captured image – Sharp XG-C50X User Manual
Page 69
Easy to Use Functions
-67
Saving Projected Images
• This projector allows you to capture projected images (RGB signals) and set them as a
startup image, or background image when no signals are being received.
• You can capture the images that are input using RGB signals.
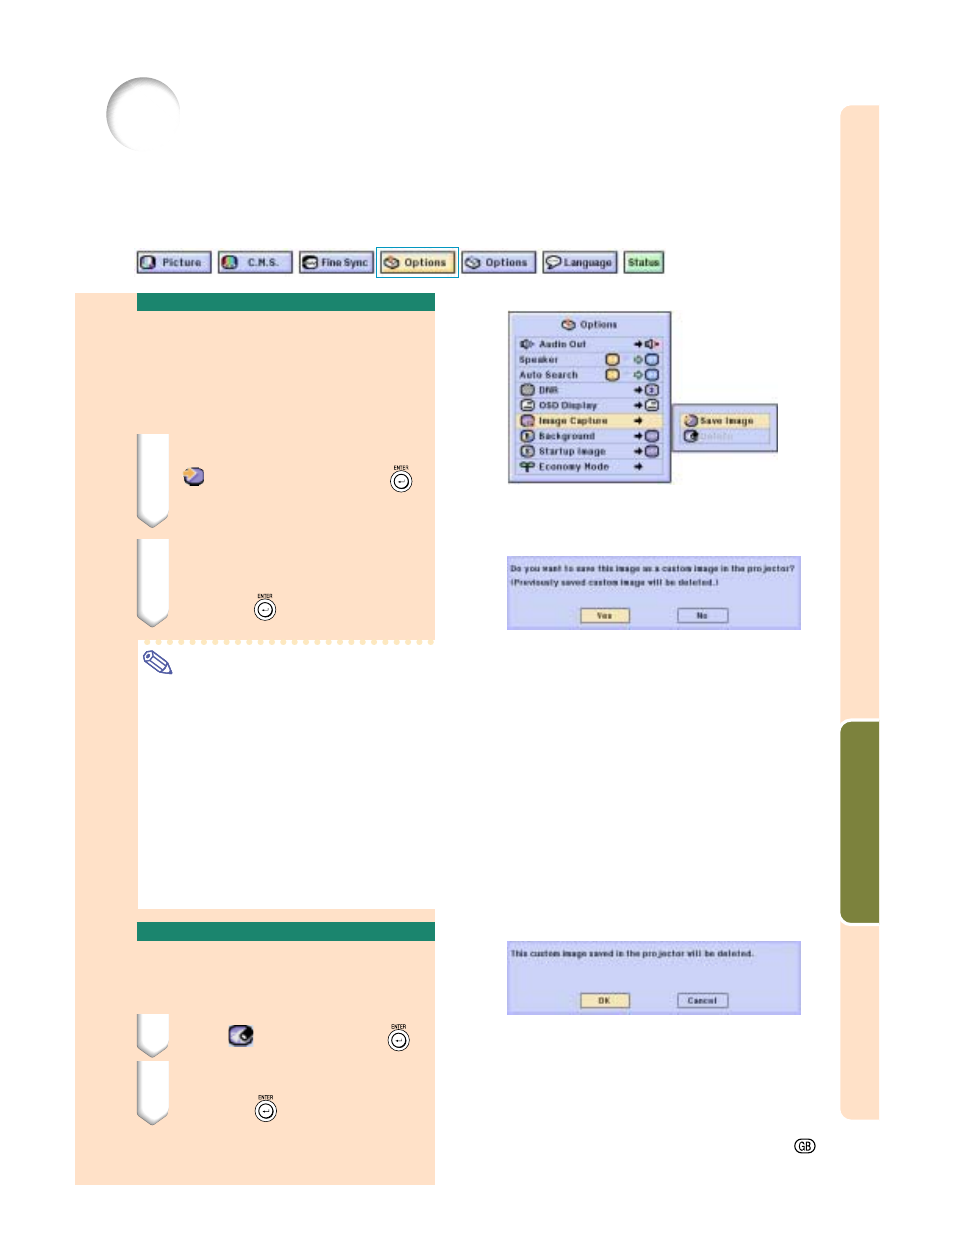
Capturing the Image
Select “Image Capture” in the “Options
(1)” menu on the menu screen.
➝ For operating the menu screen, see
pages
42 to 45
.
1
Press
'
'
'
'
' or "
"
"
"
" to select
“
Save Image” and press
.
• The projected image is captured. It
may take some time for capturing.
2
1
1
1
1
1 Press \
\
\
\
\ or |
|
|
|
| to select
“Yes”.
2
2
2
2
2 Press
.
Note
• Only images from XGA (1024 × 768) non-
interlace signals in INPUT 1 or INPUT 2
mode can be captured.
• The saved image is reduced to 256 colors.
• Images from equipment connected to
INPUT 3 or INPUT 4 terminal cannot be
captured.
• Only one image can be captured and
saved.
• The color of images may differ before and
after saving if an image is captured on
which image adjustment has been per-
formed using the “C.M.S.” function.
Deleting the Captured
Image
1
Select “
Delete” and press
.
2
1
1
1
1
1 Press \
\
\
\
\ or |
|
|
|
| to select “OK”.
2
2
2
2
2 Press
.