3 manual editing – Sony HDW-F500 User Manual
Page 127
Chapter 6
Editing
6-19
Chapter 6 Editing
6-3 Manual Editing
Follow the procedure below to perform manual
editing.
Manual editing
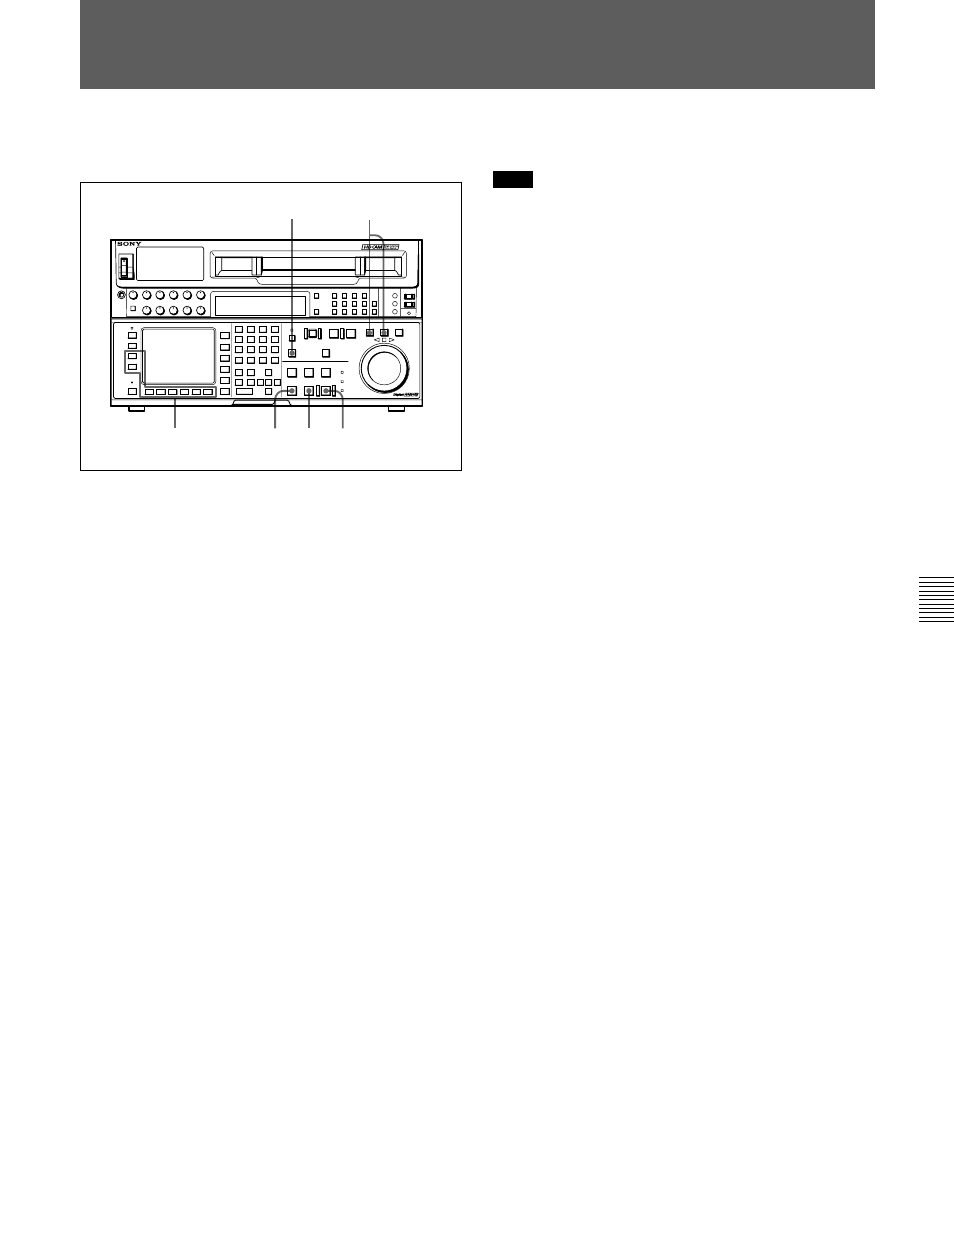
1
Enter jog or shuttle mode to position the tape at a
place at least three seconds before the position at
which you want to set an edit point.
2
Press the AUTO button to turn it off.
3
Press the
[F3] (ASSEMBLE) button in the HOME
menu or press the respective INSERT button (
[F4]
(INS TC),
[F5] (INS VIDEO), [F6] (INS A-CH1),
[F7] (INS A-CH2), [F8] (INS A-CH3), [F9] (INS
A-CH4) or
[F10] (INS CUE) button) to select the
edit mode that you want.
4
Press the PLAY button.
Playback starts.
5
Press the REC/EDIT button at the point where you
want to start editing (IN point).
The REC/EDIT button lights, and editing starts.
6
Press the REC/EDIT button where you want to end
editing (OUT point).
Editing ends, but the tape continues to run in
playback mode.
7
Press the STOP button to stop the tape.
Note
To ensure a stable picture, start playback at least three
seconds before the IN point.
1
2
7
3
5,6
4
DIGITAL VIDEO CASSETTE RECORDER HDW-F500