Auto sync adjustment, Auto sync adjustment using the remote control – Sharp DT-200 User Manual
Page 36
E-35
Basic Operation
Adjusting the Computer and DVD/DTV Images
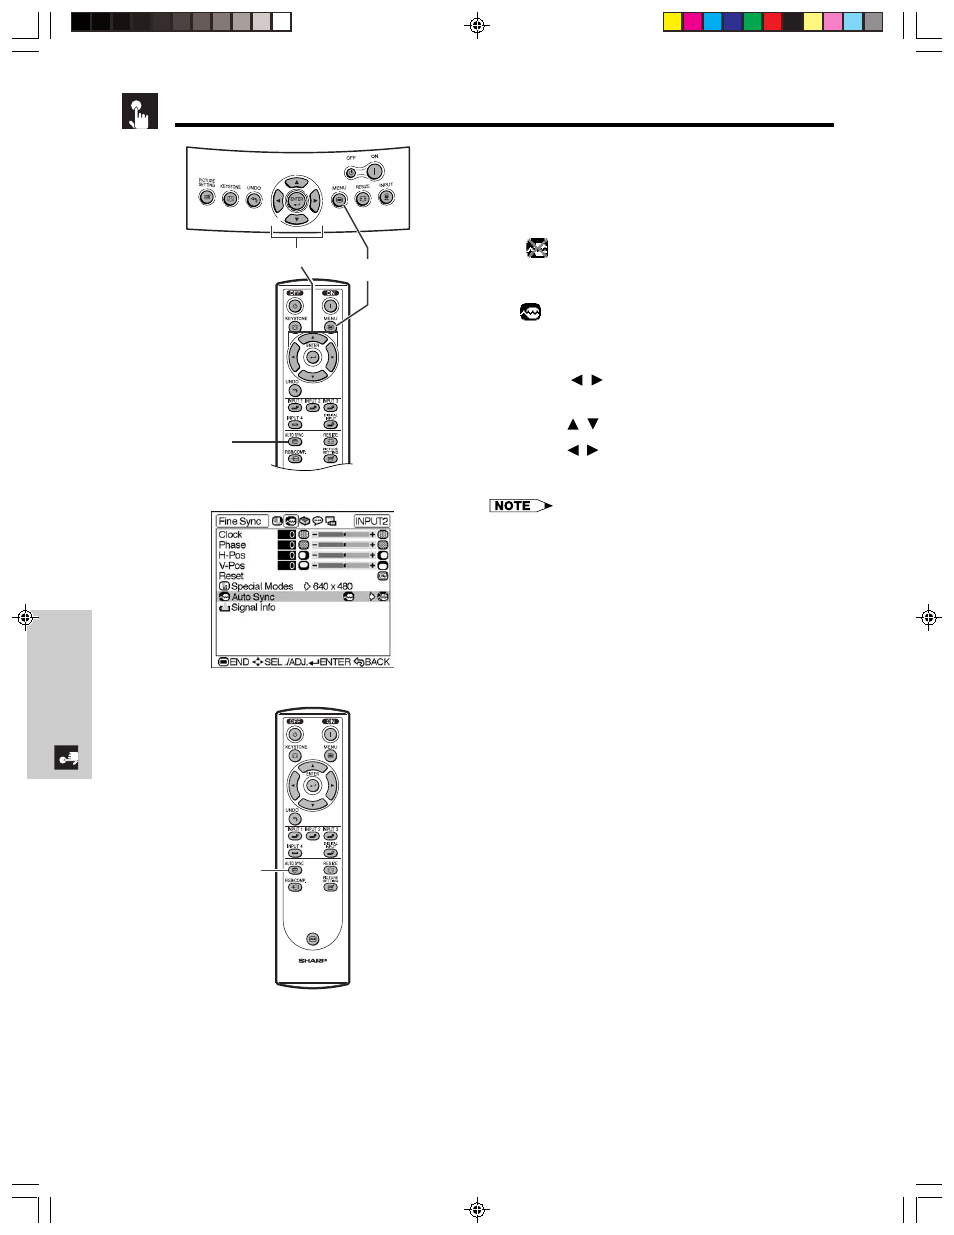
Auto Sync Adjustment
• Used to automatically adjust a computer image.
• Select whether the image is to be synchronized
automatically when switching the signal with “ON” or
“OFF”.
OFF (
)
• Synchronized adjustment is not automatically
performed.
• Press AUTO SYNC to perform manual adjustment.
ON (
)
• Synchronized adjustment is automatically performed.
1 Press MENU. The “Picture” menu screen appears.
2 Press
/
to display the “Fine Sync” menu
screen.
3 Press /
to select “Auto Sync”.
4 Press /
to select “ON” or “OFF”.
5 To exit the menu screen, press MENU.
• When the optimum image cannot be achieved with Auto
Sync adjustment, use manual adjustments. (See page 33.)
• The Auto Sync adjustment may take some time to complete,
depending on the image of the computer connected to the
projector.
• “Auto Sync” cannot be used in the DIGITAL INPUT mode.
On-screen Display
2,3,4
1, 5
AUTO SYNC
button
Auto Sync Adjustment Using the
Remote Control
1 Press AUTO SYNC button on the Remote Control.
Synchronized adjustment starts.
FREEZE
AUTO SYNC
button
DT-200(E)#p34_35.p65
02.11.21, 11:43 AM
35