Picture image, Image adjustment – Sanyo PLC-XP100BKL User Manual
Page 45
45
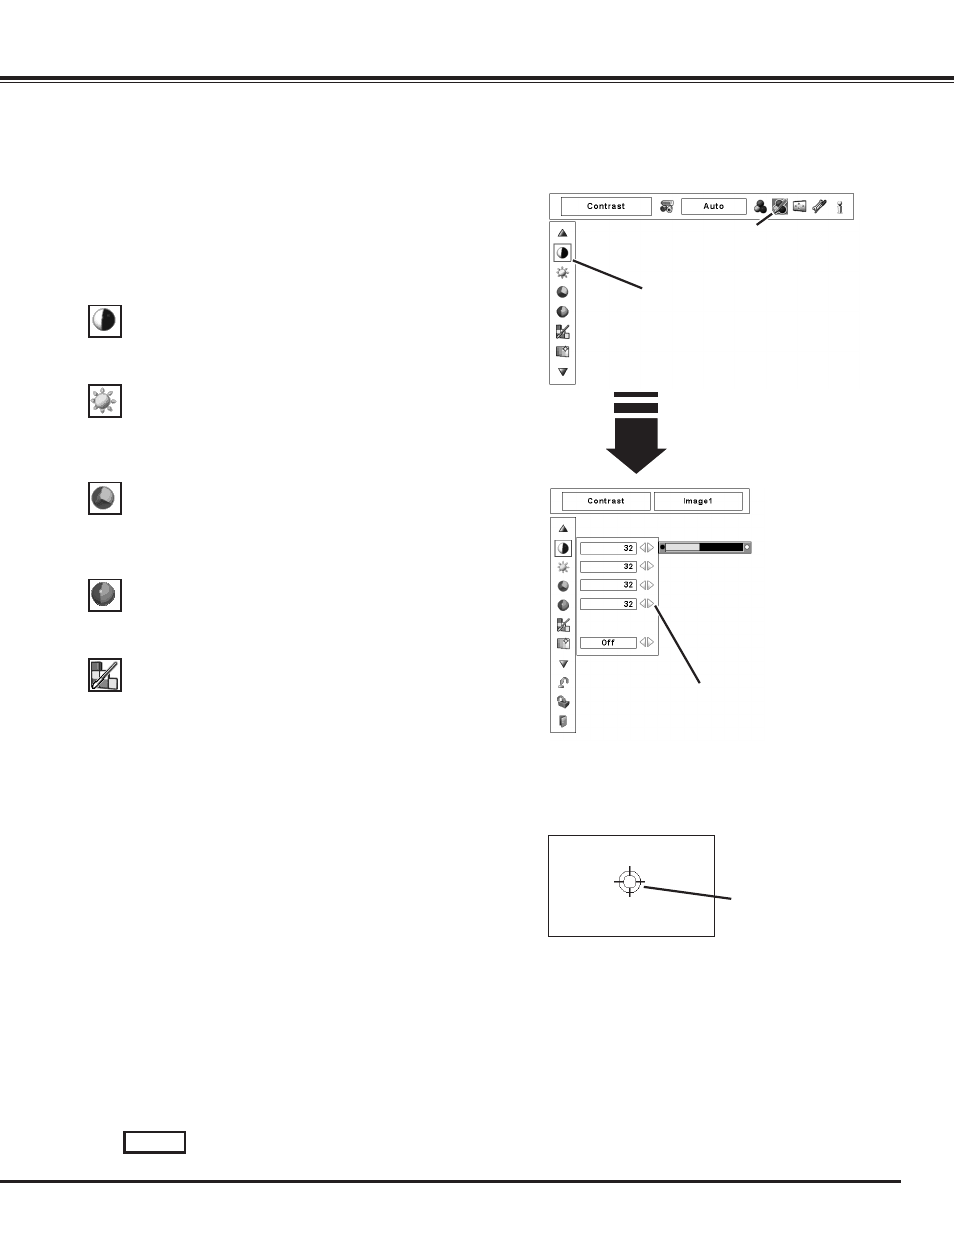
Press the MENU button to display the On-Screen Menu. Use
the Point 7 8 buttons to move the red frame pointer to the
Image Adjust Menu icon.
1
2
Use the Point ed buttons to move the red frame pointer to
the desired item and then press the SELECT button to display
the adjustment dialog box. Use the Point 7 8 buttons to
adjust the setting value.
IMAGE ADjUST MENU
Press the Point 7 button to decrease contrast; press the Point 8
button to increase the contrast (from 0 to 63).
Press the Point 7 button to decrease the brightness; press the
Point 8 button to increase the brightness (from 0 to 63).
Contrast
Brightness
Press the Point 7 button to decrease the intensity of the color;
press the Point 8 button to increase the intensity of the color (from
0 to 63).
Press the Point 7 8 buttons to adjust the tint value to obtain
proper color balance (from 0 to 63).
Color ✽
Tint ✽
Color Management
The Color Management function can be used to adjust the LEVEL,
PHASE, and GAMMA of the selected display colors (except for
black, white, and gray) on the screen and replace these colors with
other colors if required.
You can store up to eight (8) color management data.
1
Use the Point ed buttons to move the red frame pointer to
Color Management, and then press the SELECT button. The
projected image freezes, and the COLOR MANAGEMENT
POINTER appears.
Use the Point ed7 8 buttons to move the pointer to the
spot where you want to adjust the color and then press the
SELECT button. The COLOR SELECTION window appears,
and the color in the center of the pointer is selected and you
can adjust the color.
2
Use the Point ed7 8 buttons to adjust the LEVEL and
PHASE of the color, and then press the SELECT button to
confirm the setting. Then use the Point ed buttons to adjust
the GAMMA for the color and press the SELECT button to
accept the setting. After adjusting, press the SELECT button
to go to the COLOR MANAGEMENT LIST.
3
COLOR MANAGEMENT
POINTER
POINTER MODE
Image Adjustment
Move the red frame pointer to the desired
item and then press SELECT button.
Image Adjust Menu icon
Use the Point
7 8
buttons to adjust the
setting value.
COLOR SELECTION MODE
Go to the COLOR MANAGEMENT LIST.
LIST
Picture Image
✔
Note:
• Displayed only in Video Input.
• Tint cannot be selected when the video system
is PAL, SECAM, PAL-M, or PAL-N (p.41).
✽