Title impose, Rding, Pg. 51) – JVC GR-DV4000 User Manual
Page 51: Title selection 1, Title recording 5
EN
51
Master Page: Right
6
Press 4/9 to start video playback.
7
Press E-MAIL to engage the E-Mail Clip Record-
Standby mode.
● “E-CLIP” appears.
● To cancel E-Mail Clip Recording, press E-MAIL
again or press 8 to stop video playback.
8
At the point you want to start dubbing, press the
Recording Start/Stop Button to start E-Mail Clip
Recording.
9
Press the Recording Start/Stop Button to stop
E-Mail Clip Recording.
● “COMPLETED” is displayed, then the
camcorder re-enters the E-Mail Clip Record-
Standby mode.
10
Press E-MAIL to end E-Mail Clip Recording. The
normal screen reappears.
To view video clips stored in a memory card…
Refer to “Playback Of Video Clips” (
To delete unwanted video clips stored in a memory
card…
Refer to “Deleting Files” (
NOTES:
● Playback operation cannot be performed during
E-Mail Clip Recording.
● If the end of the tape is reached during E-Mail Clip
Recording, that portion will be automatically
stored in the memory card.
● If the end of the tape is reached in step 7, the
E-Mail Clip Record-Standby mode will be
automatically cancelled.
● The video clip files stored with this camcorder are
compatible with MPEG4. Some MPEG4 files
stored with other devices cannot be played back
with this camcorder.
● The title image playback (TITLE) screen and the
during E-Mail Clip Recording.
● Video noise may appear while viewing video clips
in the LCD monitor or viewfinder, however, this
noise is not present in the actual video clips stored
in the memory card.
● You can also view video clips on your PC by using
Windows
®
Media Player version 6.4 or later. Refer
to the instructions of PC and software.
A selection of titles/frames stored in the provided
memory card can be superimposed.
Title Selection
1
Perform steps 1 to 6 in “Playback Of Title
Images” (
2
Press INDEX. The title index screen appears.
3
Rotate the MENU Wheel to select the desired
title, and press it.
4
Set “TITLE W/” to the desired mode.
(
Title Recording
5
Press TITLE during recording. The selected title/
frame is recorded.
● Press TITLE again to turn off the title/frame.
NOTES:
● Title Impose can also be used for dubbing.
● You can delete unwanted titles/frames (“Deleting
੬ pg. 28)) or protect important ones from
accidental erasure (“Protecting Files” (
● A title/frame created on a PC can be transferred to
a memory card using the provided software.
Transferred titles/frames are displayed from title
index number 12. They can be used together with
the titles/frames in the provided memory card. For
details on creating/transferring titles/frames, refer
to the software instructions.
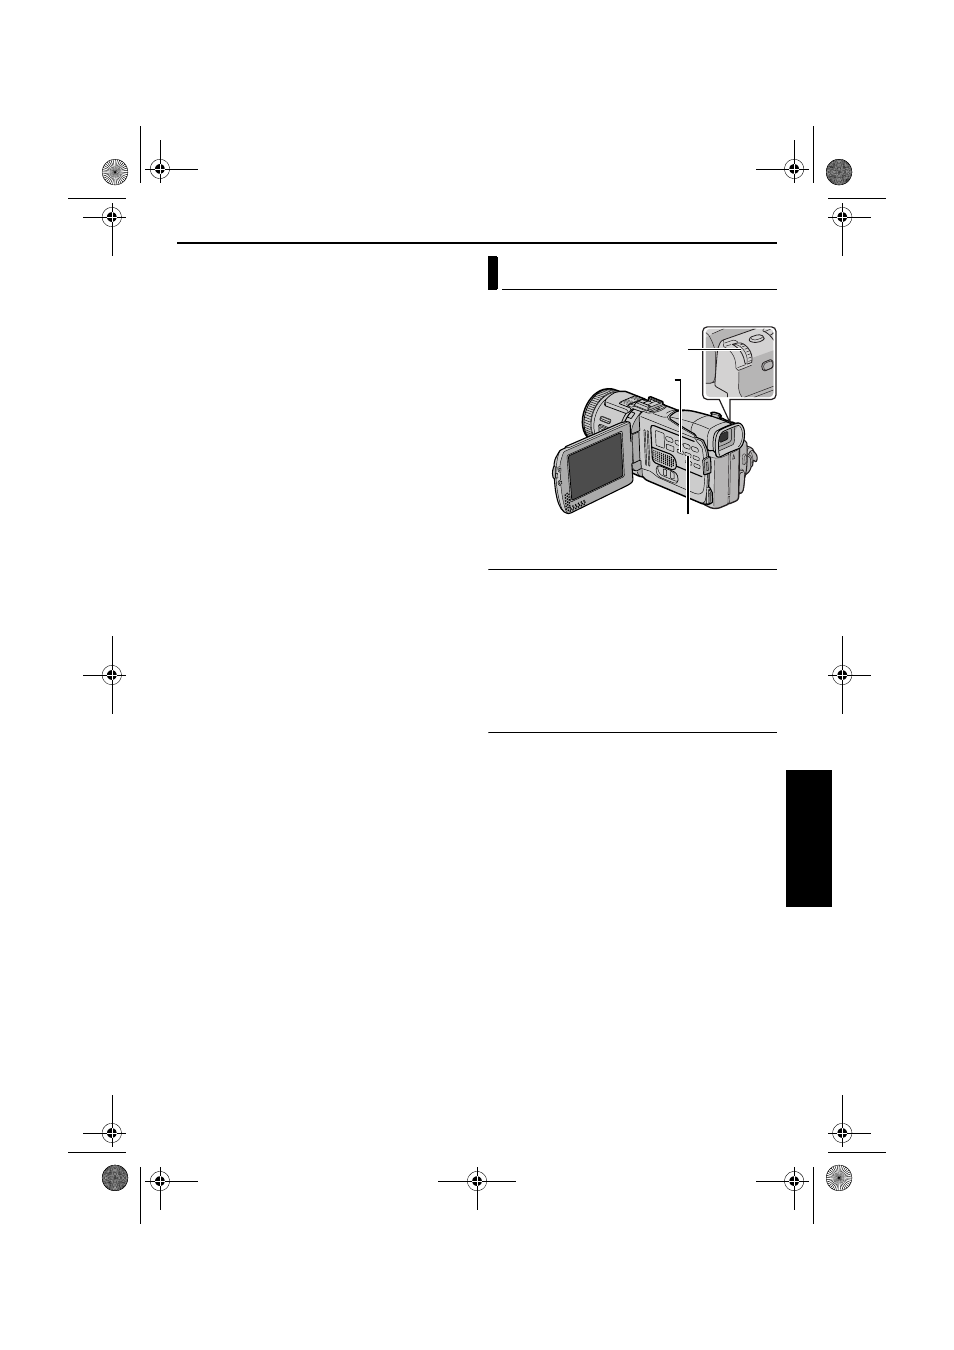
Title Impose
TITLE Button
INDEX Button
MENU Wheel
GR-DV4000PAL.book Page 51 Friday, February 14, 2003 10:30 PM