C or, Confirm/set video channel, Attention – JVC HR-XVS20EK User Manual
Page 17
Masterpage:Right-No-Heading
17
Filename [XVS20EK_06Index.fm]
Page 17
April 1, 2003 3:39 pm
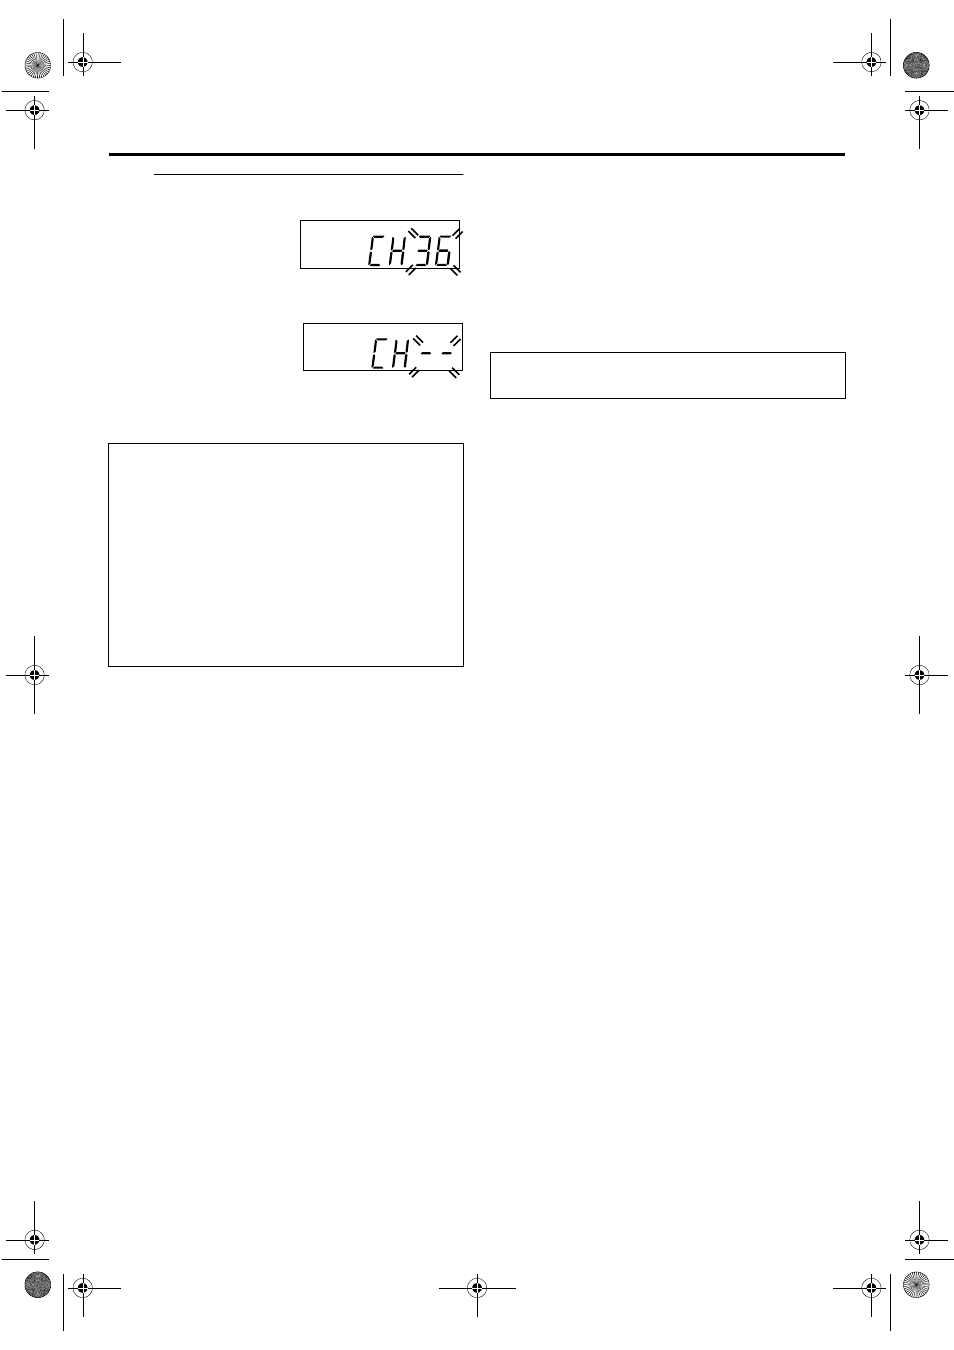
C
Confirm/Set video channel.
With RF Connection
The video channel that is
shown on the display panel is
your video channel. Press OK.
● To view picture signals from the unit, set your TV to the video
channel.
With AV Connection
Press PR – until the display
panel shows “CH – –”. Now
the video channel is set to off.
Then press OK.
● To view picture signals from the unit, set your TV to its AV
mode.
NOTES:
● In the area where no TV station transmits a PDC (Programme
Delivery Control) signal, the unit can perform neither Auto
Clock Set nor Auto Guide Program Number Set.
● If there is a power cut, or if you press 1 or SET UP MENU
while Auto Set Up is in progress, Auto Set Up will be
interrupted; be sure to turn off the unit power once and try
again from step
A.
● Auto Clock Set may not function properly depending on the
reception condition.
ATTENTION
Once you have performed Auto Set Up, even if the unit’s
memory backup has expired, all the stored stations and their
Guide Program numbers remain in the unit’s memory and the
unit will not perform Auto Set Up again. The unit performs
only Auto Clock Set when the unit is turned on.
If you have moved to a different area, perform each setting as
required.
● Video channel setting (for RF connection users)
● Tuner setting
● Clock setting
If a new station starts broadcasting in your area, perform
tuner setting (
pg. 78) and, if necessary, video channel
After “Auto Set Up” is completed, perform “Monitor
Set (DVD deck)” on page 20.
XVS20EK_06Index.fm Page 17 Tuesday, April 1, 2003 3:39 PM